
Comprehensive Guide to Creating Handmade Resin Art


Introduction to Handmade Resin Art
Handmade resin art has surged in popularity, captivating artists and enthusiasts with its vibrant colors and unique finishes. Whether you are a seasoned artist or a beginner, creating resin art offers endless possibilities to explore your creativity. This guide will walk you through the essential aspects of making your resin art pieces.
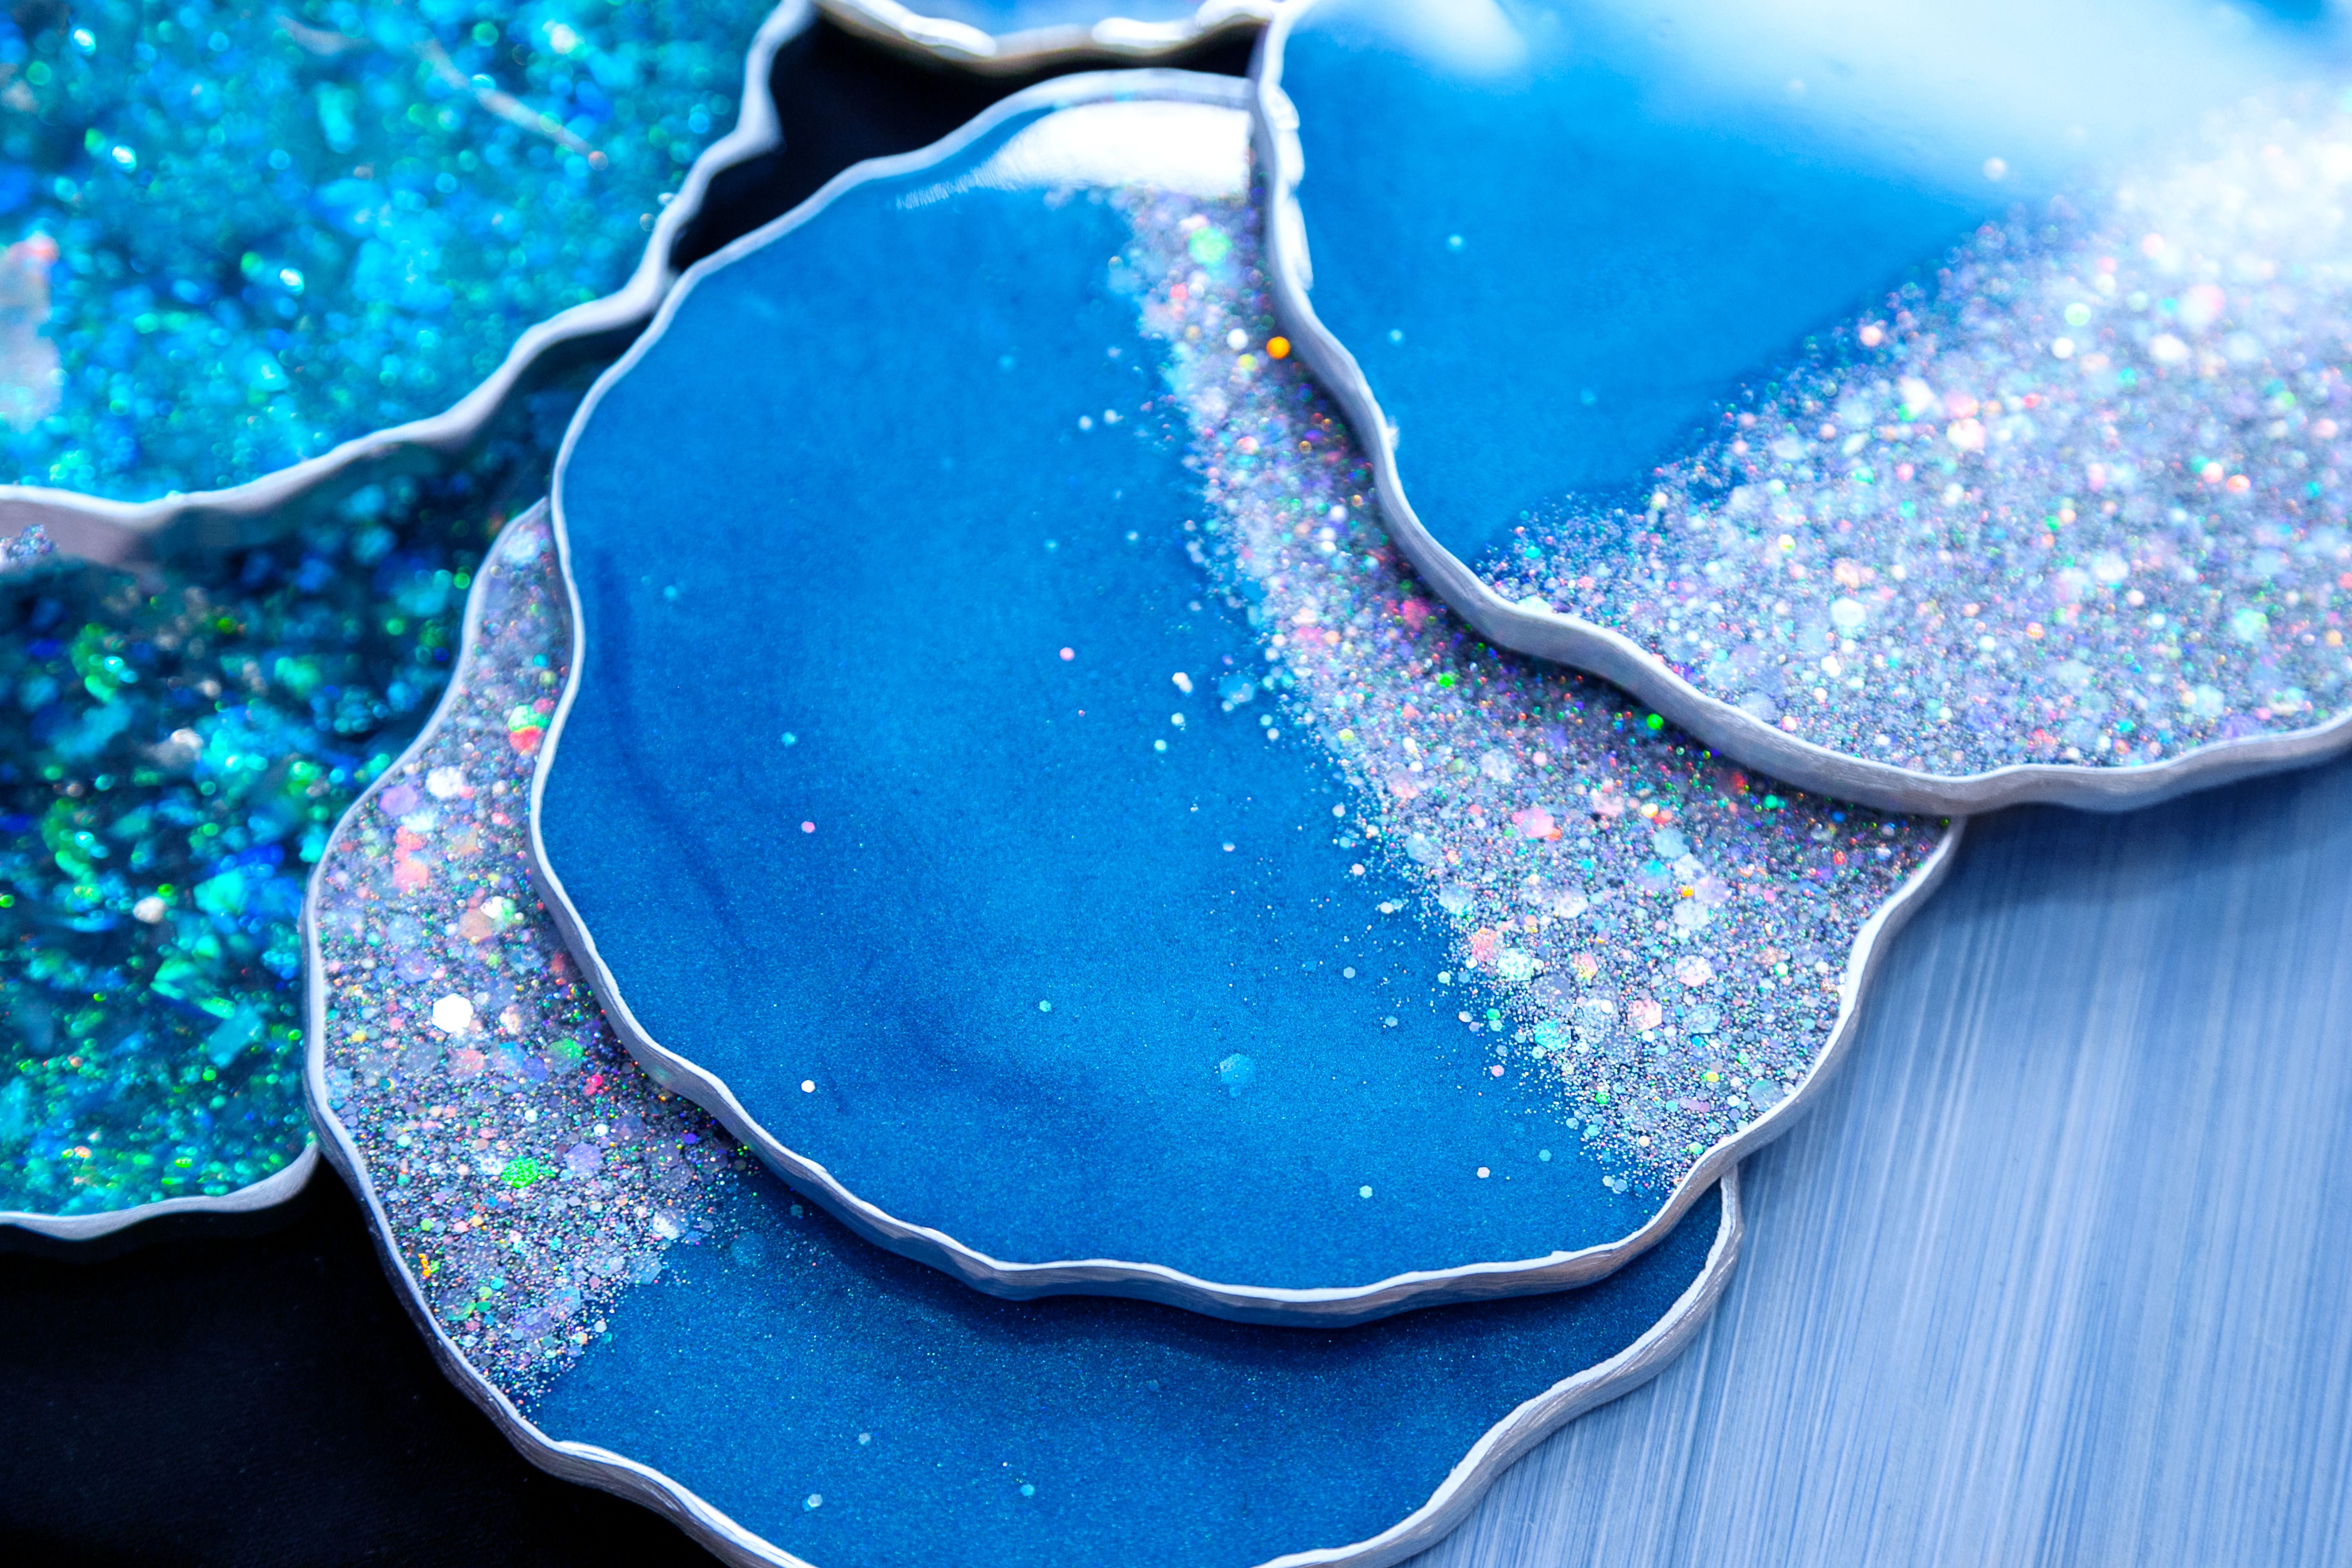
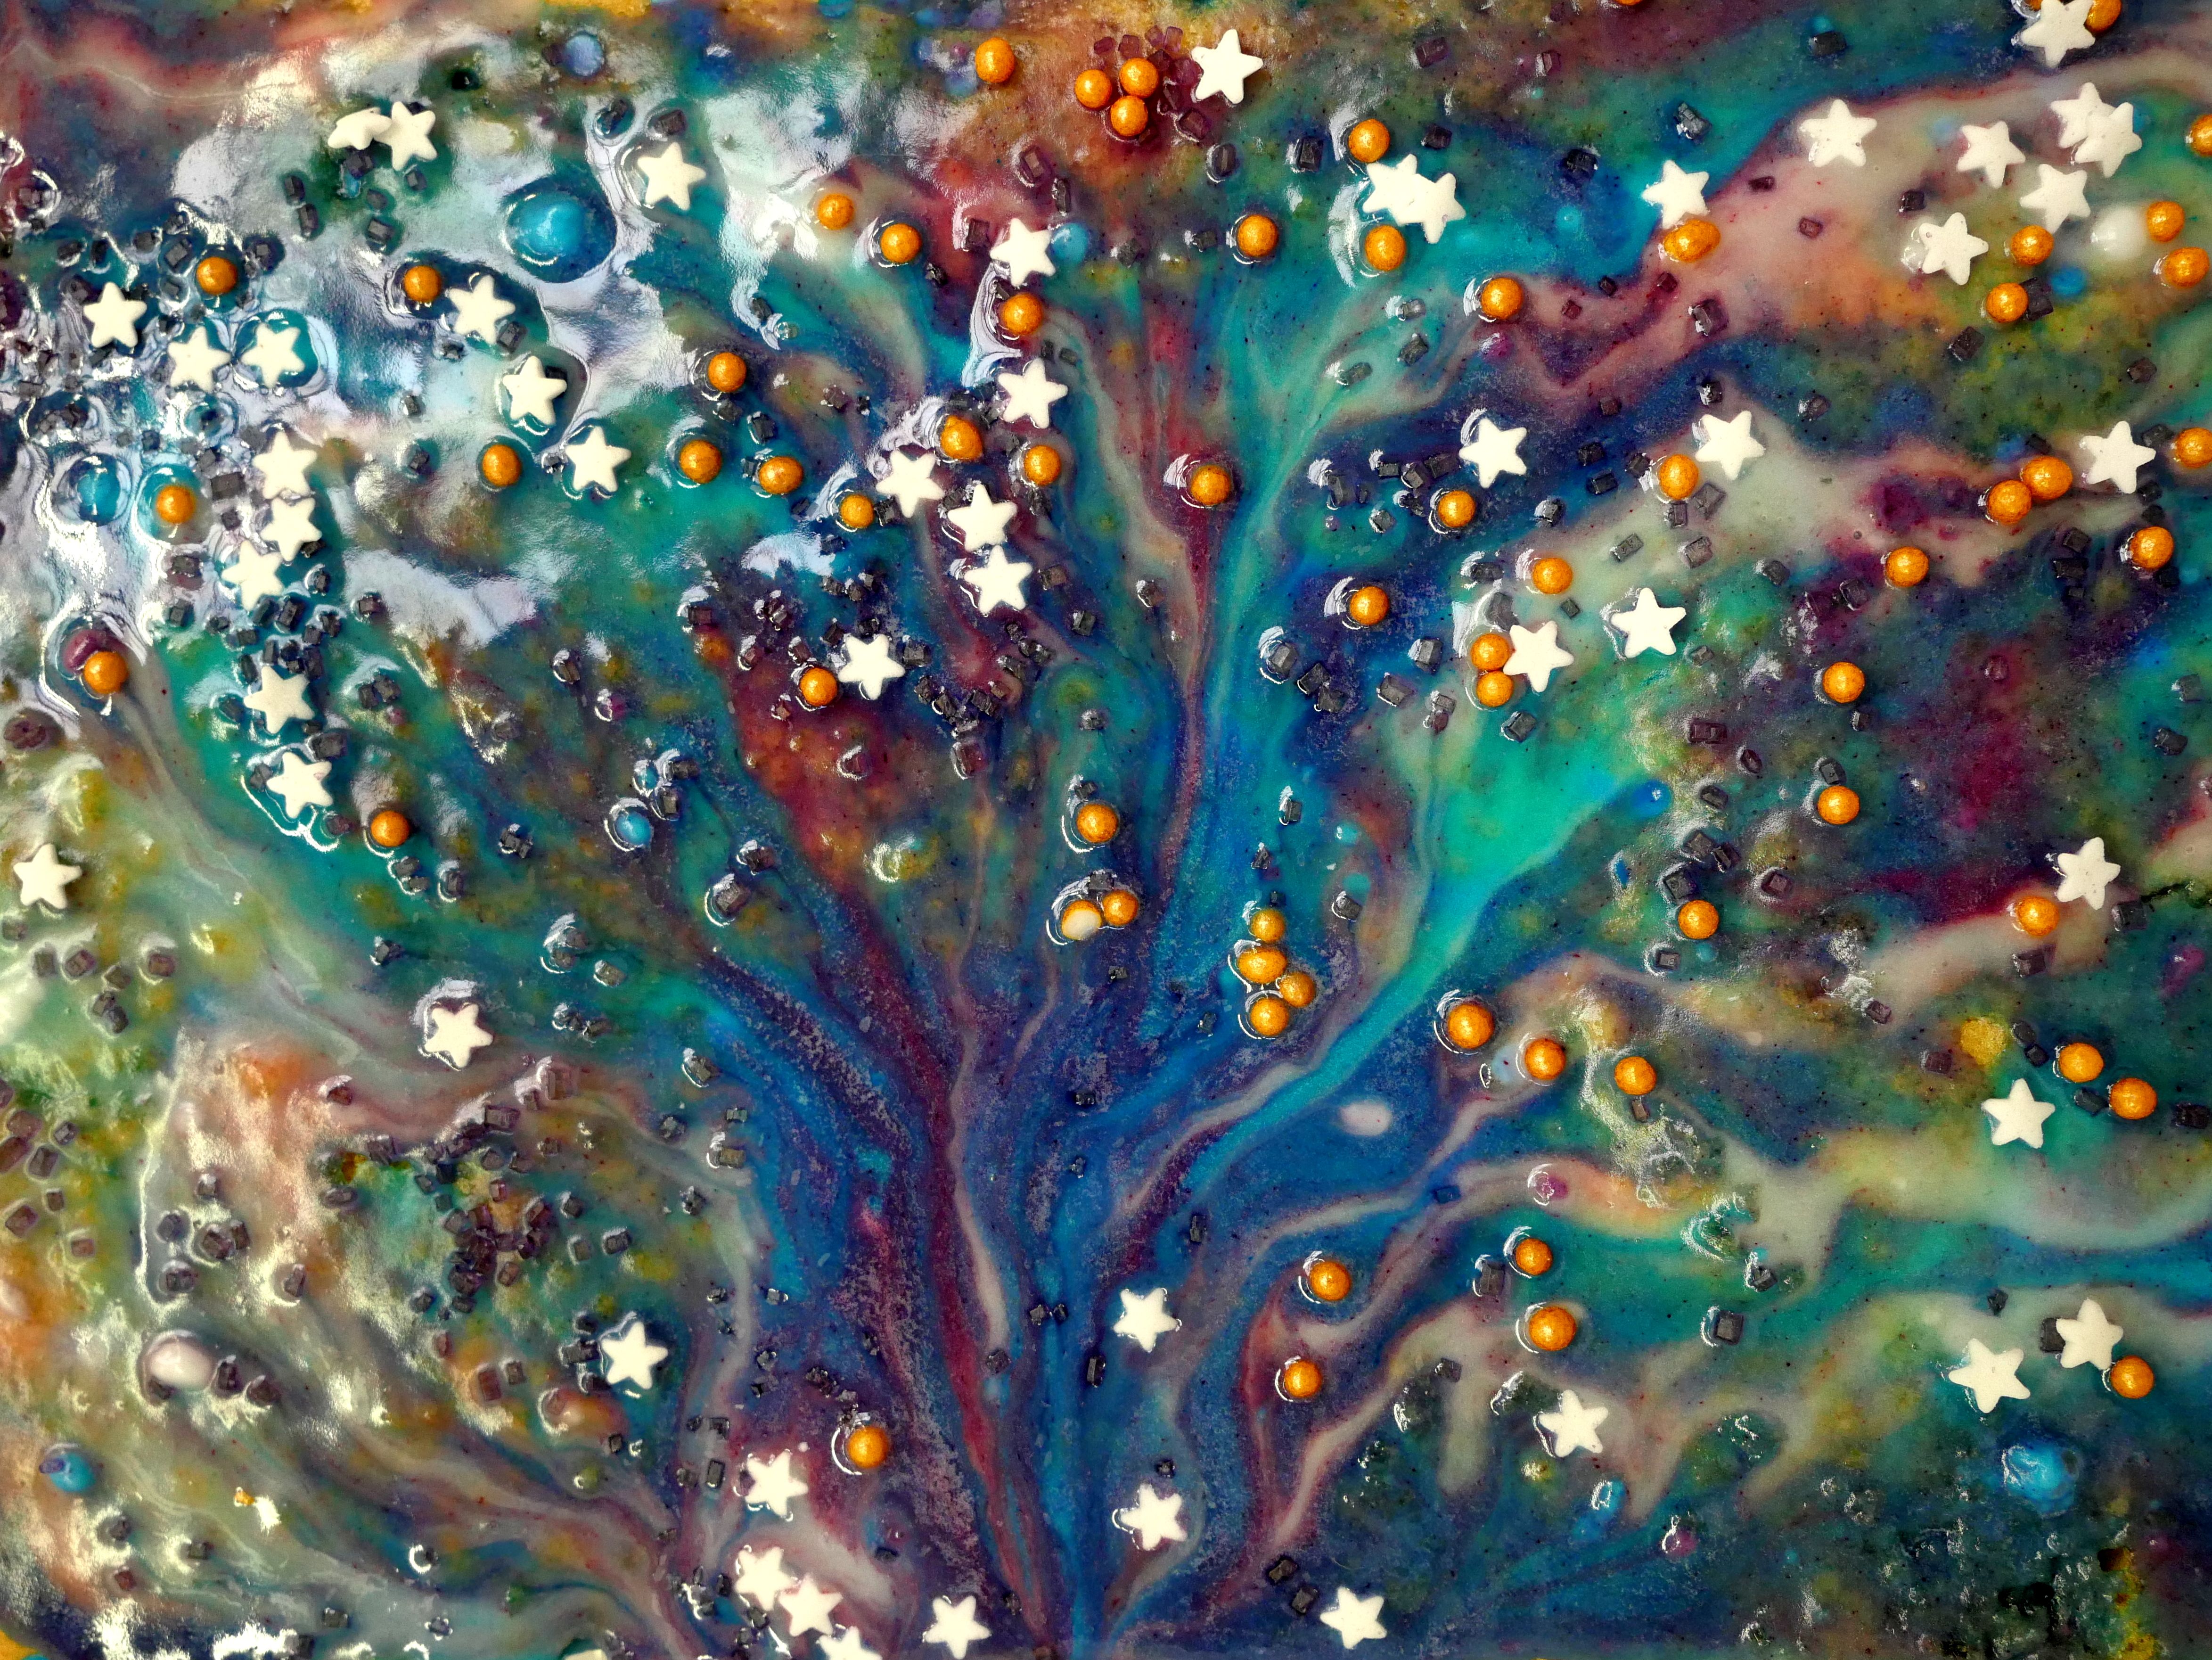
Resin art involves the use of liquid resin that hardens into a glossy, glass-like surface. With the right techniques and materials, you can create stunning pieces that range from jewelry and coasters to intricate wall art.
Materials Needed for Resin Art
Before diving into your project, gather the necessary materials. Having everything on hand will ensure a smooth process. Here’s a list of essential supplies:
- Resin and hardener: These are the primary components that will form your artwork.
- Mixing cups and sticks: For combining the resin and hardener thoroughly.
- Pigments and dyes: To add color to your resin.
- Molds or surfaces: Depending on the type of art you’re creating.
- Protective gear: Gloves and masks to ensure safety while working.

Choosing the Right Resin
There are different types of resin available, each with specific properties. The two most common types are epoxy resin and polyester resin. Epoxy resin is popular for its clarity and ease of use, making it ideal for beginners. Polyester resin is often used for larger projects but requires more experience due to its strong odor and quicker curing time.
Preparing Your Workspace
Setting up a suitable workspace is crucial for a successful resin art project. Choose a well-ventilated area to ensure safety, as resin can emit fumes. Protect surfaces with plastic sheets or old newspapers to prevent damage from spills.
Ensure that you have all your tools and materials within reach. An organized workspace will help you work efficiently and avoid unnecessary stress during the creative process.

Mixing and Pouring Resin
The process of mixing resin is a critical step that affects the final outcome. Follow these steps for a flawless finish:
- Measure equal parts of resin and hardener according to the manufacturer’s instructions.
- Mix them thoroughly in a mixing cup, ensuring there are no streaks.
- Add pigments or dyes to achieve your desired color.
- Pour the resin mixture into your chosen mold or surface, allowing it to spread naturally.
Curing and Finishing Touches
Once poured, the resin needs time to cure. This process can take anywhere from a few hours to several days, depending on the type of resin used. It’s important to keep the piece in a dust-free environment during this time to avoid imperfections.
After curing, you can add finishing touches like sanding rough edges or applying a clear coat for extra shine. These steps enhance the overall appearance and durability of your art piece.
Conclusion and Inspiration
Creating handmade resin art is a rewarding experience that allows you to express your creativity in new and exciting ways. With practice, you’ll develop your unique style and produce pieces that reflect your artistic vision.
Explore different techniques and experiment with colors to keep your projects fresh and innovative. Remember, the beauty of resin art lies in its unpredictability and the endless opportunities for experimentation.