Creating Custom Resin Art: A Step-by-Step Guide


Introduction to Resin Art
Creating custom resin art is a unique and rewarding hobby that allows you to craft stunning pieces with just a few materials. Whether you're looking to make jewelry, coasters, or wall art, resin offers endless possibilities for creativity. In this guide, we'll walk you through the steps to create your own custom resin art.
Gathering Materials
Before you begin, it's essential to gather all the necessary materials. Here's a list of what you'll need:
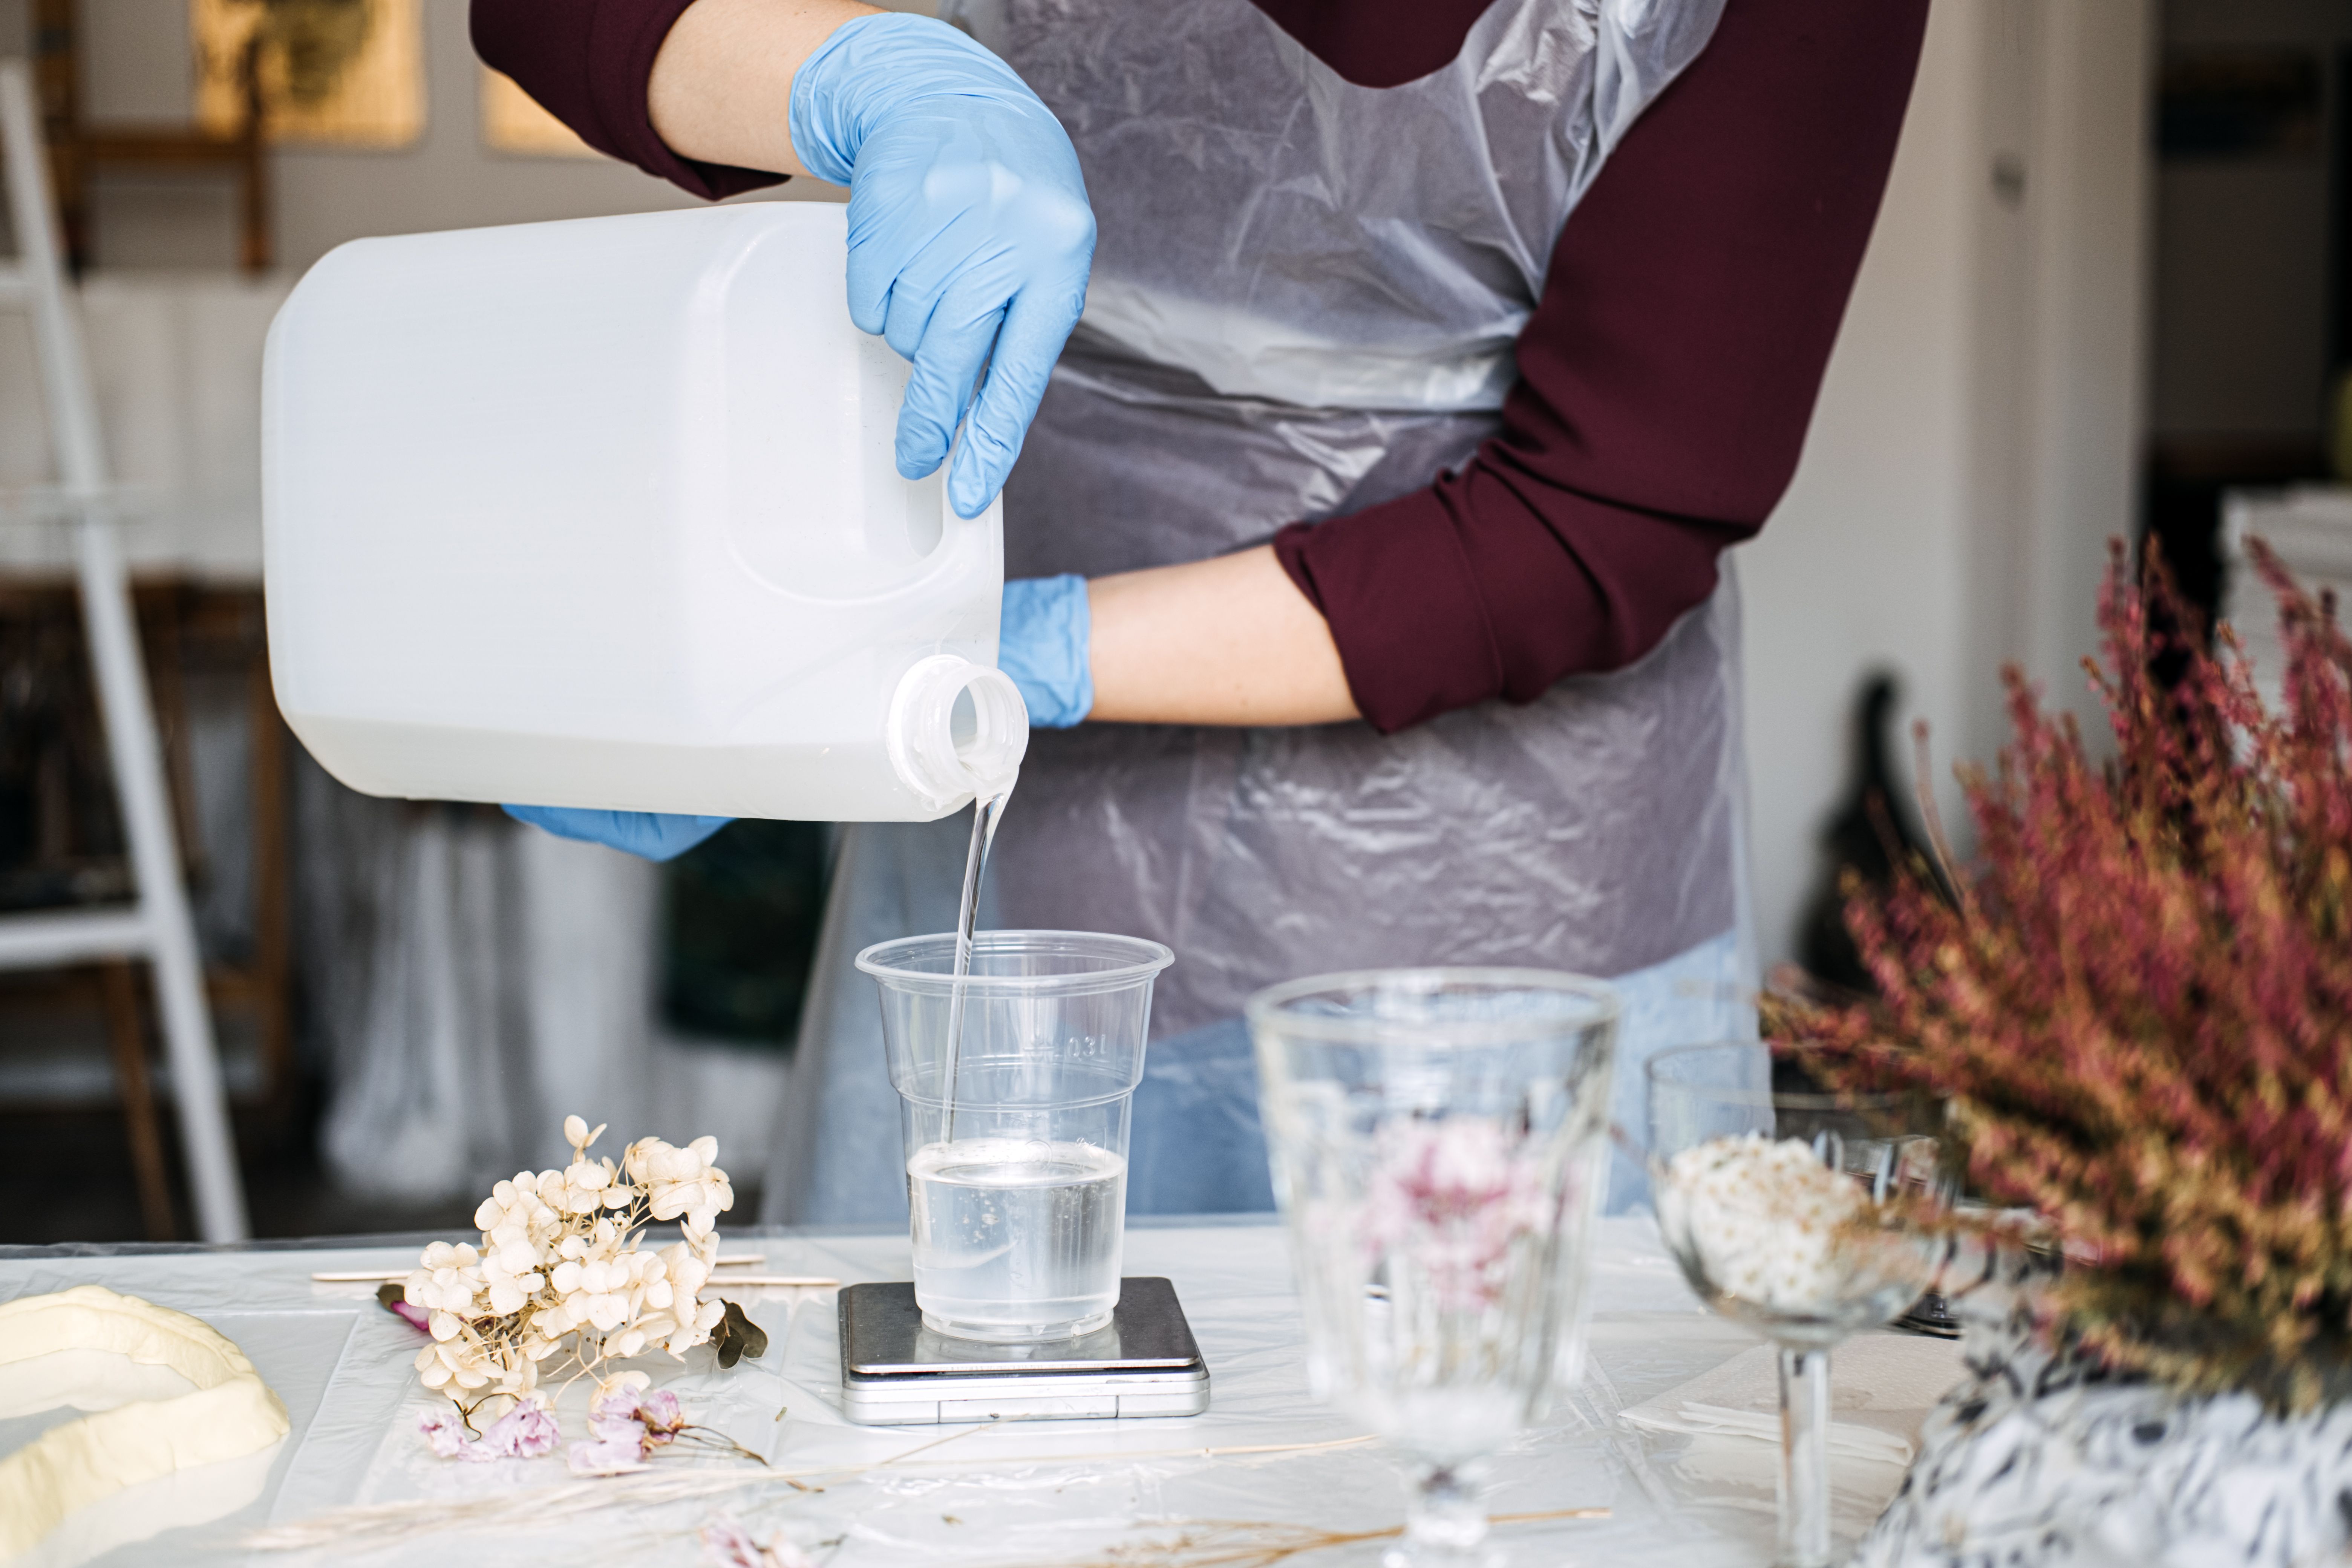
- Epoxy resin and hardener: These are the primary components of resin art.
- Molds: Choose the shape and size based on your project.
- Mixing cups and sticks: For combining the resin and hardener.
- Protective gear: Gloves and a mask to ensure safety.
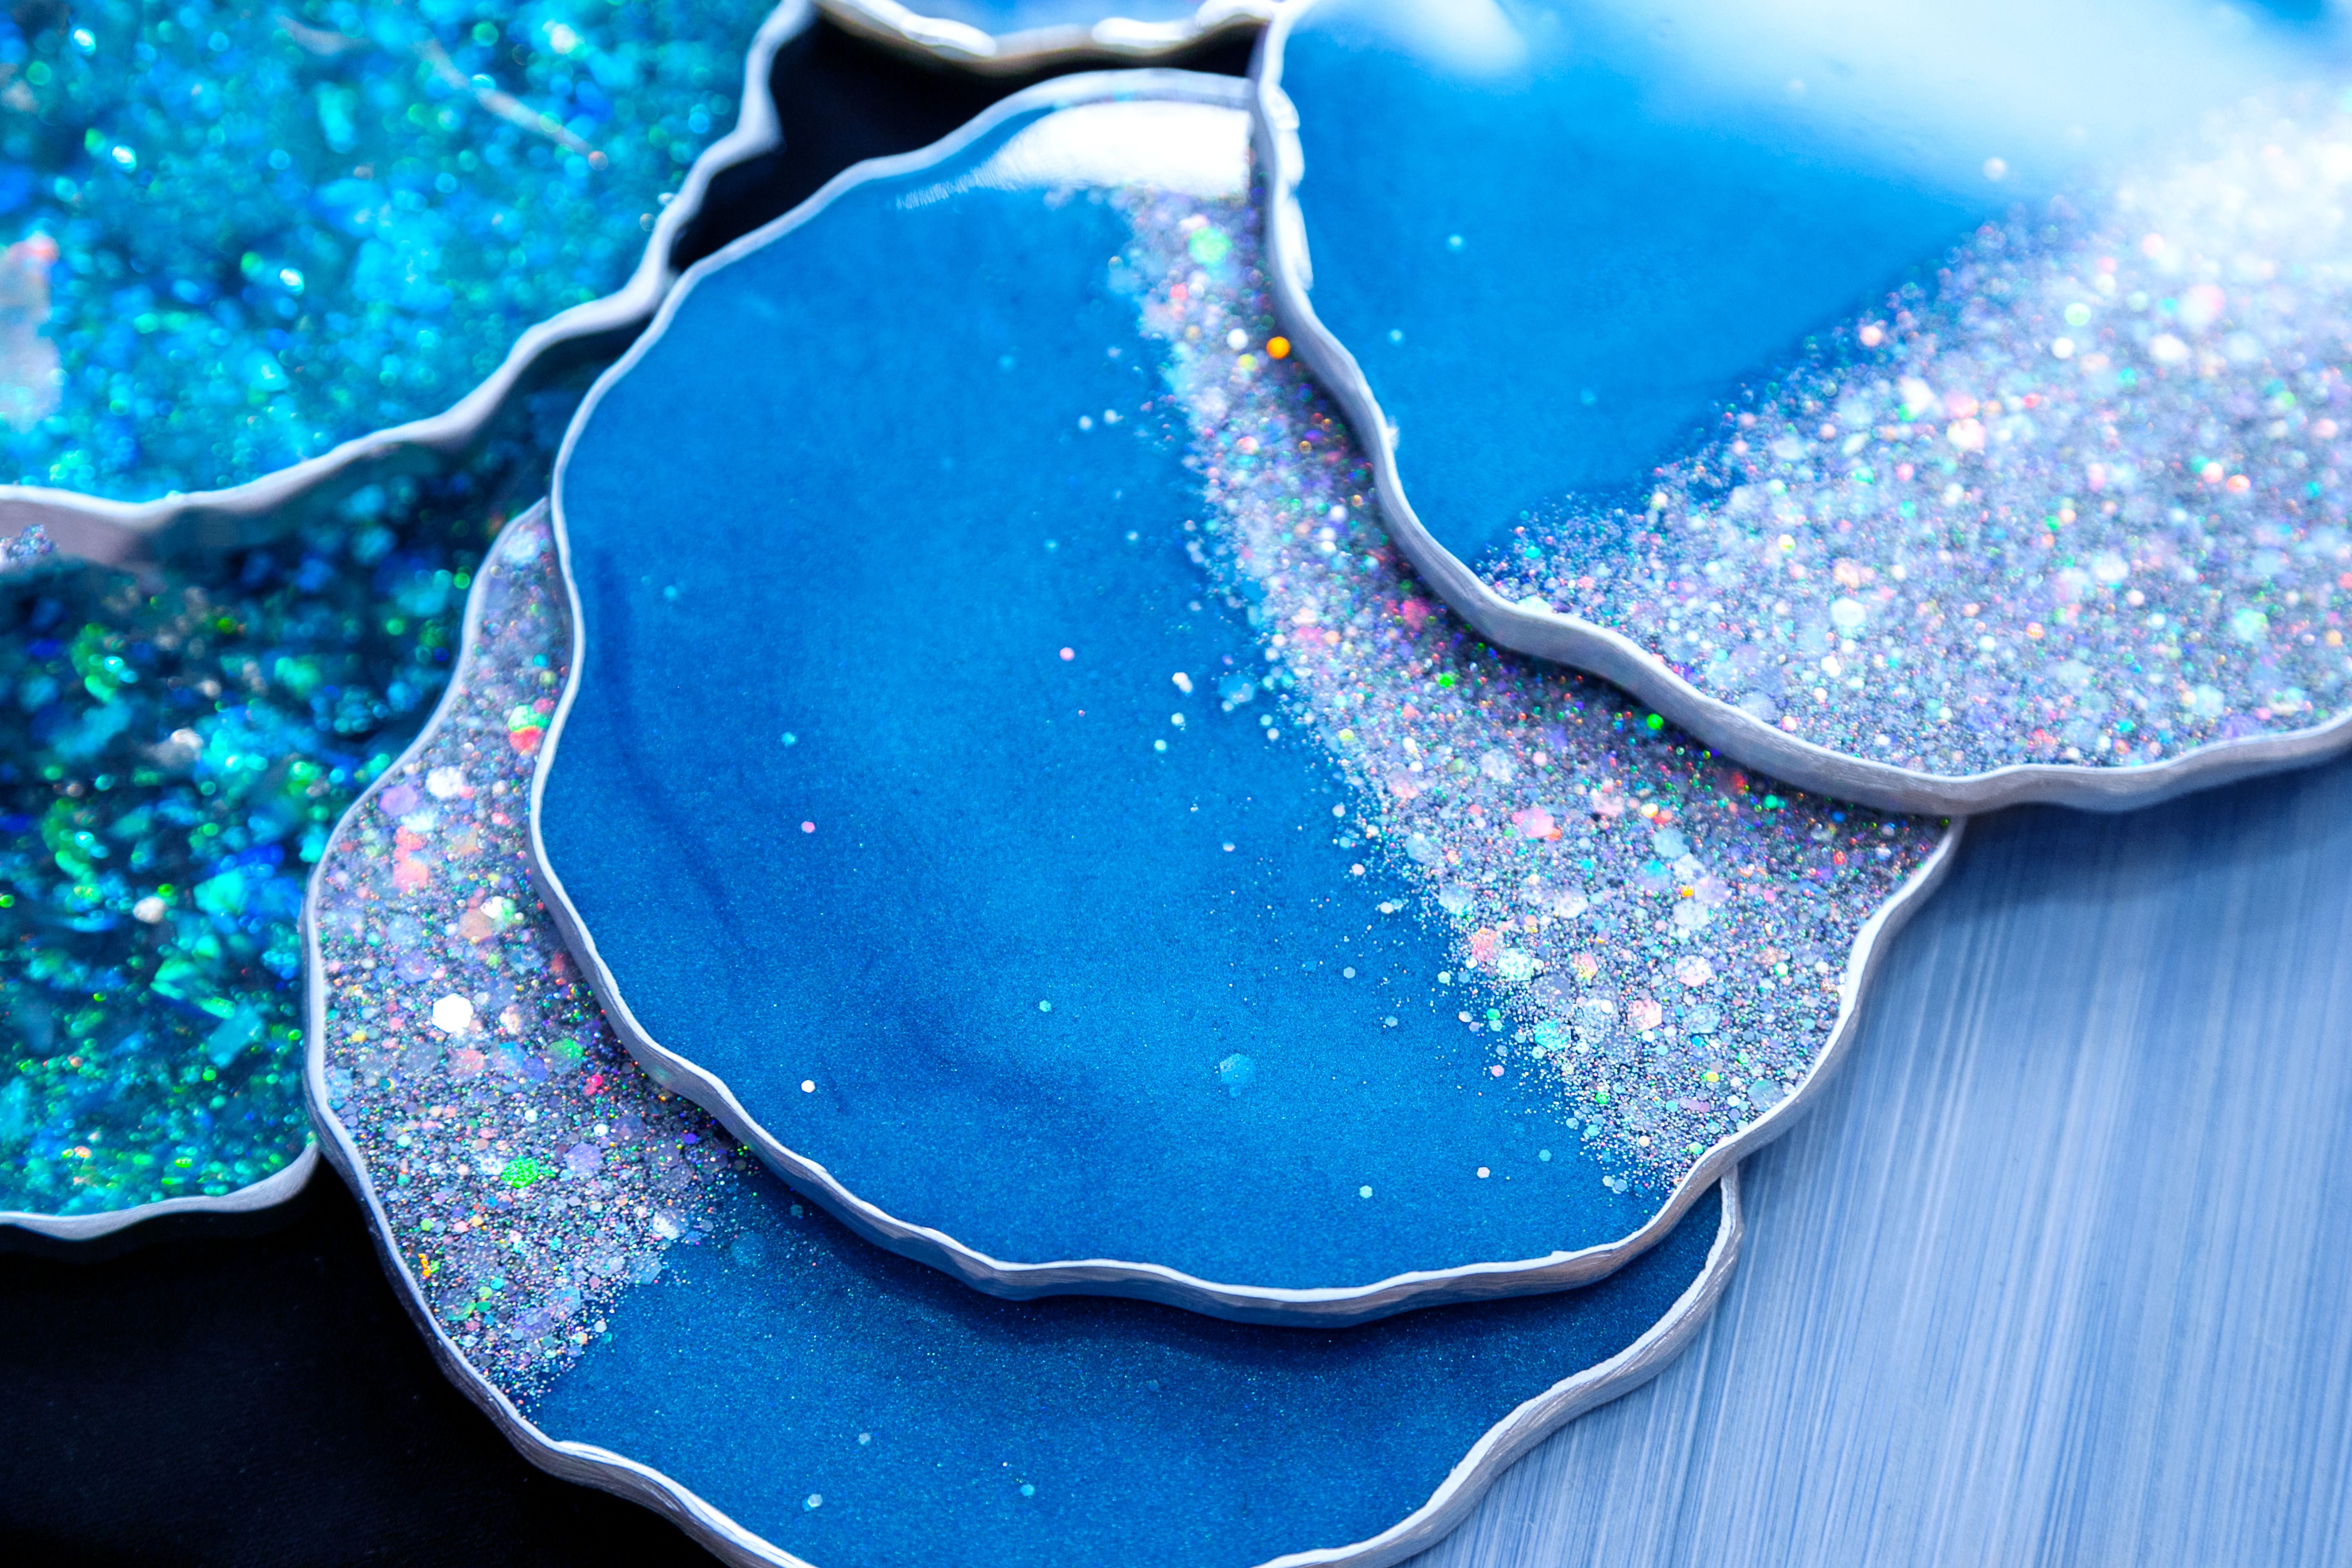
- Color pigments and additives: To add color and special effects.
Preparing Your Workspace
Set up a clean, flat surface where you can work without interruptions. Cover your workspace with a plastic sheet or newspaper to prevent any resin spills. Ensure your area is well-ventilated to avoid inhaling fumes during the mixing process.

Mixing the Resin
Follow the instructions on your epoxy resin kit for the correct ratio of resin to hardener. Typically, it's a 1:1 or 2:1 ratio. Pour the resin and hardener into a mixing cup and stir slowly for about 3-5 minutes. Make sure the mixture is clear and free of streaks.
Once mixed, you can add color pigments or other additives to achieve the desired effect. Mix thoroughly until the color is evenly distributed. Be careful not to introduce too many bubbles into the mixture.
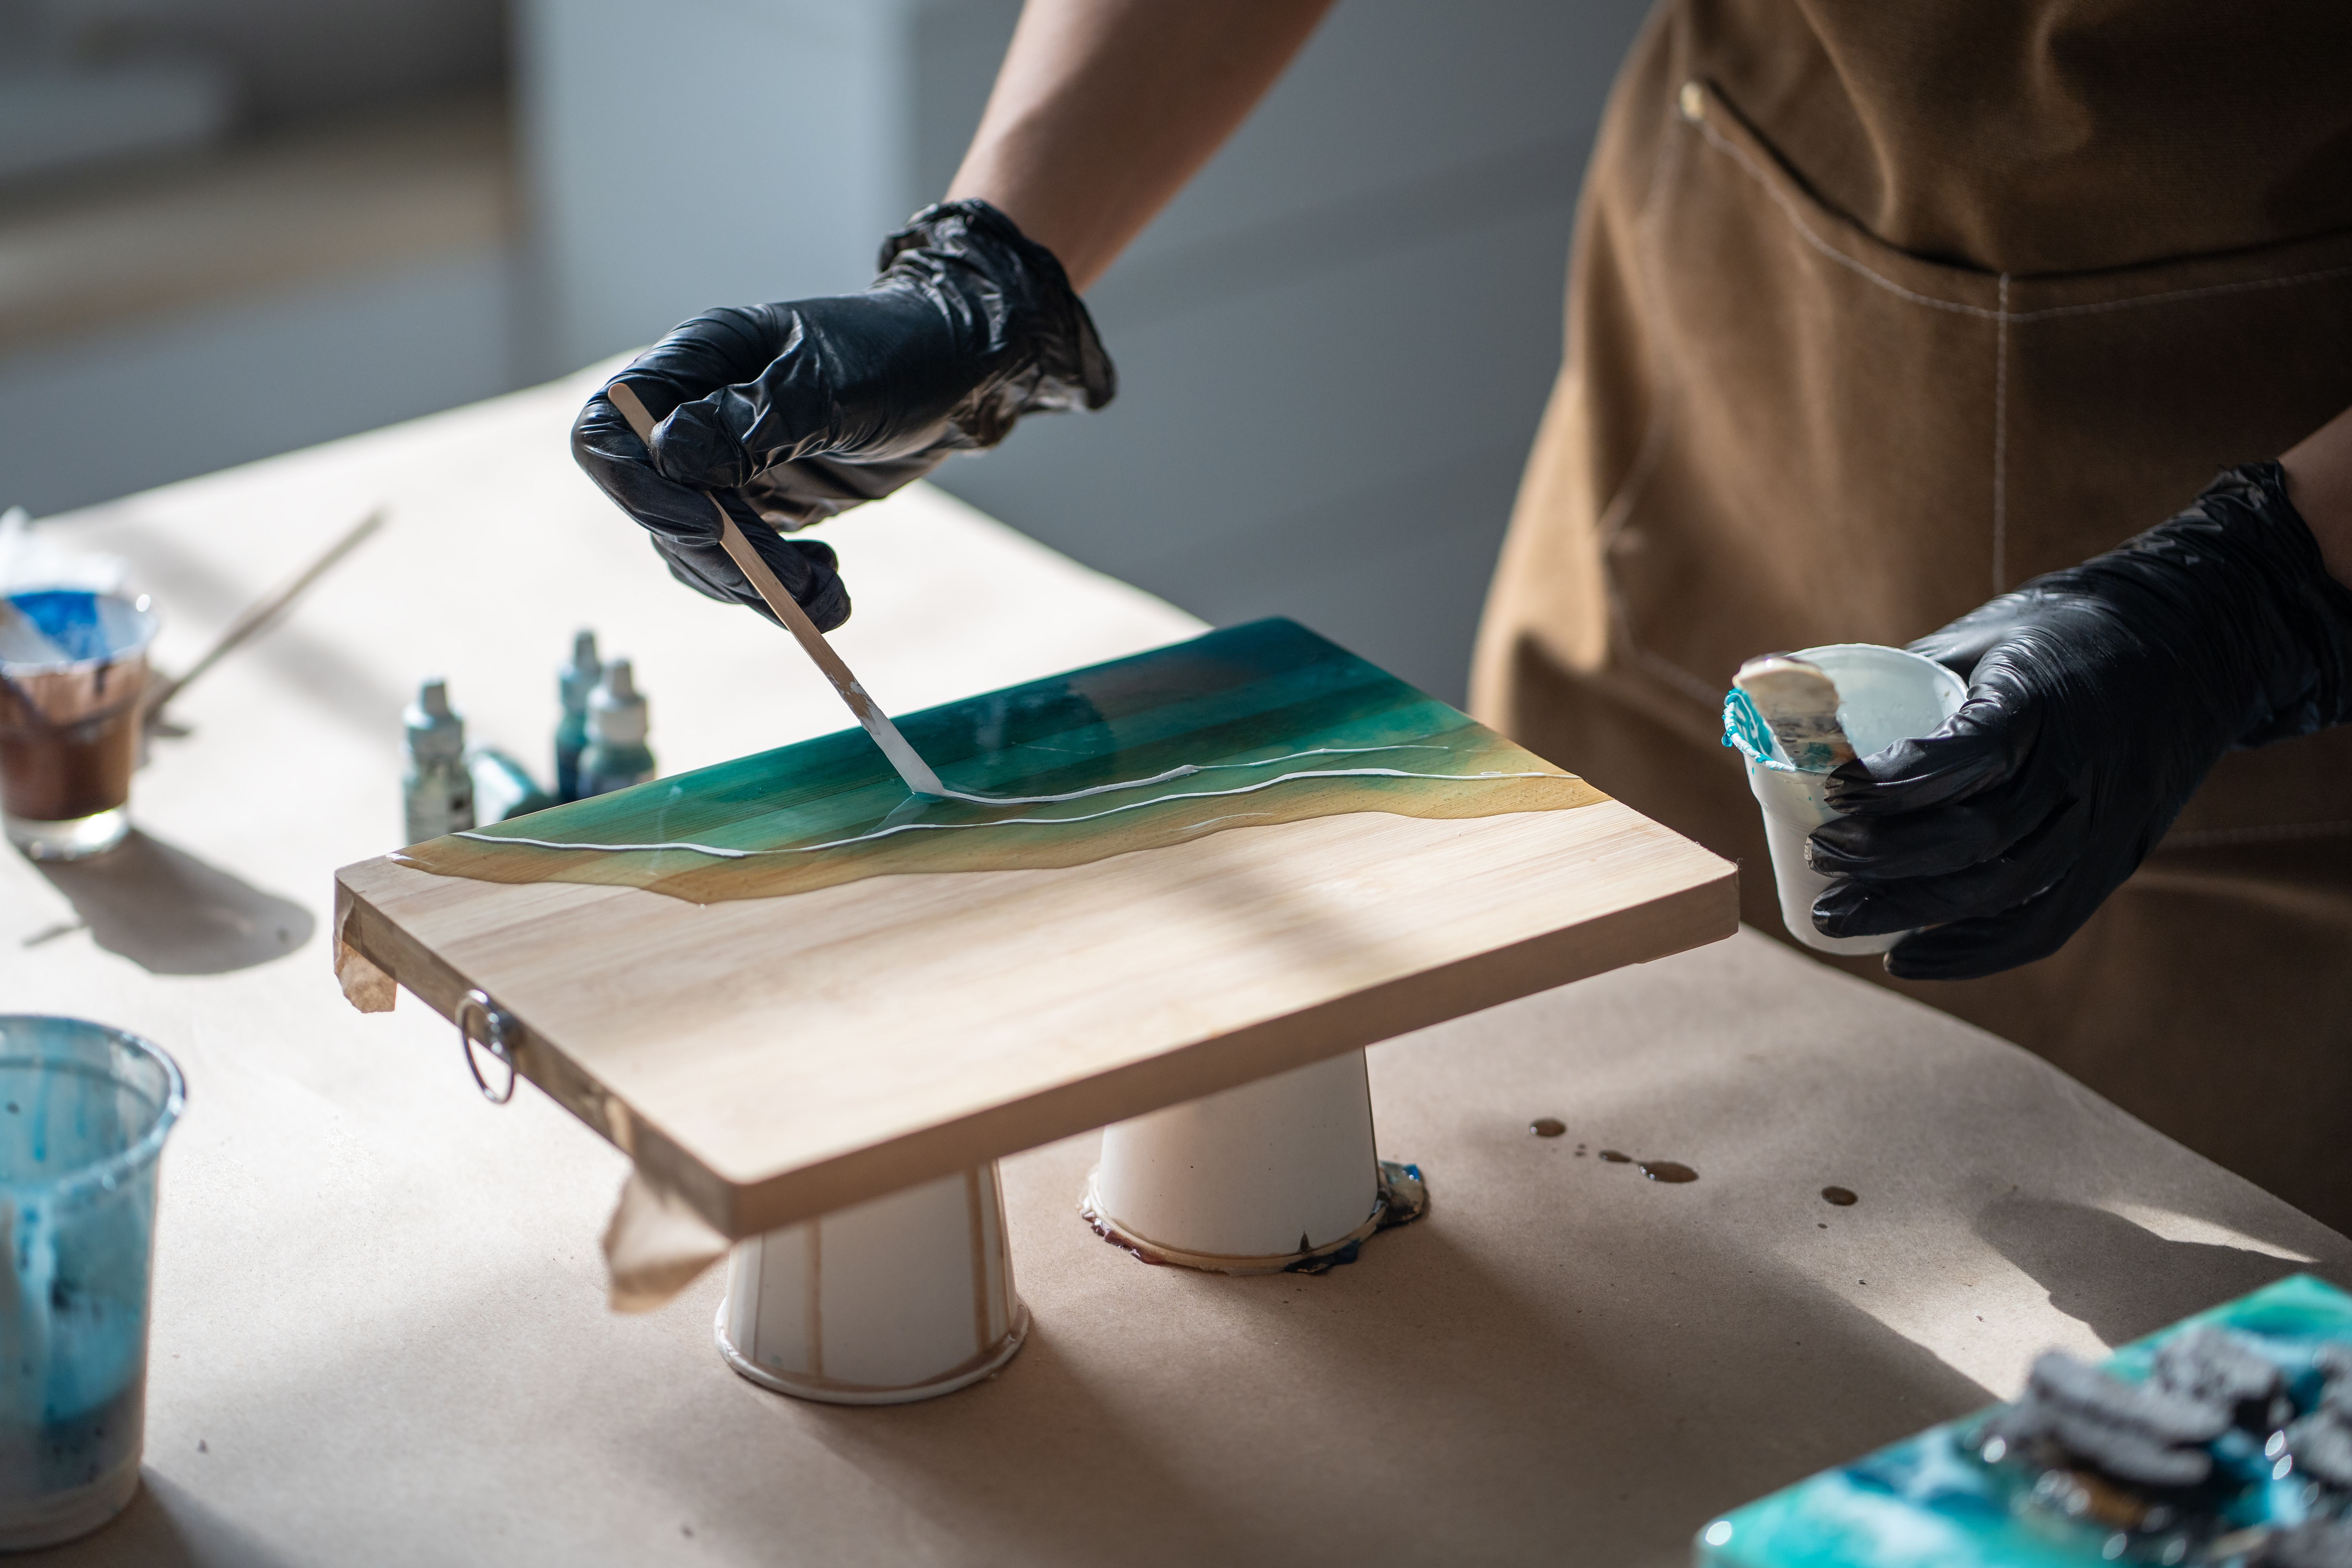
Pouring and Curing
Pour the resin mixture into your chosen mold. Use a toothpick or a heat gun to remove any bubbles that rise to the surface. Allow the resin to cure according to the instructions, typically 24-48 hours. Place a cover over your project to protect it from dust and debris during the curing process.
Demolding and Finishing Touches
Once the resin has fully cured, carefully remove it from the mold. If the resin is stuck, gently flex the mold to release it. You can sand the edges for a smooth finish. If desired, apply a clear coat or polish to enhance the shine and durability of your piece.
Tips for Success
Here are some additional tips to ensure your resin art project is a success:
- Work in small batches to avoid wasting resin.
- Experiment with different pigments and effects to find your style.
- Keep your workspace organized to streamline the process.
By following these steps and tips, you'll be able to create stunning custom resin art pieces that showcase your creativity and personal style.