
Creating Handmade Resin Art: A Step-by-Step DIY Guide


Introduction to Resin Art
Creating handmade resin art has become a popular hobby for many creative individuals. It allows you to produce stunning, glossy pieces that can range from jewelry and coasters to larger decorative items. Resin art is versatile, enabling you to experiment with different colors, textures, and techniques. In this guide, we'll walk you through the basics of creating your own resin art pieces at home.
Gathering Your Materials
Before you start your resin art journey, it's crucial to gather all necessary materials. Here's a basic list to get you started:
- Resin and hardener: These are the core components of your artwork.
- Molds: Available in various shapes and sizes, molds will shape your resin.
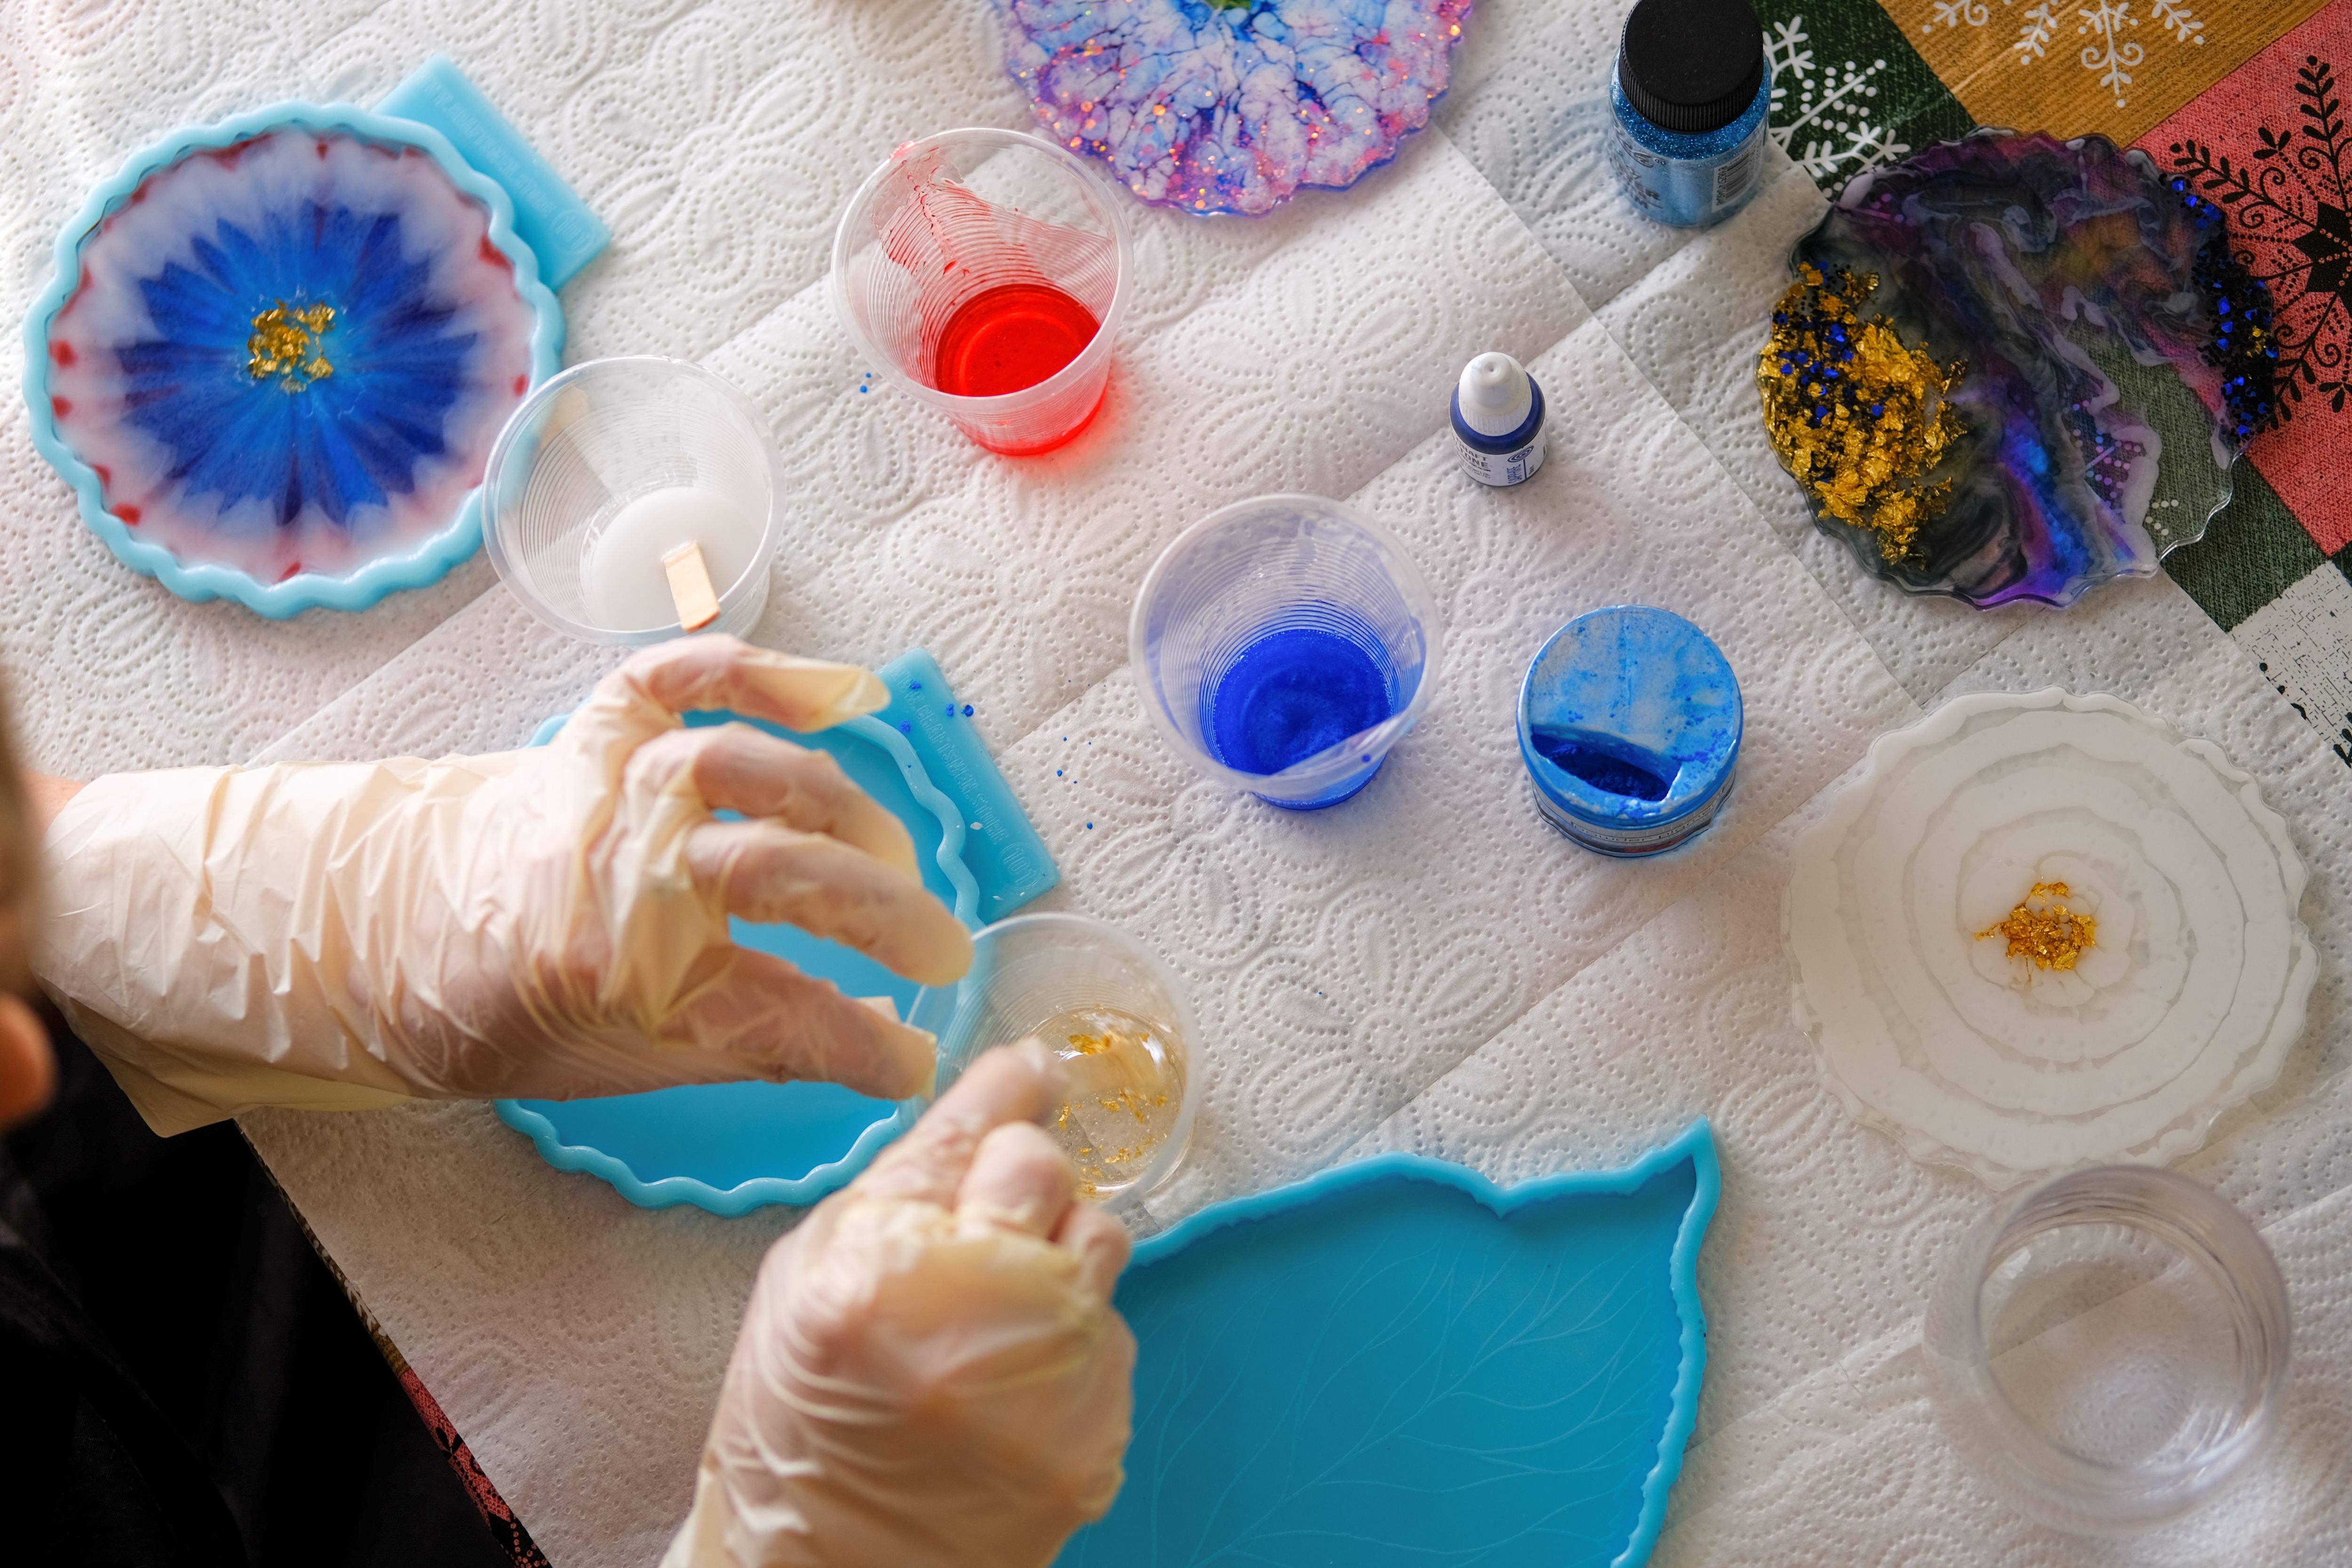
- Mixing tools: You'll need cups, sticks, and gloves for safe handling.
- Pigments and dyes: Add color to your resin with these.
- Protective gear: Use masks and aprons to avoid any mess or fumes.
The Basic Resin Art Process
Once your materials are ready, it's time to start creating. Follow these steps to ensure success:
- Prepare your workspace: Make sure your area is well-ventilated and covered with protective sheets.
- Mix the resin: Combine the resin and hardener according to the product instructions. Stir slowly to avoid bubbles.
- Add pigments: Mix in your chosen pigments or dyes until you achieve the desired color.
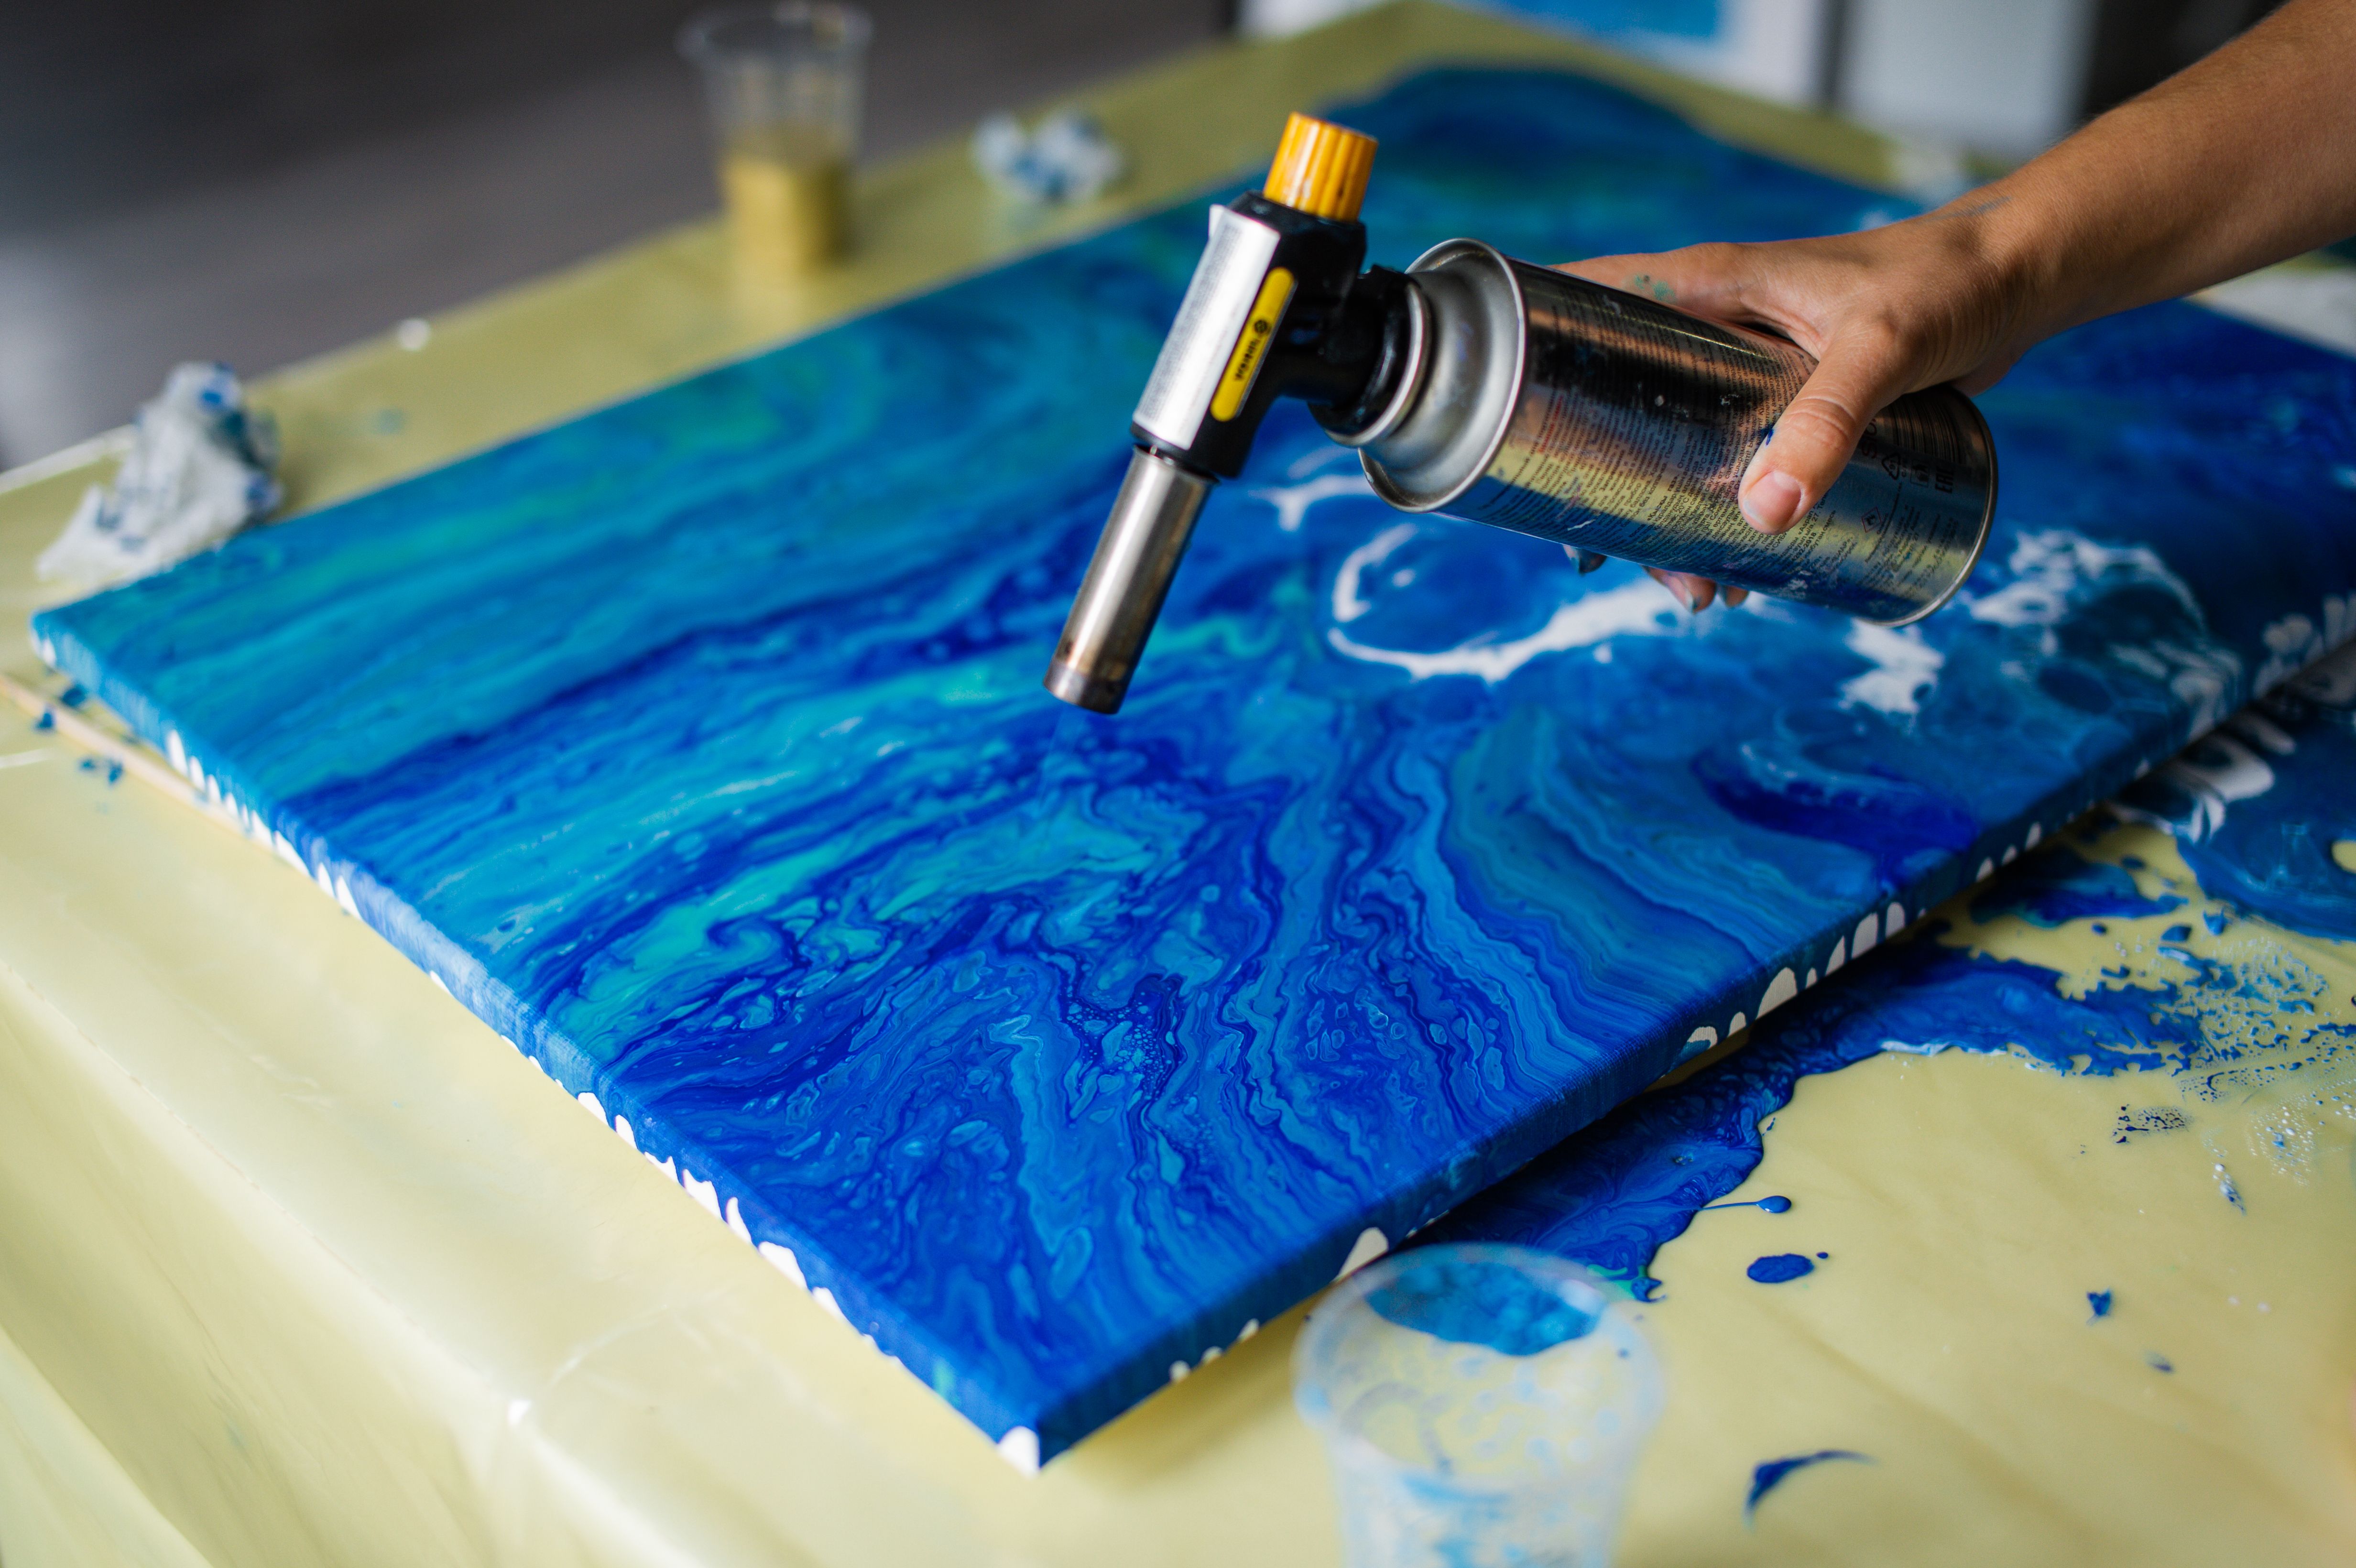
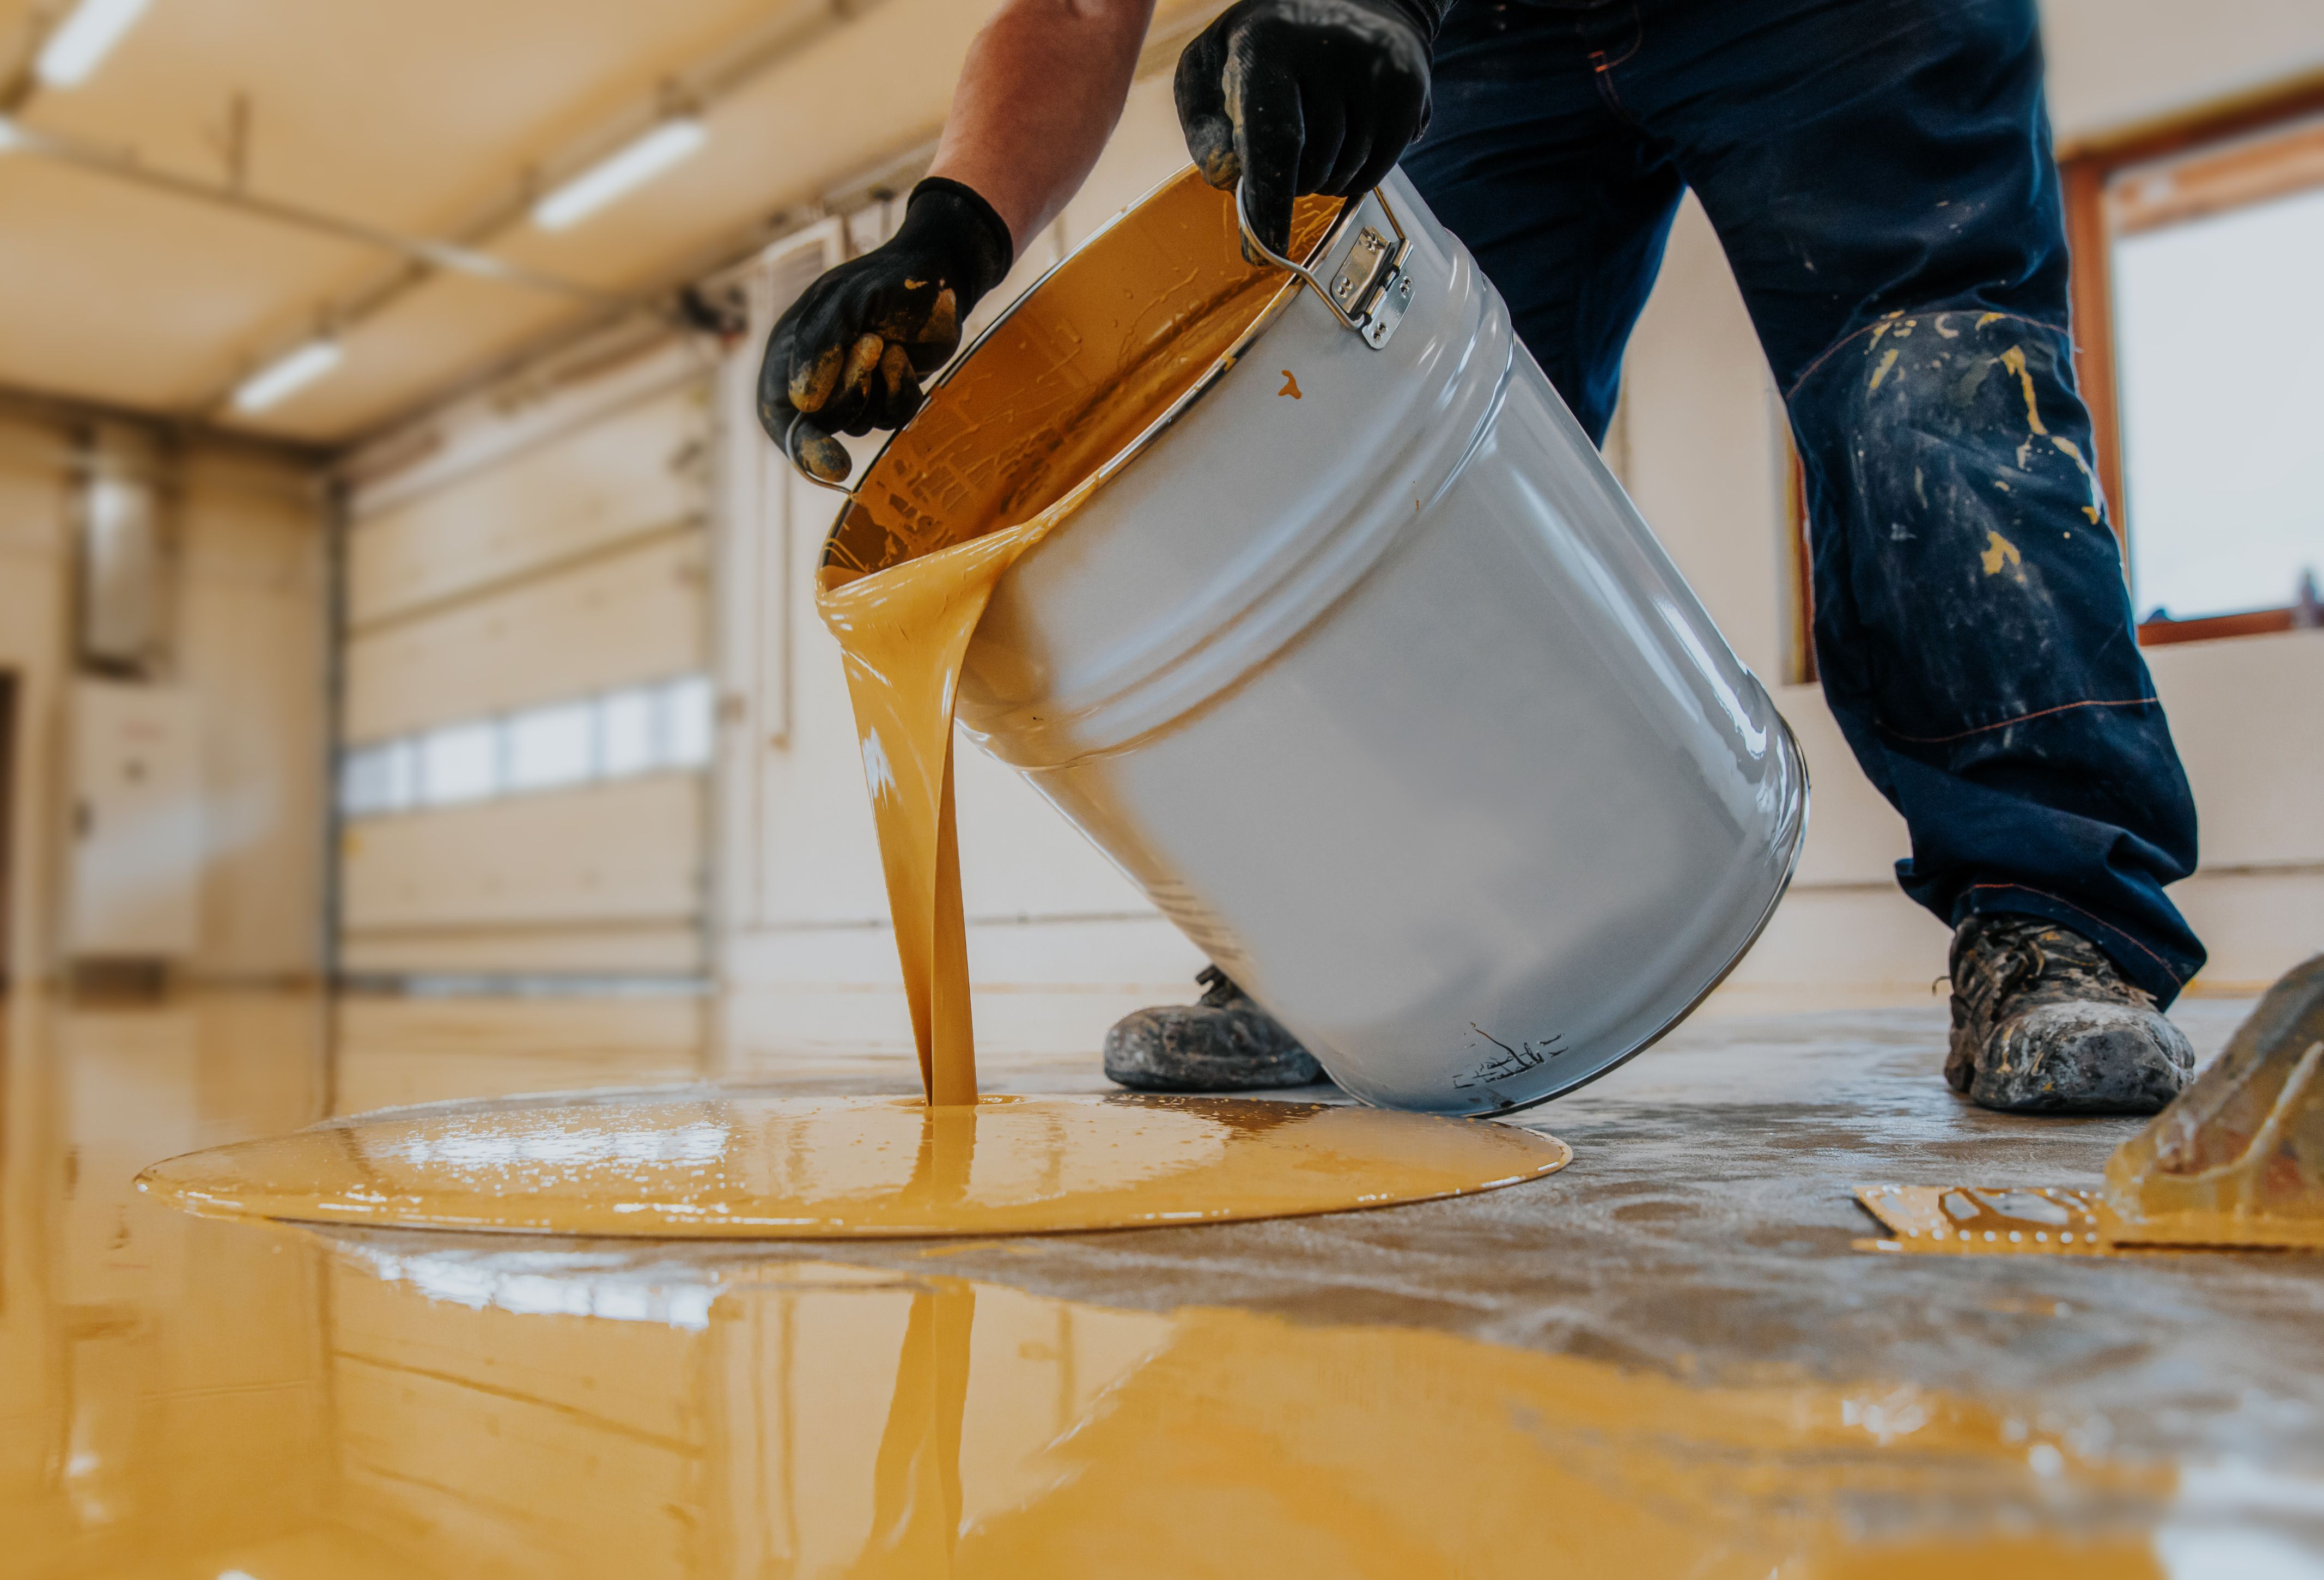
Pouring and Curing
The next step is pouring the resin into your chosen mold. Pour carefully to ensure an even layer, and use tools like toothpicks to remove any bubbles. Once poured, let the resin cure for the recommended time, usually 24-48 hours depending on the product used.
During the curing period, avoid moving or disturbing the mold to prevent imperfections. The final result should be a clear, glossy finish that highlights your artistic design.
Finishing Touches
After the resin has fully cured, it's time to demold your piece. Gently remove it from the mold, being careful not to damage any details. Depending on your project, you might want to sand down any rough edges or apply a glossy topcoat for extra shine.
Caring for Your Resin Art
Resin art requires some care to maintain its beauty over time. Avoid placing your pieces in direct sunlight as this can lead to yellowing. Clean them with a soft cloth and mild soap if needed. With proper care, your handmade creations can last for years, adding unique flair to your home or as thoughtful gifts for loved ones.
Exploring Advanced Techniques
Once you're comfortable with the basics, consider exploring advanced techniques like layering colors, embedding objects, or creating geode-inspired designs. The possibilities with resin are nearly endless, allowing for ongoing creativity and experimentation.
By following this guide and experimenting with your own ideas, you'll be on your way to mastering the art of creating stunning handmade resin pieces. Happy crafting!