
Creating Stunning Handmade Resin Art: Tips and Techniques


Getting Started with Resin Art
Resin art is a captivating and versatile medium that allows artists to create stunning, glossy pieces with a glass-like finish. Whether you're a seasoned artist or a beginner, diving into the world of resin art can be both exciting and rewarding. This blog post will guide you through essential tips and techniques to help you create your own mesmerizing resin masterpieces.
Essential Supplies for Resin Art
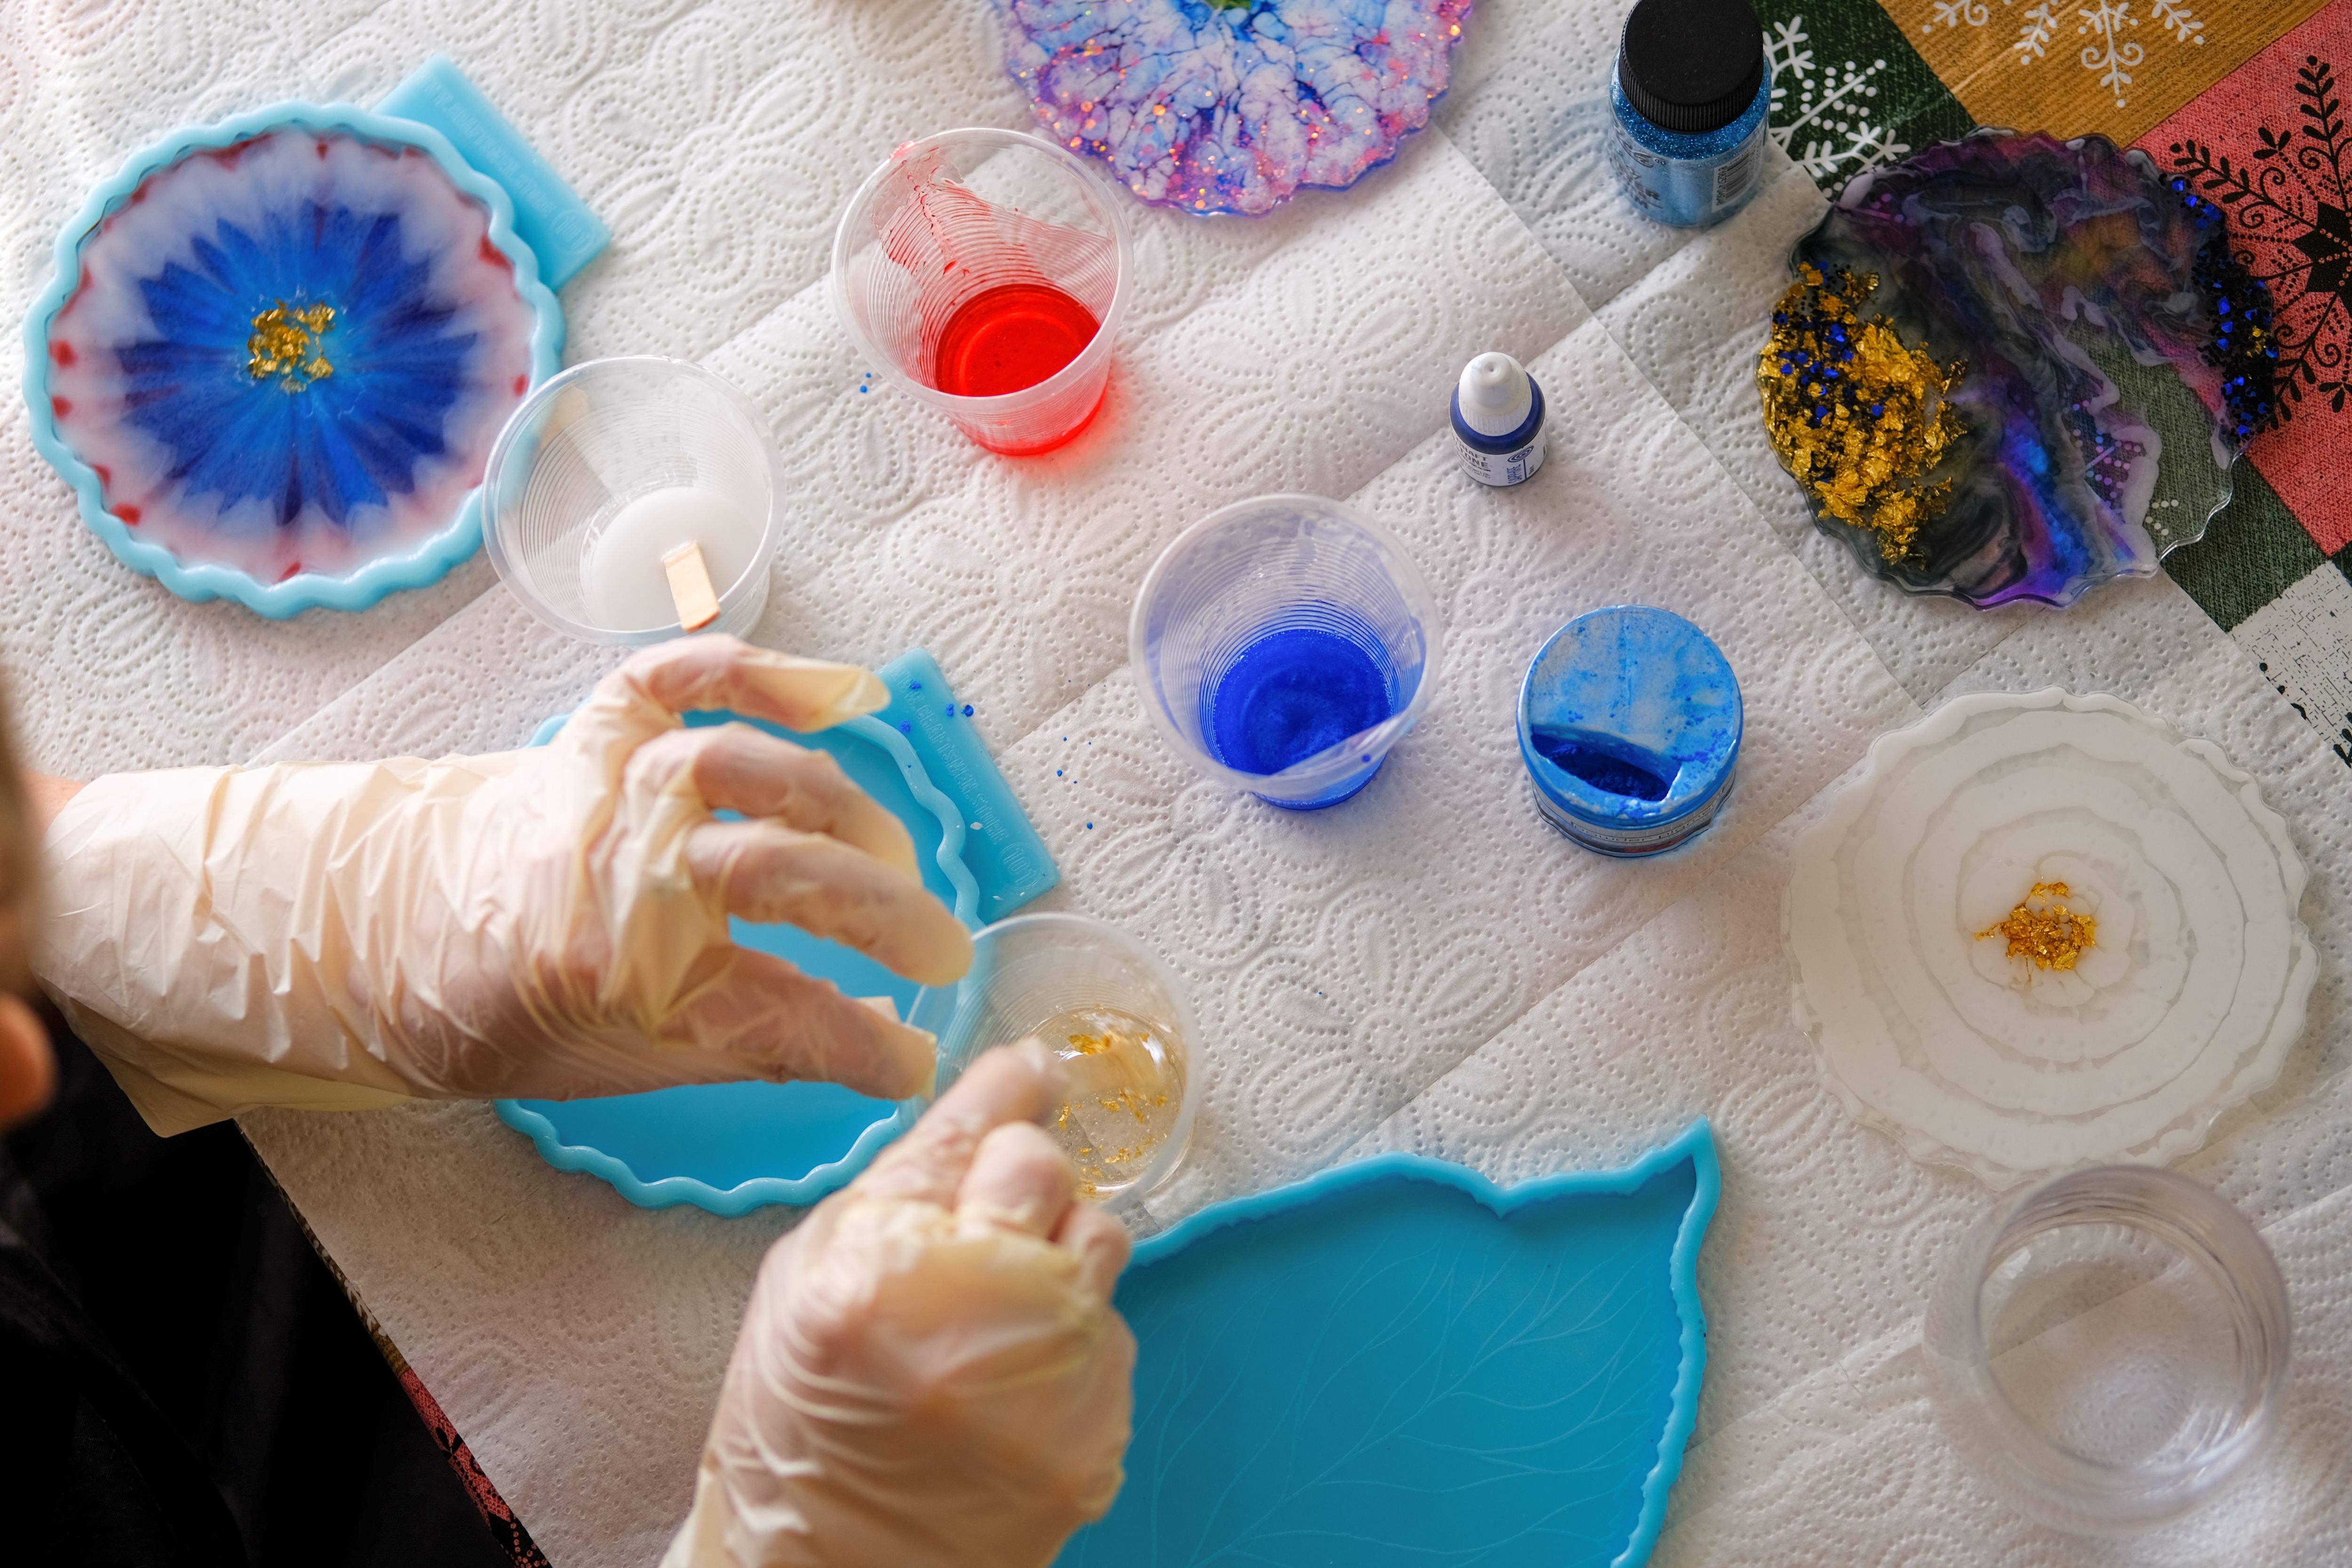
Before starting your resin art project, it's crucial to gather the right supplies. Here's a list of basic materials you'll need:
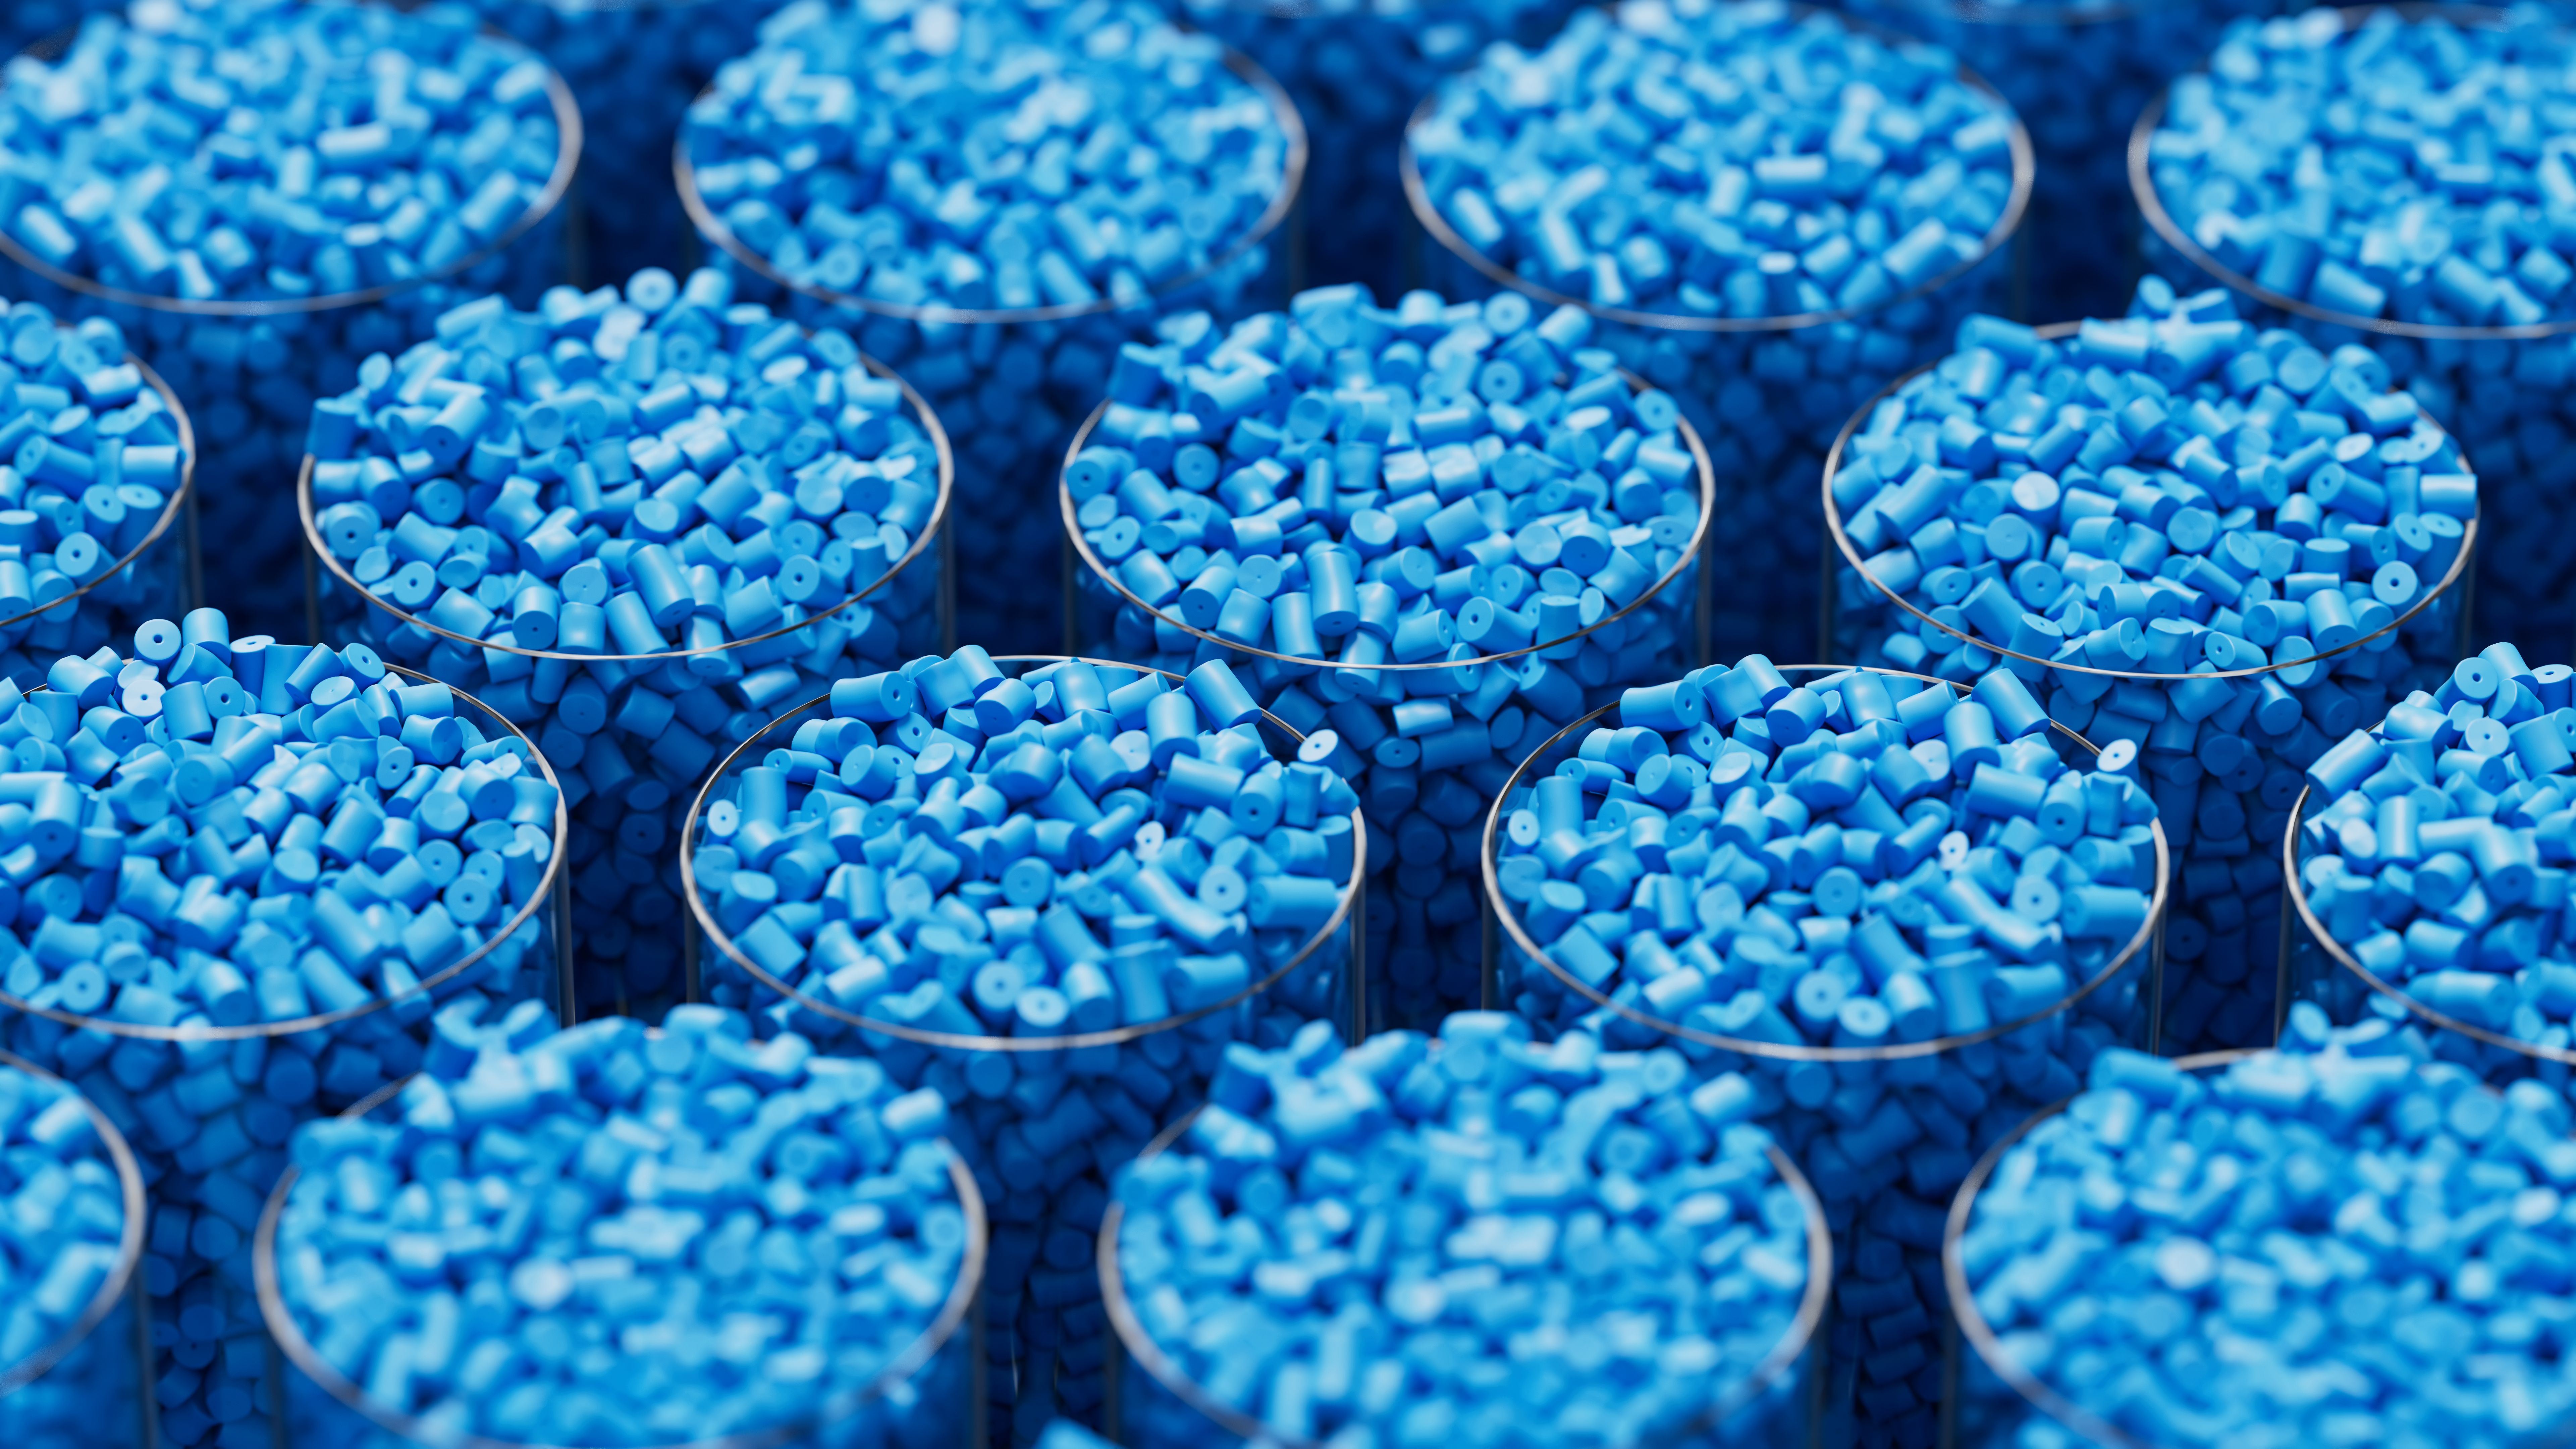
- Epoxy Resin: The most popular type of resin, known for its durability and clarity.
- Molds or Canvases: Choose molds for 3D projects or canvases for flat artwork.
- Pigments and Dyes: Add color to your resin using alcohol inks, mica powders, or acrylic paints.
- Mixing Tools: Use plastic cups, stir sticks, and measuring tools for accurate mixing.
- Safety Gear: Protect yourself with gloves, goggles, and a mask to avoid exposure to fumes.
Preparing Your Workspace
A well-prepared workspace is essential for creating beautiful resin art. Set up a clean, level surface and cover it with a plastic sheet or wax paper to protect against spills. Ensure your workspace is well-ventilated and free from dust, as dust particles can settle into your resin and ruin the finish.
Mixing and Pouring Techniques
Mixing resin correctly is vital for achieving a smooth, bubble-free finish. Follow the manufacturer's instructions for mixing ratios, and stir slowly to avoid introducing air bubbles. Once mixed, pour the resin into your mold or onto your canvas in thin layers to control the flow and prevent overflow.
Creating Unique Effects
Experimenting with different techniques can elevate your resin art to new heights. Try these methods to add depth and interest:
- Layering: Pour multiple layers of resin, allowing each layer to cure before adding the next. This creates a sense of depth and dimension.
- Embedding: Incorporate objects like dried flowers, shells, or glitter into your resin for a personalized touch.
- Resin Tinting: Create marbled effects by swirling different colored resins together.
Curing and Finishing Your Resin Art
Proper curing is crucial for a durable finish. Allow your resin art to cure in a dust-free environment for at least 24 hours. Once cured, you can sand any rough edges or polish the surface to enhance its shine. A final coat of clear resin can add extra gloss and protection.
Troubleshooting Common Issues
If you encounter bubbles in your resin, try gently torching the surface with a heat gun or blow torch to pop them before the resin sets. If your resin is sticky or soft after curing, it may be due to improper mixing or environmental factors like humidity. Always follow the manufacturer's guidelines and adjust your workspace conditions as needed.
With these tips and techniques in hand, you're ready to explore the dynamic world of resin art. Remember that practice makes perfect, so don't be afraid to experiment and find your own unique style. Happy creating!