Creating Your Own Resin Art: A DIY Guide to Stunning Custom Pieces


Introduction to Resin Art
Resin art has taken the creative world by storm, offering artists and DIY enthusiasts a medium that is as versatile as it is stunning. Whether you're looking to create custom jewelry, vibrant wall art, or unique home decor pieces, resin can help you achieve a glossy, glass-like finish that makes your work truly stand out. This guide will walk you through the essentials of creating your very own resin art masterpieces.
Gathering Your Supplies
Essential Materials
Before you begin your resin art project, it's important to gather all the necessary supplies. At a minimum, you'll need:
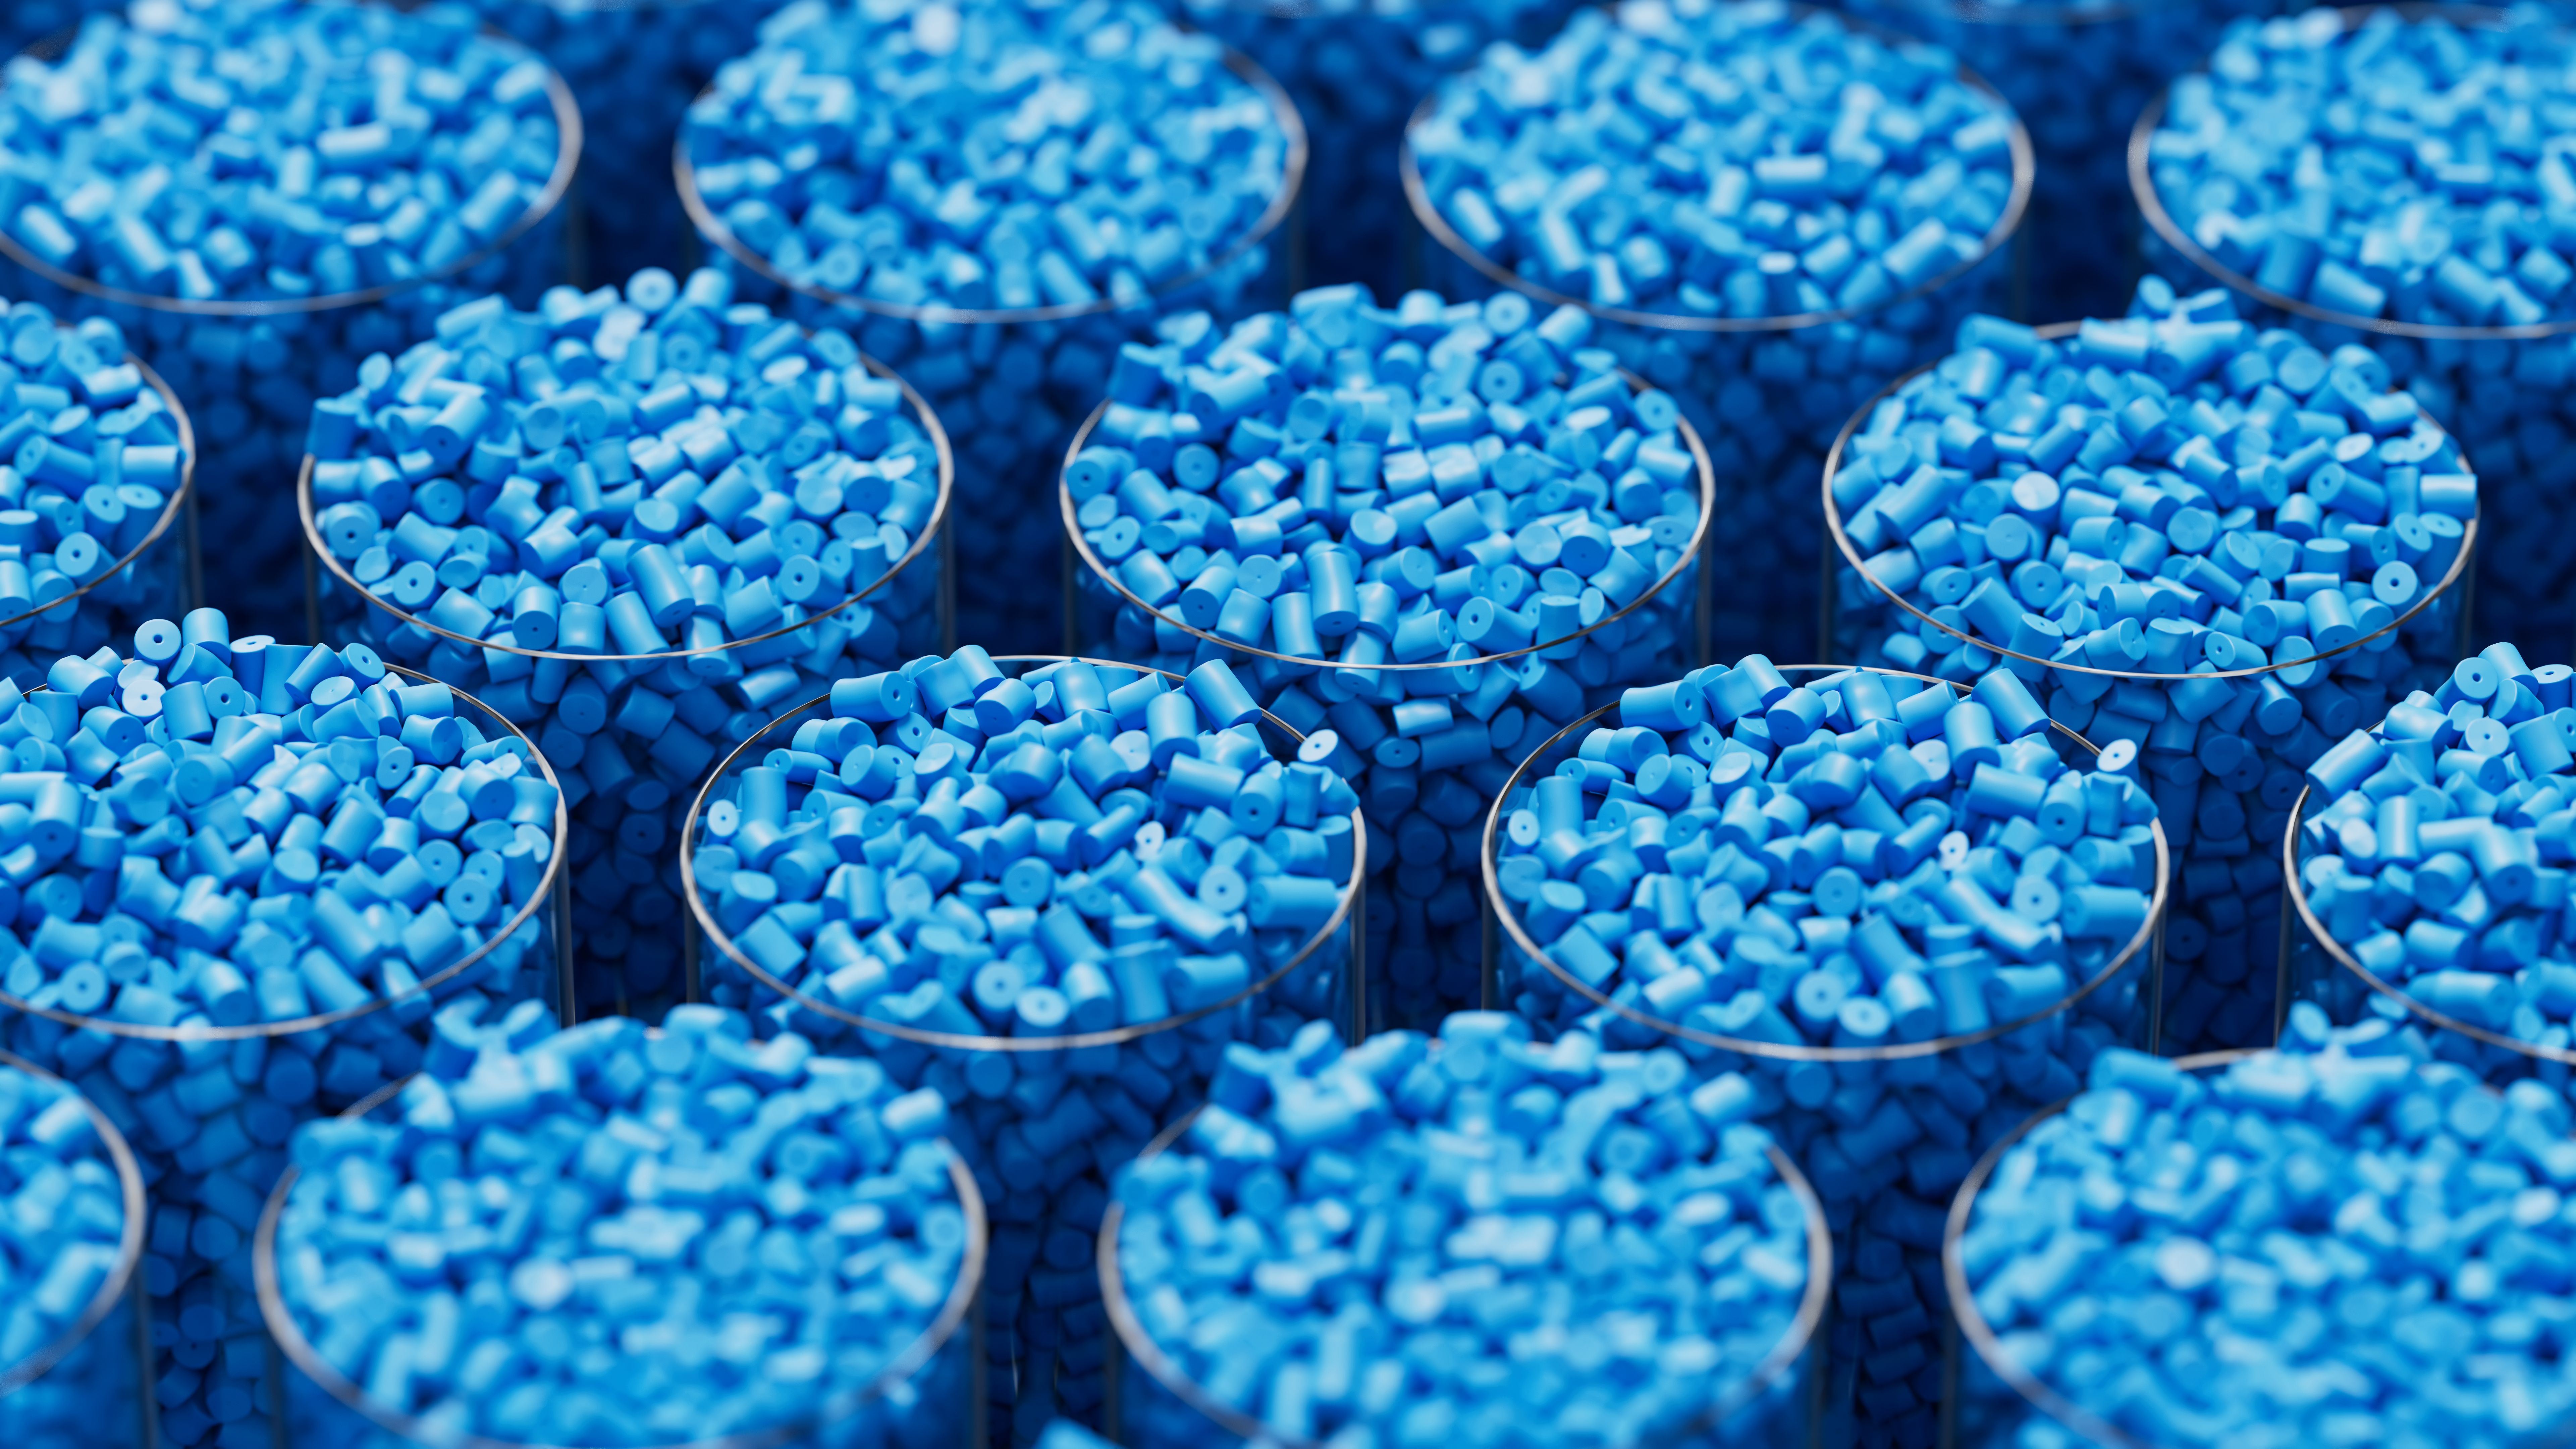
- A two-part epoxy resin kit
- Pigments or dyes to add color
- Molds or a canvas for pouring
- Mixing cups and stir sticks
- Protective gear such as gloves and a mask
Optional Tools for Enhanced Creativity
If you're looking to take your resin art to the next level, consider adding these optional tools:
- A heat gun or torch to remove bubbles
- Silicone oil for creating cells and patterns
- Decorative elements like glitter, stones, or dried flowers
The Process of Creating Resin Art
Preparing Your Workspace
A successful resin project begins with a well-prepared workspace. Choose an area that's well-ventilated and protected from dust and debris. Lay down a plastic sheet or newspaper to catch any spills, and have all your supplies within arm's reach. Remember, resin can be messy, so it's best to wear old clothes and use disposable gloves.
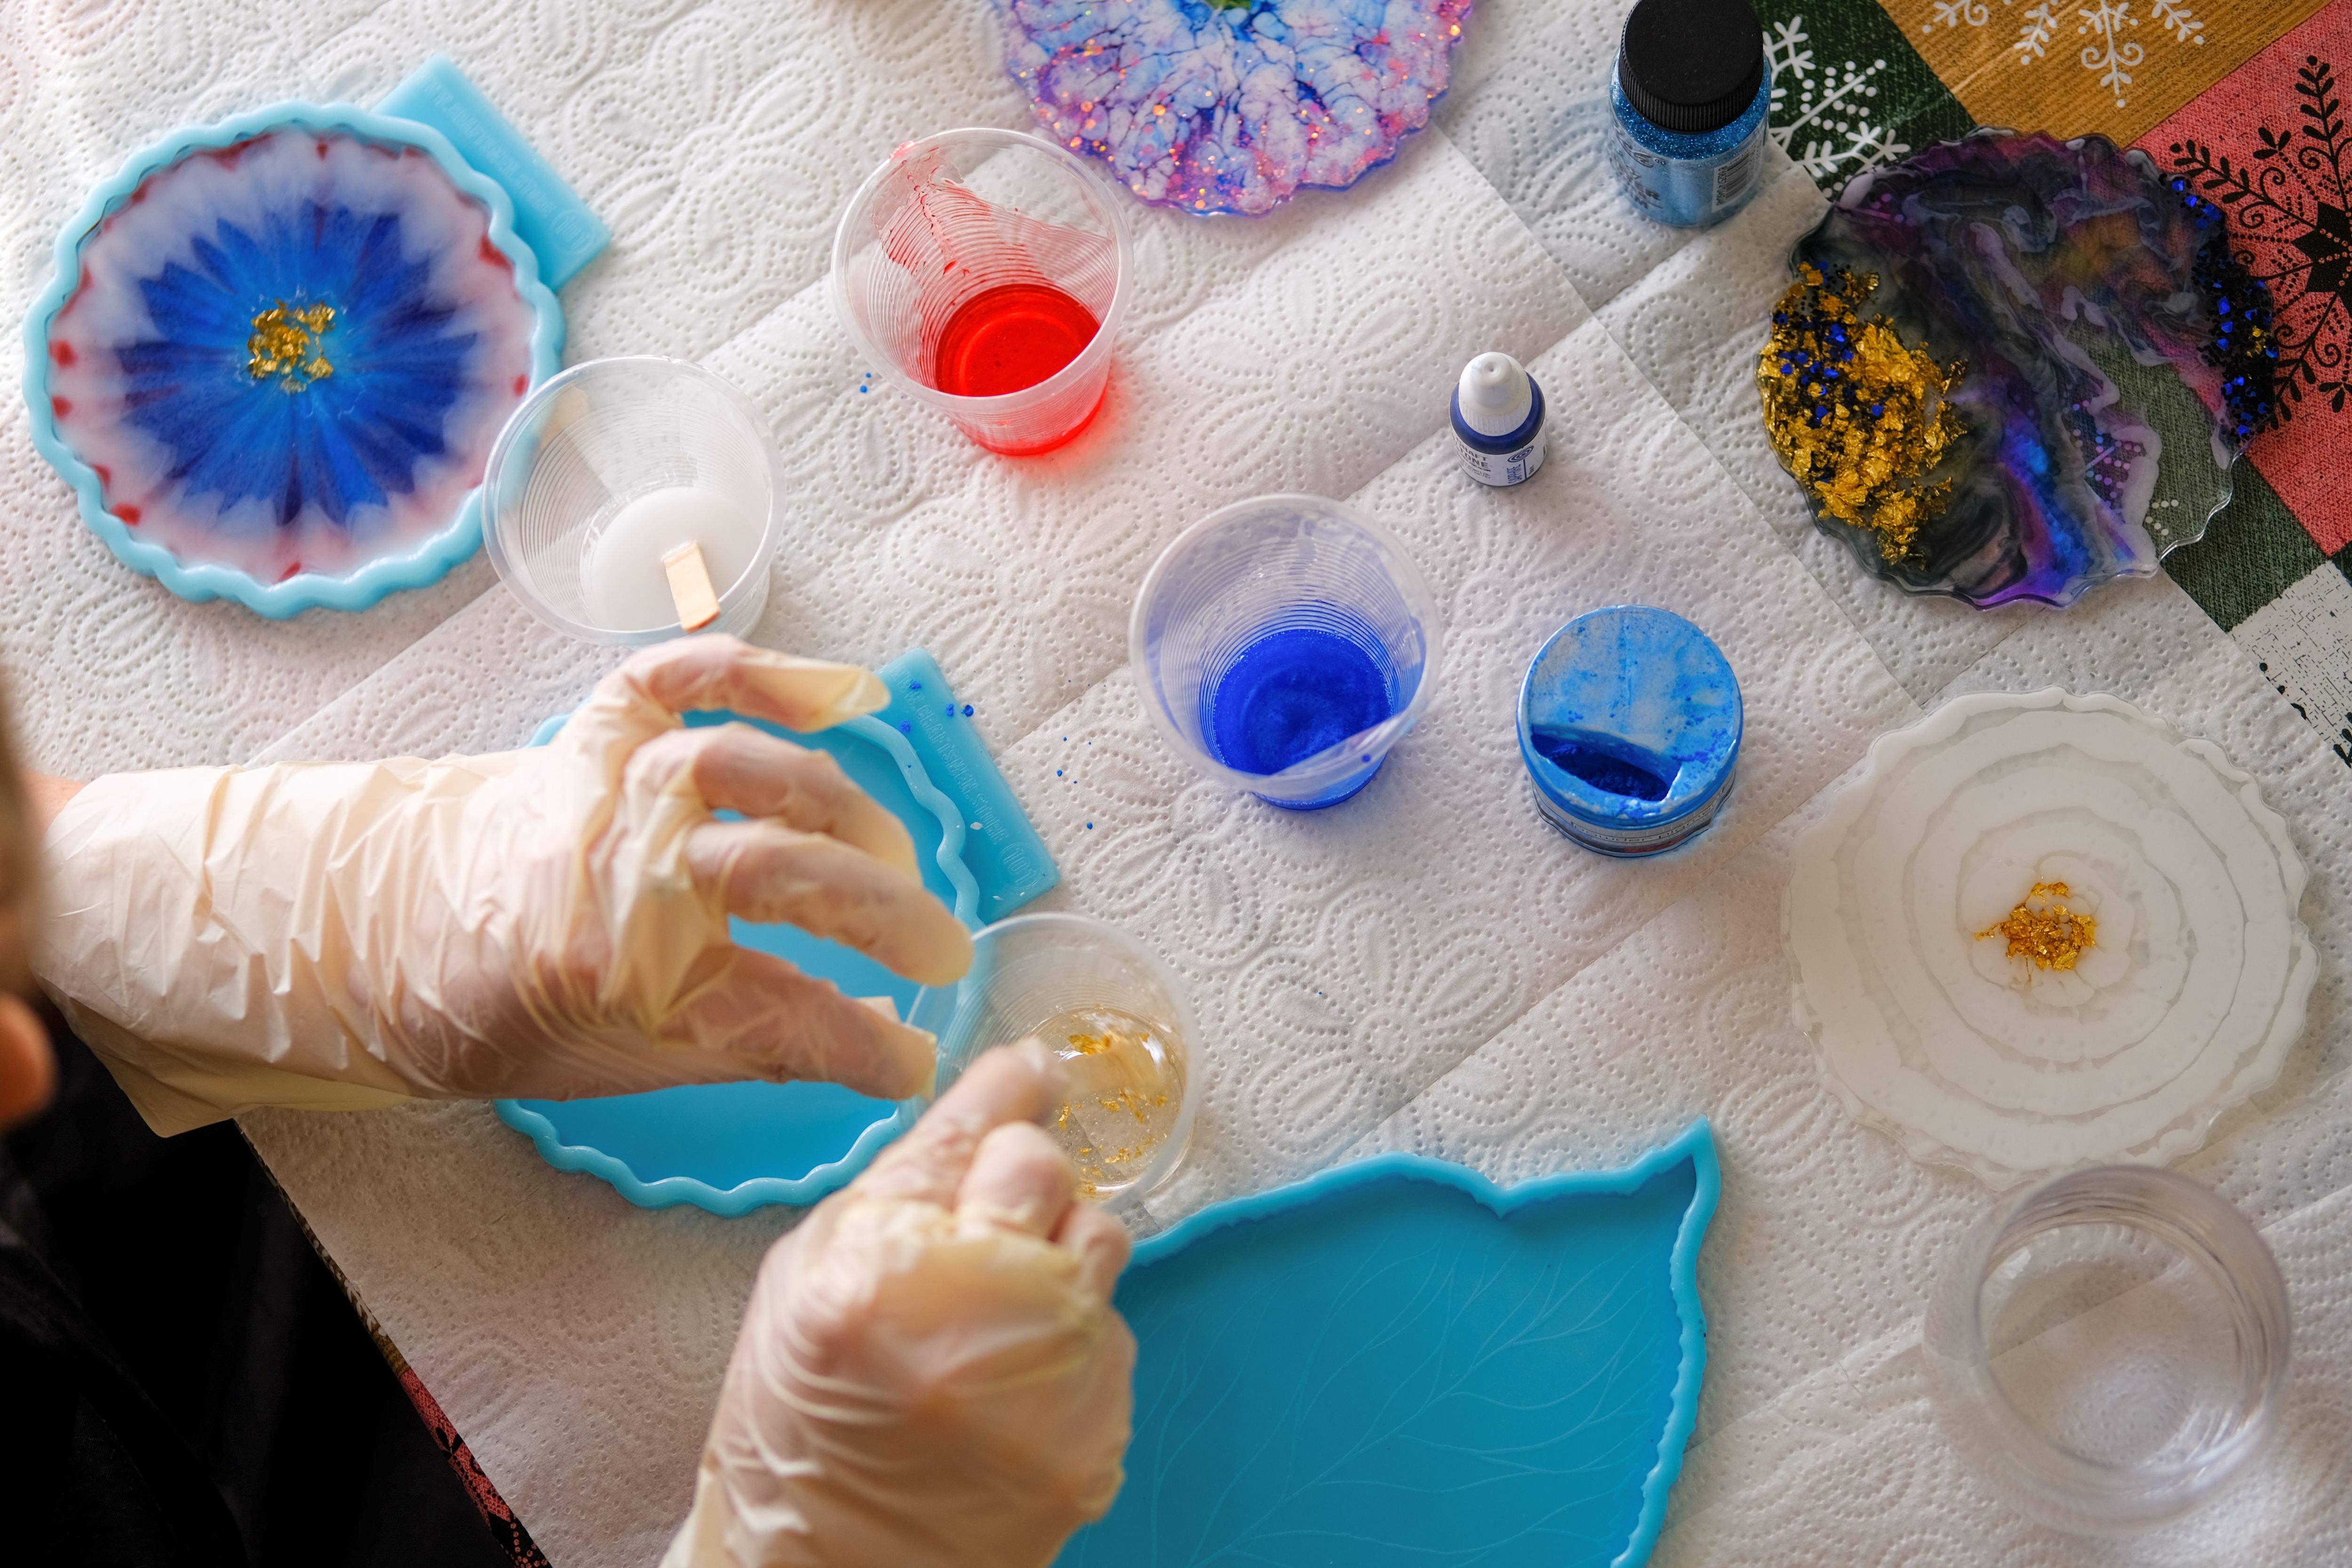
Mixing and Coloring the Resin
The key to beautiful resin art lies in the mixing process. Carefully follow the instructions on your resin kit to mix the two components thoroughly. Be sure to mix slowly to minimize air bubbles, which can mar the final look. Once mixed, add your chosen pigments or dyes to color the resin. Stir until the color is evenly distributed.
Pouring and Curing Your Art
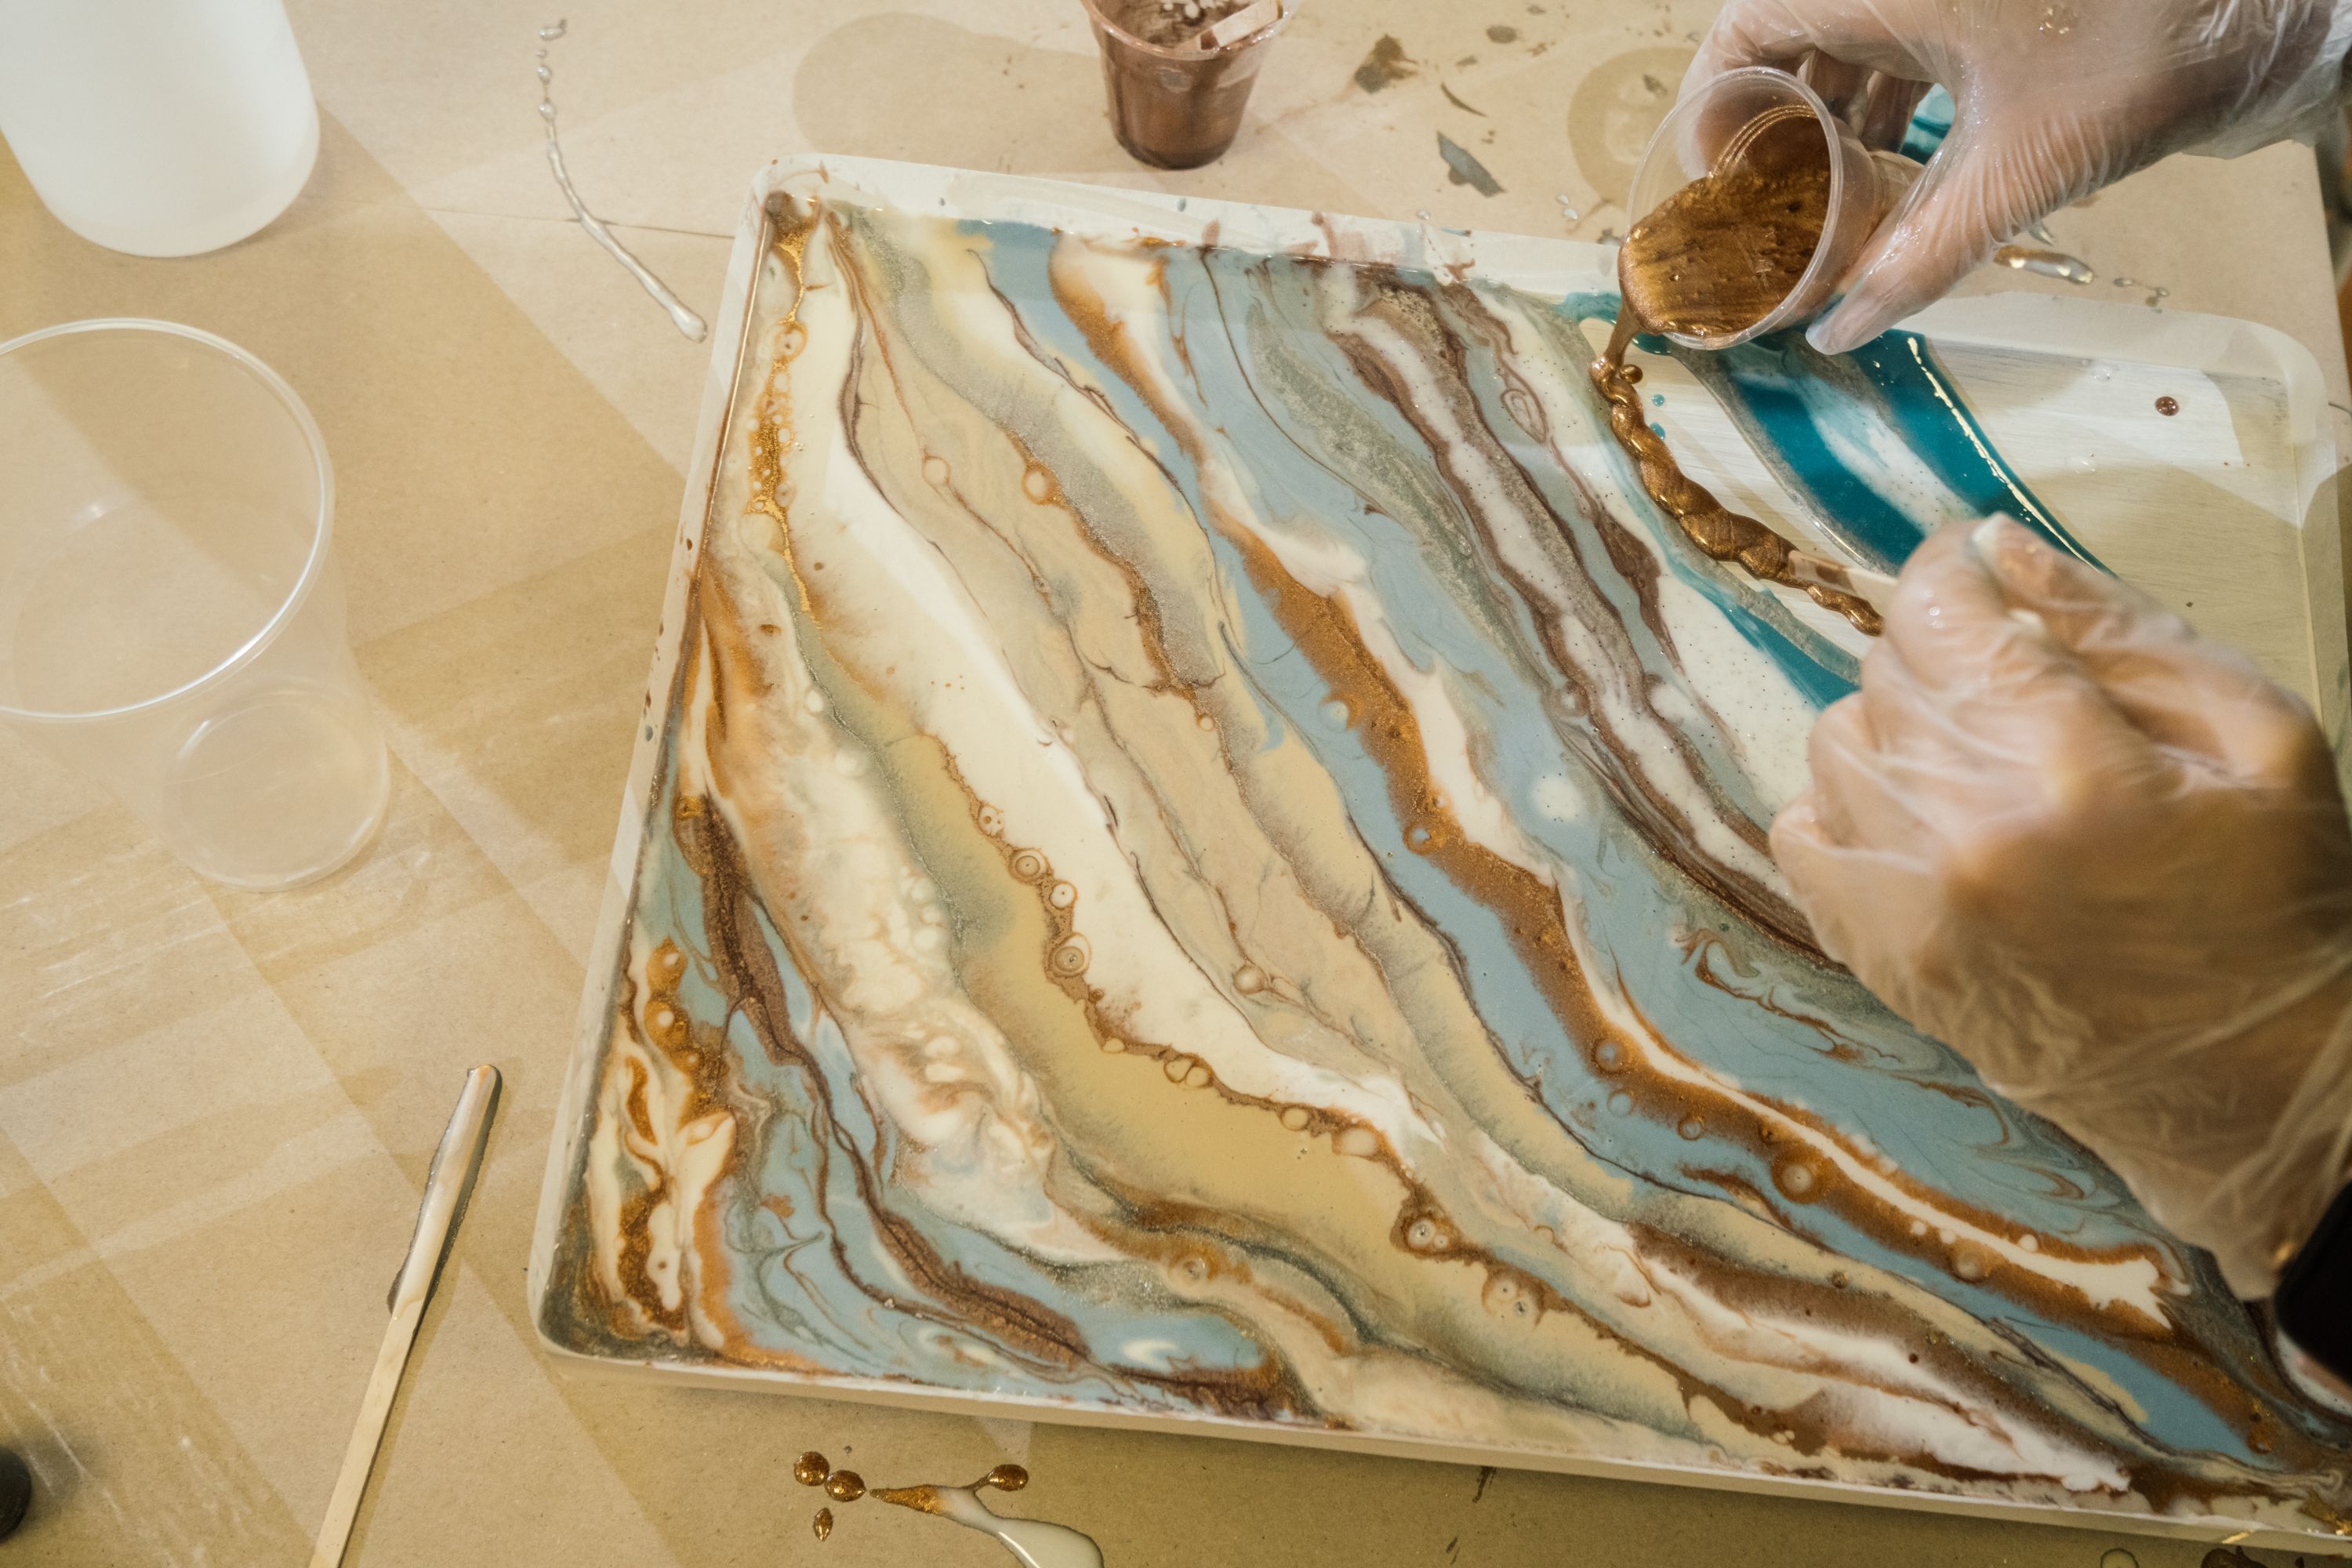
The Art of Pouring
With your colored resin ready, it's time to pour. If you're using a mold, pour slowly and steadily until it's filled. For canvas art, pour in small sections, allowing the colors to blend naturally. Use a spatula or stir stick to create patterns or designs as desired. Remember, resin will continue to move until it begins to cure.
Curing and Final Touches
Curing is the final step in the resin art process. This typically takes 24-72 hours, depending on the product used. During this time, keep your piece covered and undisturbed to prevent dust from settling on the surface. Once cured, you can add any final touches like sanding rough edges or applying a second layer for added depth.
Caring for Your Resin Art
Your finished piece is not only a testament to your creativity but also requires proper care to maintain its brilliance. Keep resin art away from direct sunlight and extreme temperatures to prevent yellowing or warping. Dust it gently with a soft cloth to keep it looking pristine for years to come.
Creating resin art is a rewarding experience that allows you to explore new artistic boundaries. By following these steps and experimenting with different techniques, you'll be able to craft stunning custom pieces that reflect your unique style and vision.