
DIY Resin Art: Step-by-Step Guide to Creating Stunning Pieces at Home


Introduction to DIY Resin Art
Resin art has taken the creative world by storm, offering a mesmerizing way to create stunning, glossy pieces. Whether you are a seasoned artist or a beginner looking for a new hobby, DIY resin art can be an enjoyable and rewarding experience. In this guide, we'll walk you through the steps to create your own resin masterpiece at home.
Gathering Your Materials
Before you start, make sure you have all the necessary materials. Here's what you'll need:
- Epoxy resin and hardener
- Mixing cups and stirring sticks
- Pigments or dyes
- Protective gear (gloves, mask, apron)
- Mold or surface to pour resin on
- Heat gun or torch (for removing air bubbles)
Having these supplies ready will make your creative process smoother and more enjoyable.
Preparing Your Workspace
Set up a well-ventilated workspace to ensure safety while working with resin. Cover your surfaces with plastic or newspapers to protect from spills. It's essential to wear protective gear to avoid skin contact with the resin.
Ensure your mold or canvas is clean and dry before you begin, as dust and moisture can affect the final result.
Mixing the Resin
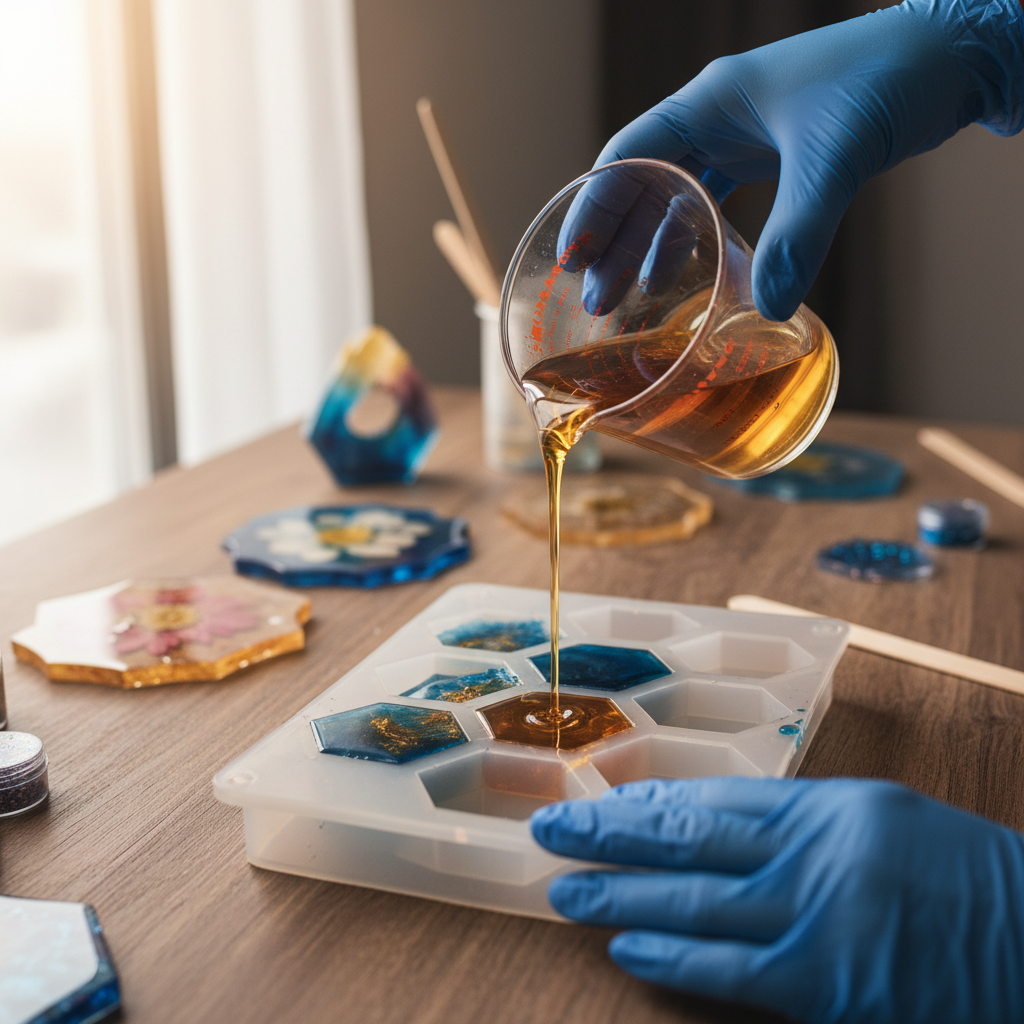
Once your workspace is prepared, it's time to mix the resin. Follow these steps:
- Measure equal parts of resin and hardener according to the instructions on the packaging.
- Pour them into a mixing cup and stir slowly for about 3-5 minutes.
- Add your chosen pigments or dyes and mix thoroughly to achieve your desired color.
Make sure to mix completely to avoid any sticky patches in your finished artwork.
Pouring and Designing
Now comes the exciting part—pouring and designing your piece. Slowly pour the resin into the mold or onto the canvas. Use a stirring stick or a spatula to spread it evenly.
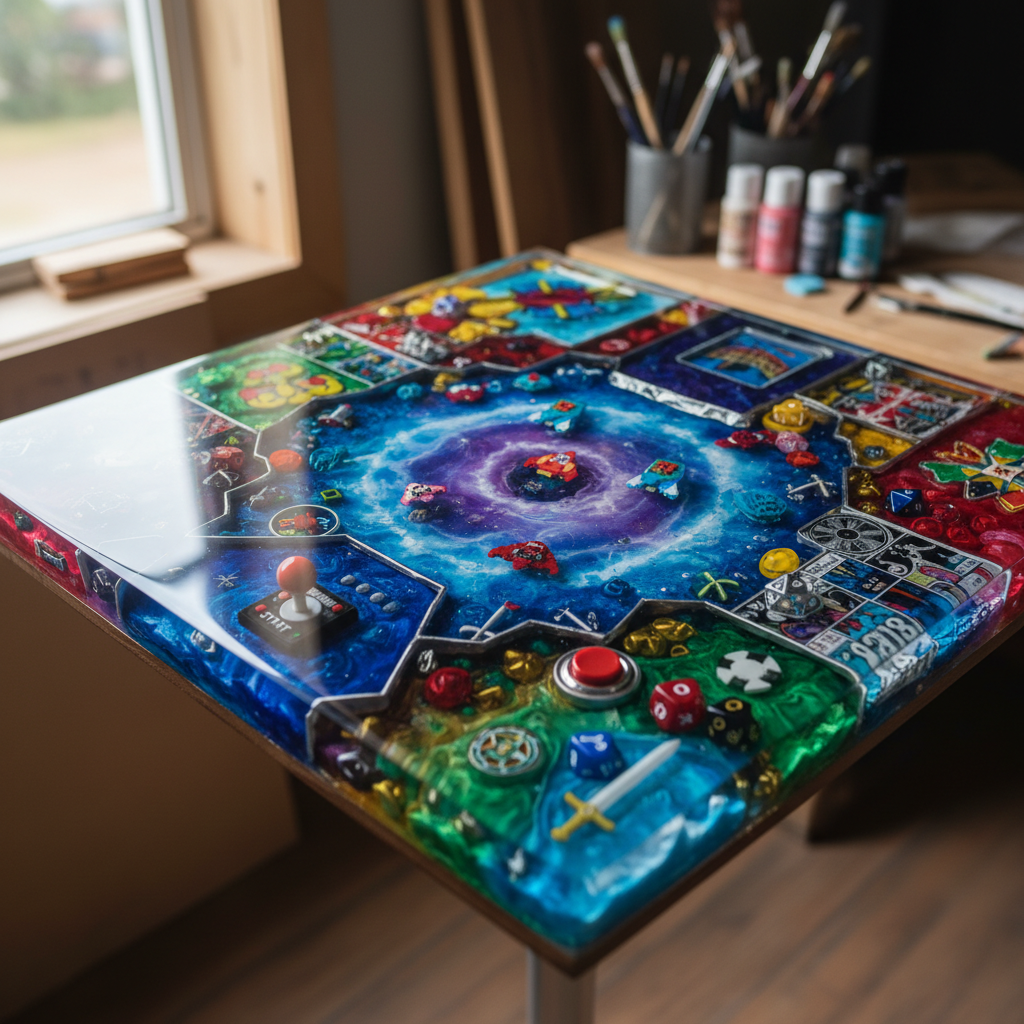
Get creative! You can swirl colors together, add metallic powders, or even incorporate small objects into the resin for a unique effect.
Removing Air Bubbles
Air bubbles can be a common issue when working with resin. Use a heat gun or torch to gently pass over the surface of the resin to eliminate bubbles. Be cautious and avoid overheating as it can cause the resin to scorch.
Curing and Finishing
Allow your resin art to cure in a dust-free environment for the time specified on the resin instructions, usually 24 to 72 hours. Once cured, remove your piece from the mold or clean the edges if necessary.
If desired, apply a clear topcoat to enhance the shine and protect your artwork.
Conclusion
Creating resin art at home is not only a fulfilling hobby but also a way to produce personalized gifts or decor. With practice, you'll discover techniques and styles that suit your taste, allowing your creativity to flow freely. So gather your materials, set up your workspace, and dive into the world of DIY resin art!