
DIY Resin Art: Tips and Tricks for Crafting Beautiful Handmade Rolling Trays


Resin art has become a popular hobby, attracting creative individuals eager to explore its endless possibilities. Among the many items you can create, handmade rolling trays stand out as both practical and aesthetically pleasing. Whether you're a seasoned resin artist or a beginner, crafting your own rolling trays can be a rewarding experience.
Getting Started with Resin Art
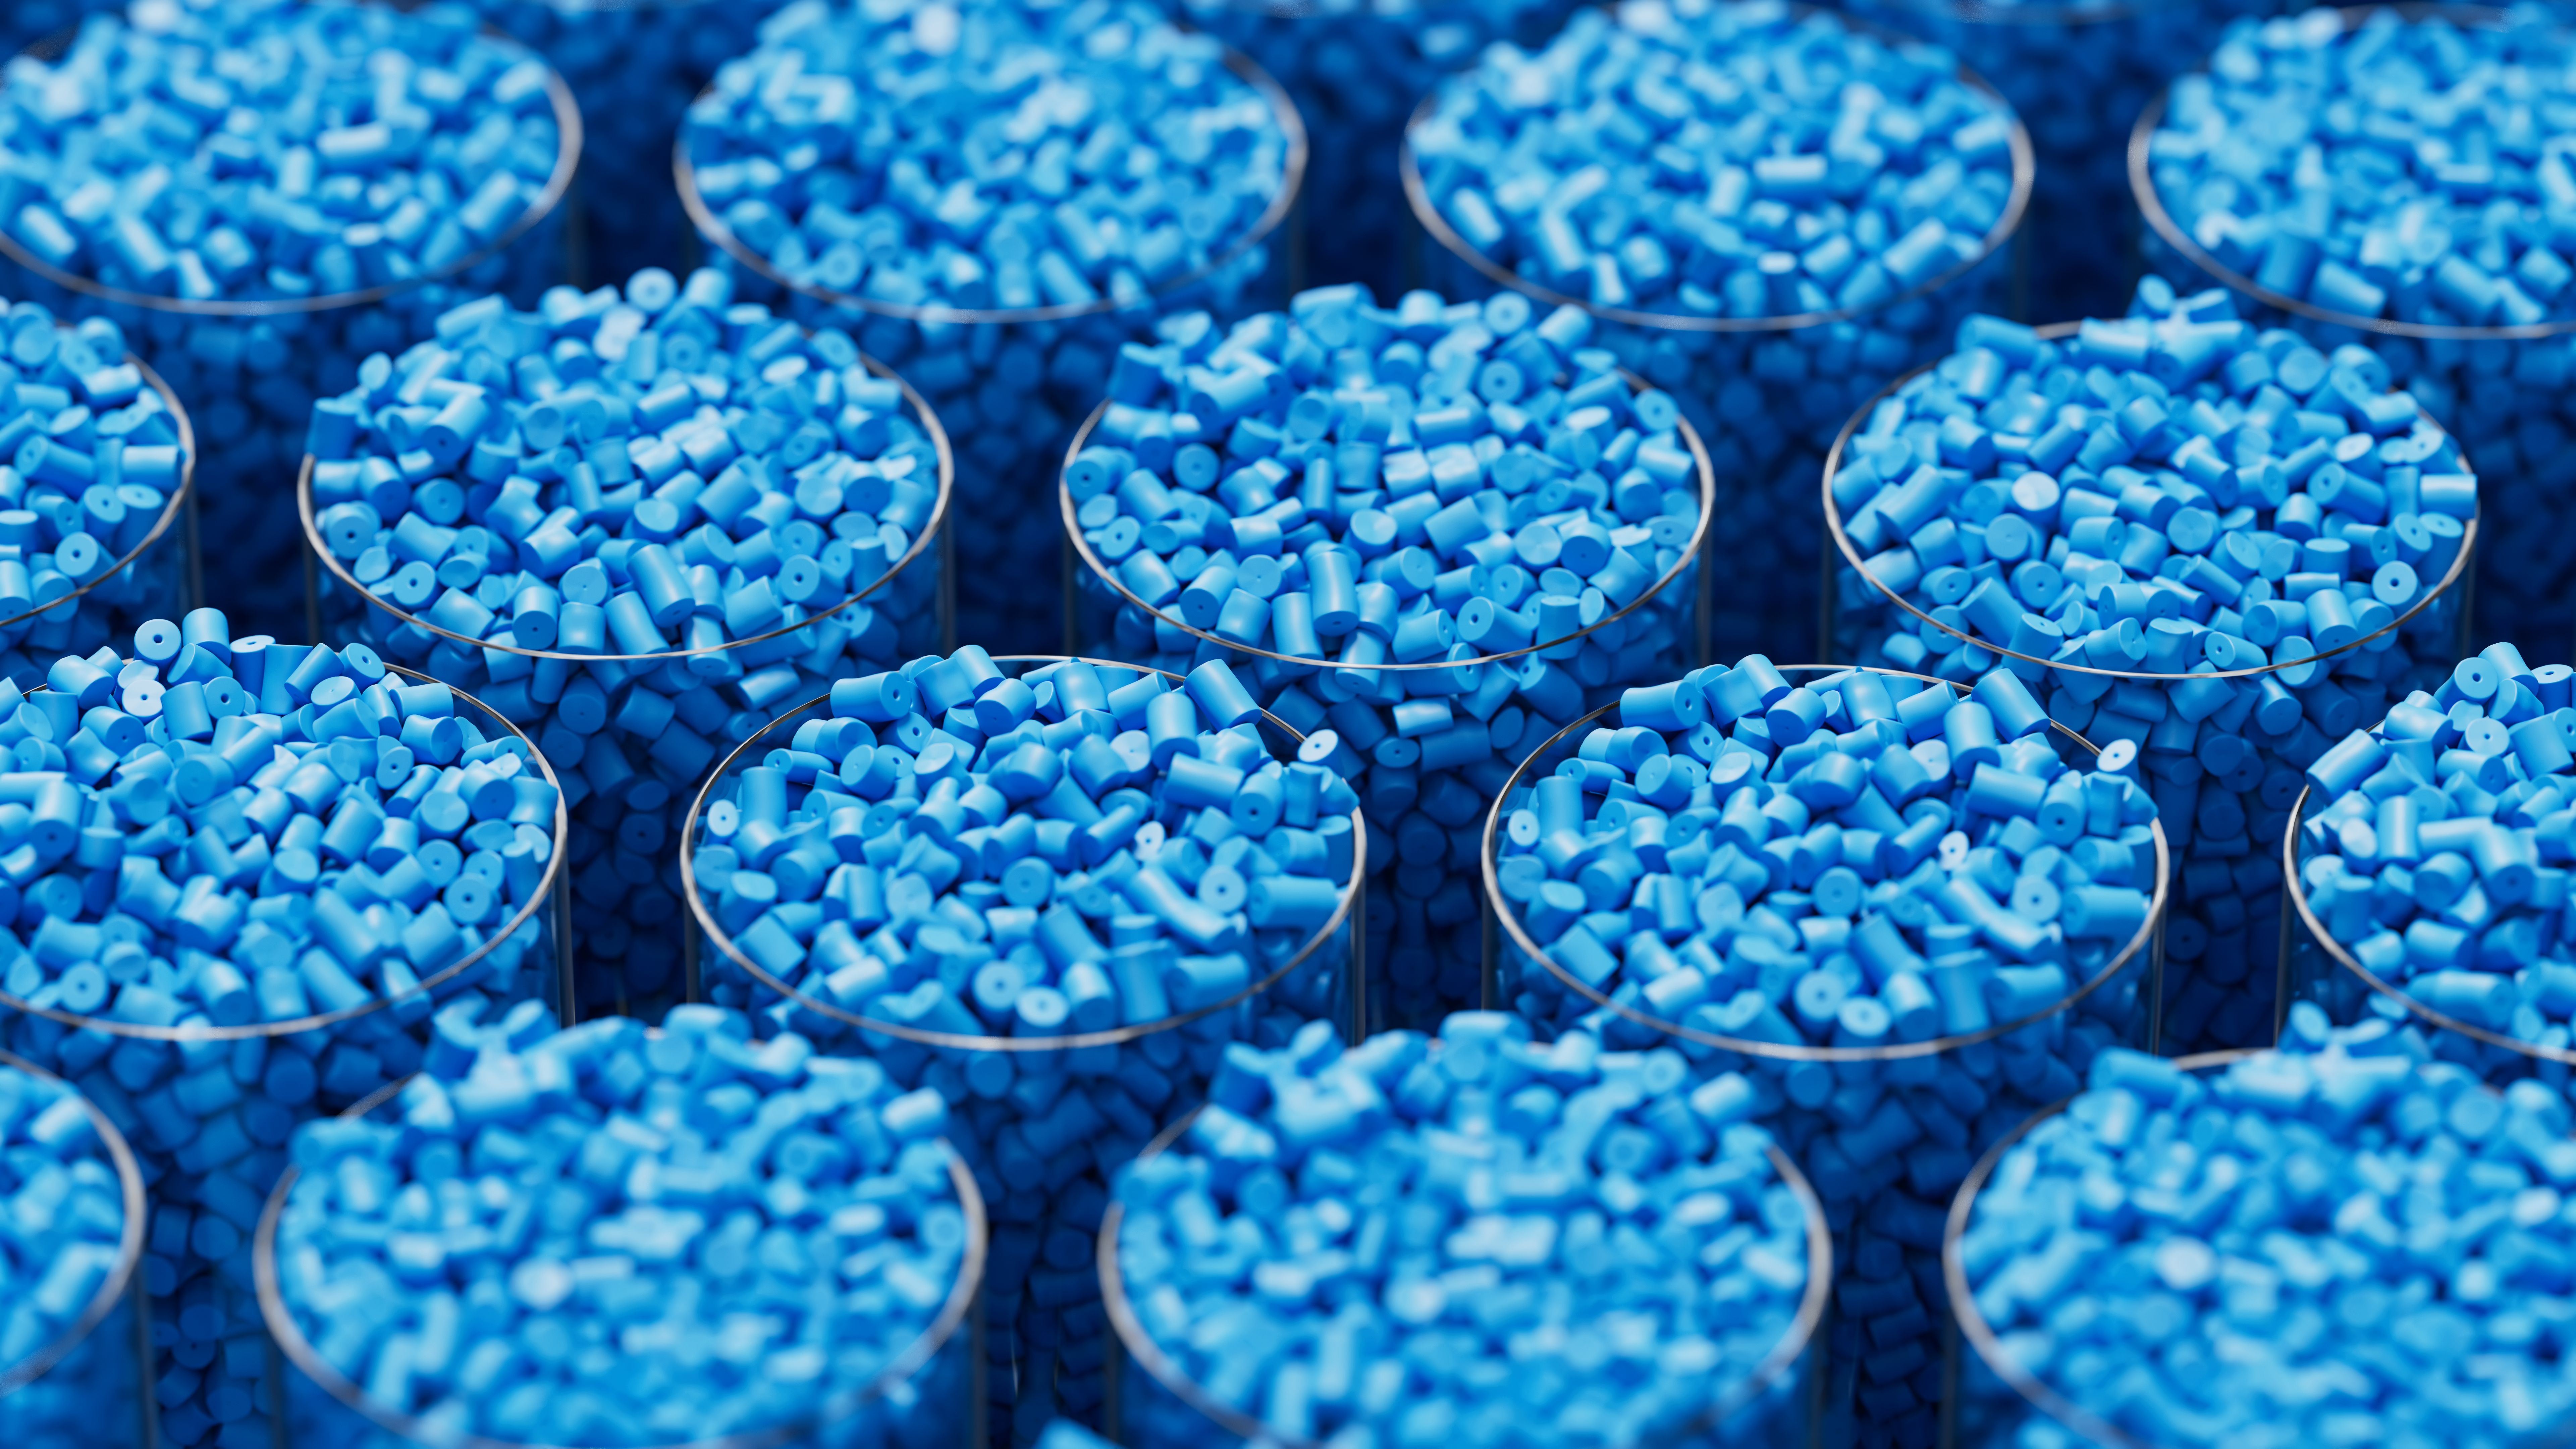
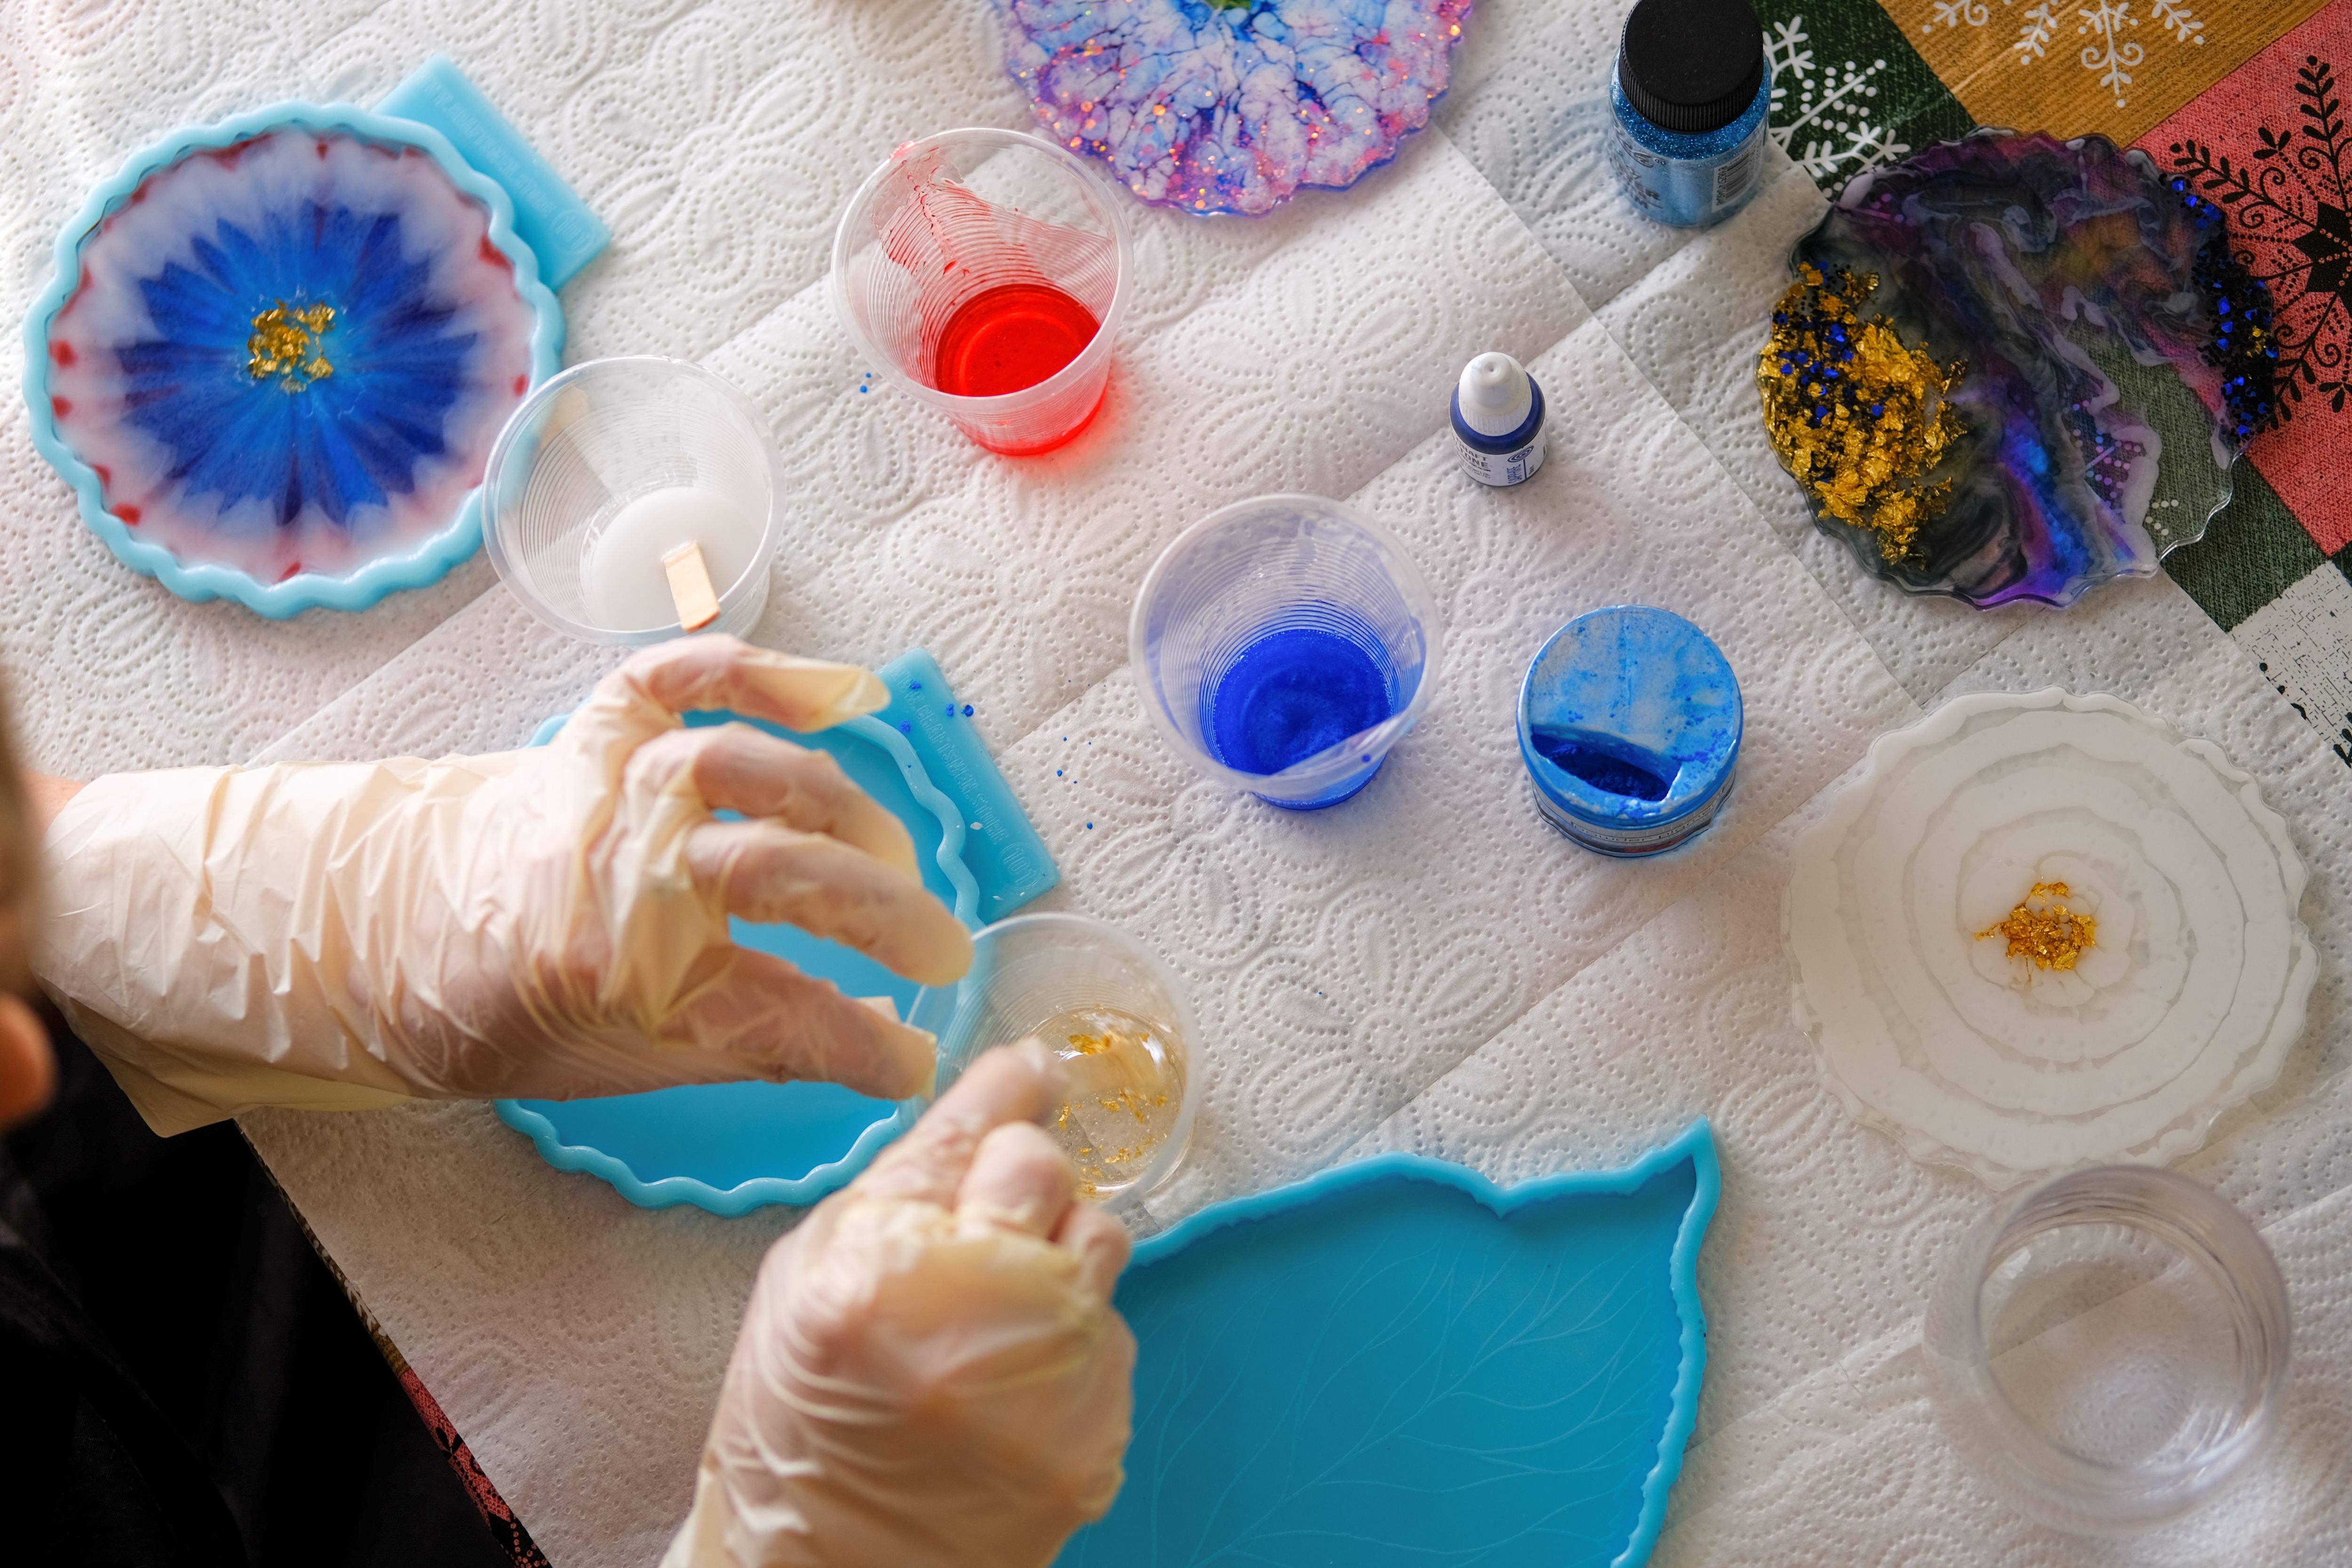
Before diving into your first project, it's essential to gather the right materials. You'll need a resin kit, which typically includes resin and hardener, mixing cups, a stir stick, and protective gear such as gloves and a mask. Additionally, you'll require a mold in the shape of a tray and any decorative elements like glitter, dried flowers, or pigments.
Always work in a well-ventilated area to minimize inhalation of fumes. Ensure your workspace is level so that the resin cures evenly. Prepare your mold by spraying it with a release agent to make demolding easier.
Creating Your Design
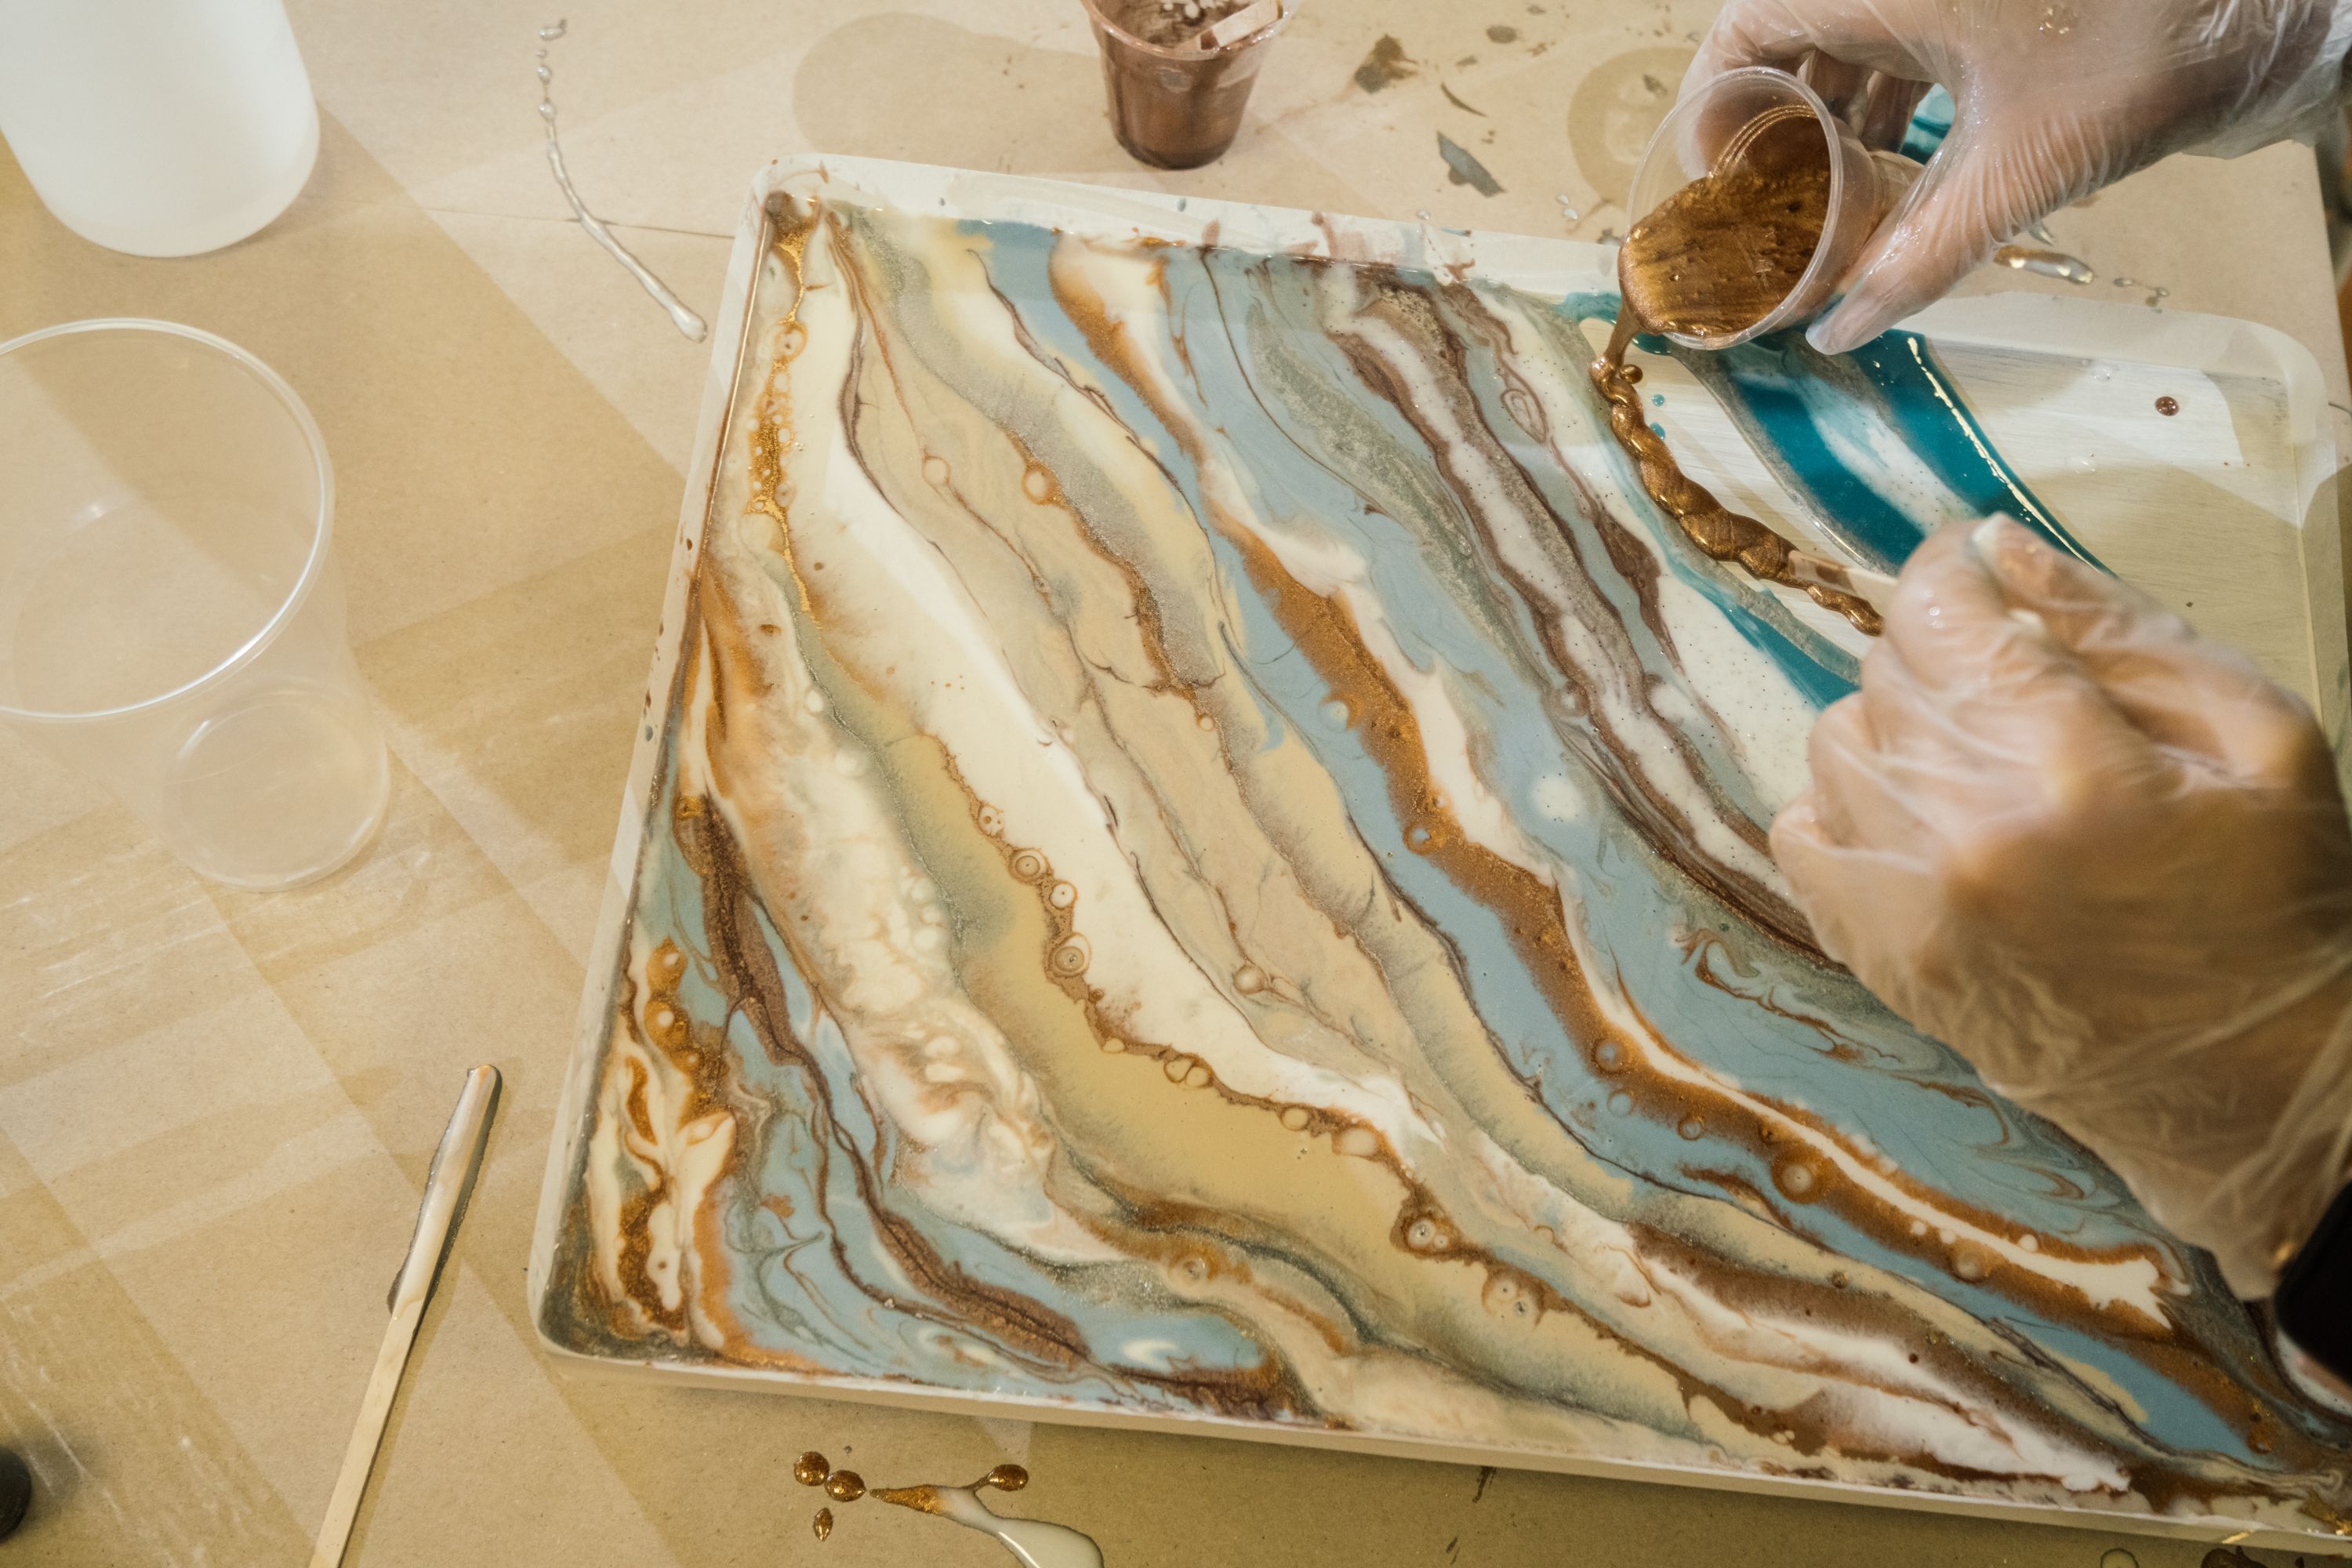
The beauty of resin art lies in its versatility. You can customize your rolling tray with various designs and colors. Begin by deciding on a color palette and theme. Popular choices include galaxy themes, marble effects, and nature-inspired designs.
Adding Decorative Elements
Once you've chosen your design, gather the decorative elements. You can incorporate items like gold flakes, mica powder, or even small trinkets. Arrange these elements in the mold before pouring the resin for precise placement.
Mixing and Pouring the Resin
Follow the instructions provided with your resin kit carefully. Typically, you'll mix the resin and hardener in a 1:1 ratio. Stir slowly to avoid introducing bubbles. Once mixed, pour the resin into your mold in layers, allowing each layer to partially cure before adding the next. This technique helps in embedding decorations and achieving depth.
Use a heat gun or a torch to remove any surface bubbles that form during pouring. Be cautious not to apply too much heat as it can warp the mold or scorch the resin.
Finishing Touches
After pouring your final layer, cover the mold to protect it from dust and debris while it cures. The curing time varies depending on the resin brand, typically ranging from 24 to 72 hours. Once fully cured, carefully demold your tray.
If desired, add finishing touches such as sanding rough edges or adding non-slip pads to the bottom of the tray. These small details can enhance both the function and appearance of your rolling tray.
Caring for Your Resin Rolling Tray
To maintain the beauty of your handmade tray, clean it with a damp cloth and avoid harsh chemicals that can damage the resin. Store it away from direct sunlight to prevent yellowing over time.
Crafting a DIY resin rolling tray is not only a fun project but also an opportunity to create something uniquely yours. With patience and creativity, you can produce stunning pieces that serve both decorative and practical purposes.