
DIY Resin Art: Tips and Tricks for Creating Stunning Handmade Pieces


Getting Started with DIY Resin Art
Resin art has become a popular craft hobby thanks to its versatility and stunning results. Whether you're a beginner or a seasoned artist, creating beautiful resin pieces can be both rewarding and relaxing. To ensure a successful project, it's important to start with the right materials and a good understanding of the process. Here are some tips and tricks to help you craft stunning handmade resin art.

Essential Tools and Materials
Before diving into your resin art project, gather all the necessary tools and materials. You'll need resin and hardener, mixing cups, stirring sticks, protective gloves, and a heat source like a heat gun or torch. Depending on your project, you might also want to have molds, pigments, and embellishments like glitter or dried flowers on hand.
When selecting resin, choose one that suits your specific project needs. For instance, if you're creating coasters or jewelry, opt for a resin that cures to a hard finish. For larger projects like tables or wall art, a deep pour resin may be more appropriate.
Mixing and Pouring Resin
Properly mixing and pouring resin is crucial to achieving the desired result. Always follow the manufacturer's instructions regarding the resin-to-hardener ratio. A common mistake is inaccurate measurement, which can lead to sticky or improperly cured pieces. Use a scale for precise measurements and mix thoroughly to ensure even curing.
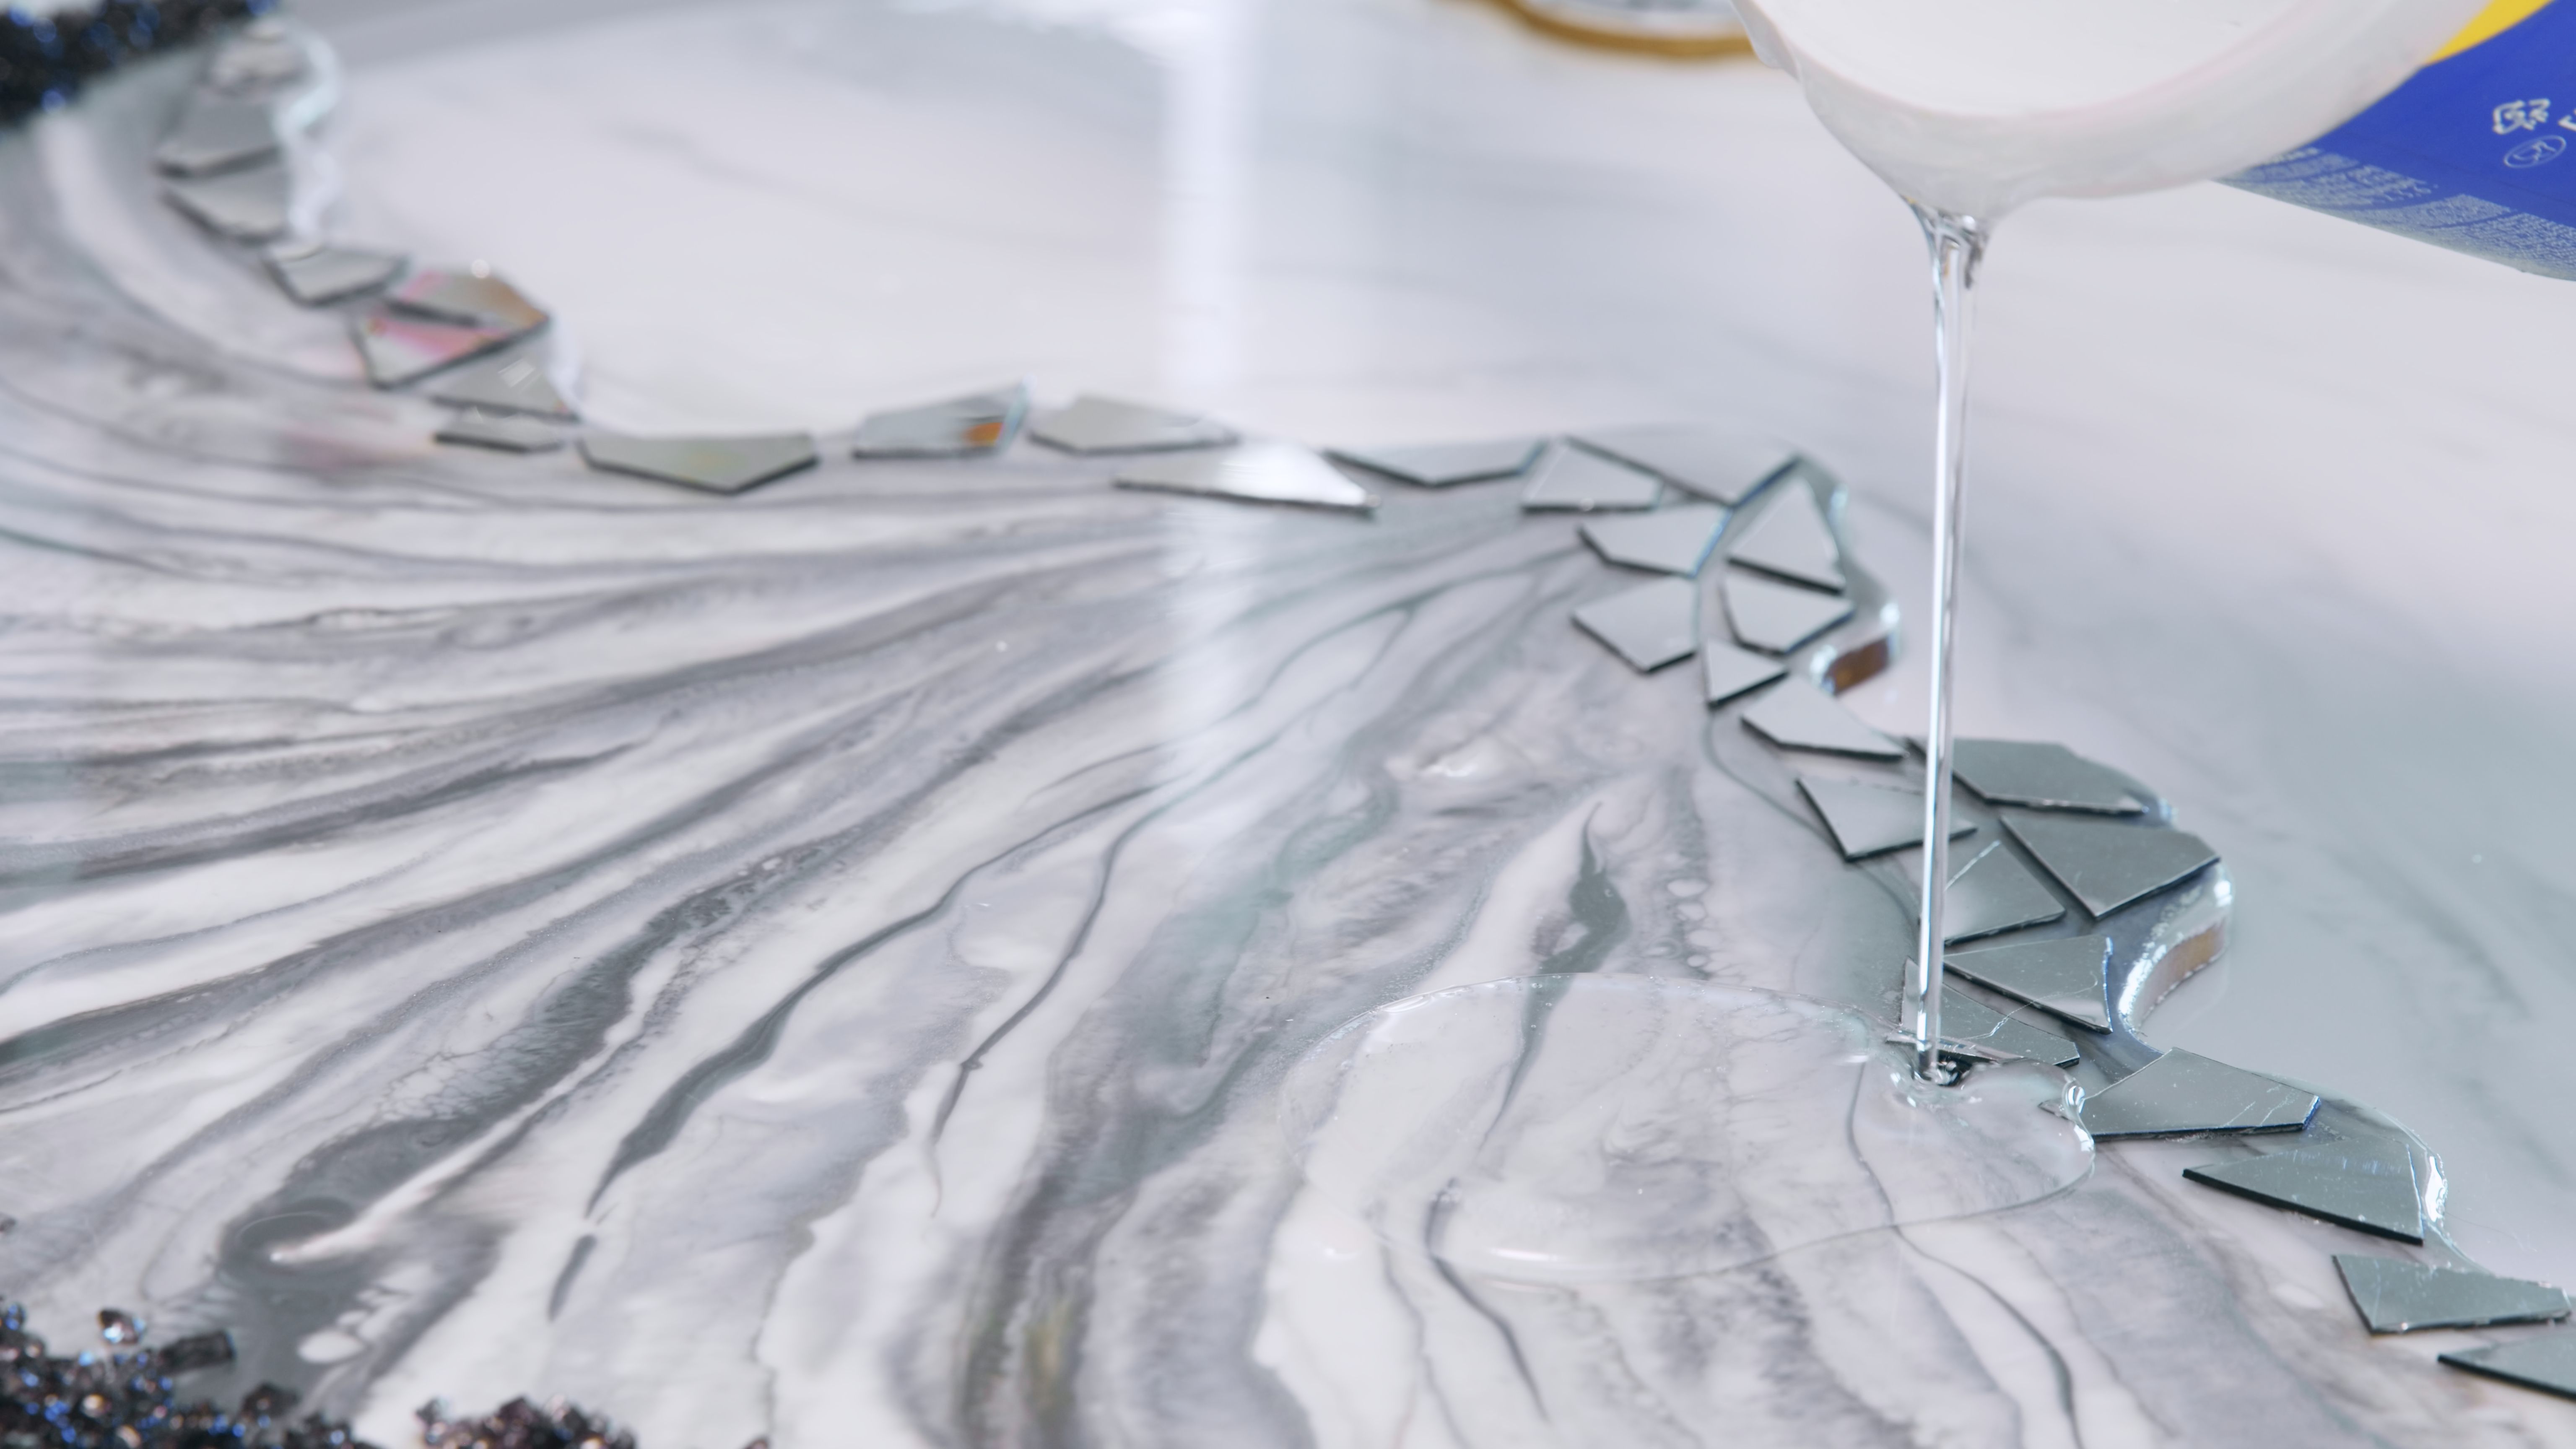
When pouring resin, work in layers if you're adding colors or inclusions to create depth and dimension. Allow each layer to partially cure before adding the next one. This technique helps prevent air bubbles and ensures each element stays in place.
Adding Color and Texture
One of the most exciting aspects of resin art is adding color and texture to your creations. You can use various pigments, dyes, or inks to achieve vibrant hues. Experiment with different coloring agents to see which ones work best with your chosen resin.
For added texture and interest, incorporate elements like glitter, mica powder, or natural items such as seashells or stones. These additions can enhance the aesthetic appeal of your piece and allow you to personalize your artwork.
Finishing Touches and Curing
After pouring and adding your desired components, it's essential to let the resin cure undisturbed in a dust-free environment. Depending on the type of resin used, this process can take anywhere from 24 to 72 hours. Cover your work area with a lid or box to protect it from dust or debris during this time.
Once cured, you can add finishing touches like sanding rough edges or applying a clear coat for extra shine. These final steps can enhance the overall look of your piece and ensure it's ready for display or use.

Safety Precautions
Working with resin requires some safety precautions. Always work in a well-ventilated area to avoid inhaling fumes, and wear protective gear such as gloves and masks. It's also important to keep your workspace clean and free of clutter to prevent accidents.
If you have sensitive skin or respiratory issues, consider using a respirator mask specifically designed for chemical exposure. Following these safety measures will help ensure a safe and enjoyable crafting experience.
Conclusion: Embrace Creativity
DIY resin art offers endless possibilities for creativity and expression. By following these tips and tricks, you'll be well on your way to creating stunning handmade pieces that reflect your unique style. Don't be afraid to experiment and explore new techniques—each project is an opportunity to refine your skills and create something truly special.