
DIY Resin Art Projects: Tips and Tricks for Craft Enthusiasts


Getting Started with DIY Resin Art
If you're a craft enthusiast looking to explore a new medium, resin art might be the perfect fit for you. Resin art allows for stunning creations that can be both functional and decorative. From coasters to jewelry, the possibilities are endless. Before you dive in, there are some essential tips and tricks to ensure your projects are successful and enjoyable.
First and foremost, gather all necessary materials. You'll need resin and hardener, mixing cups, stir sticks, and molds or surfaces to pour the resin onto. It's also useful to have gloves, a mask, and protective clothing. Safety should always come first when working with resin, as it can be toxic if inhaled or comes into direct contact with your skin.
Choosing the Right Resin
Not all resins are created equal. There are various types available, each suited for different applications. For beginners, epoxy resin is often recommended due to its ease of use and versatility. It has a relatively long working time, which allows you to experiment with colors and designs without rushing.
Consider the finish you desire as well. Some resins cure with a glossy finish, while others may have a matte appearance. Think about the end result you want to achieve and choose accordingly. Always read the manufacturer's instructions carefully to ensure proper mixing ratios and curing times.
Mastering the Mixing Process
Mixing resin correctly is crucial for a successful project. Follow these steps to ensure your resin cures properly:
- Measure equal parts of resin and hardener according to the instructions.
- Combine them in a clean mixing cup.
- Stir slowly and thoroughly for at least 3-5 minutes, scraping the sides and bottom of the cup.
Trapped air bubbles can be a common issue during mixing. To reduce bubbles, mix gently and consider using a heat gun or torch to pop any that rise to the surface after pouring.
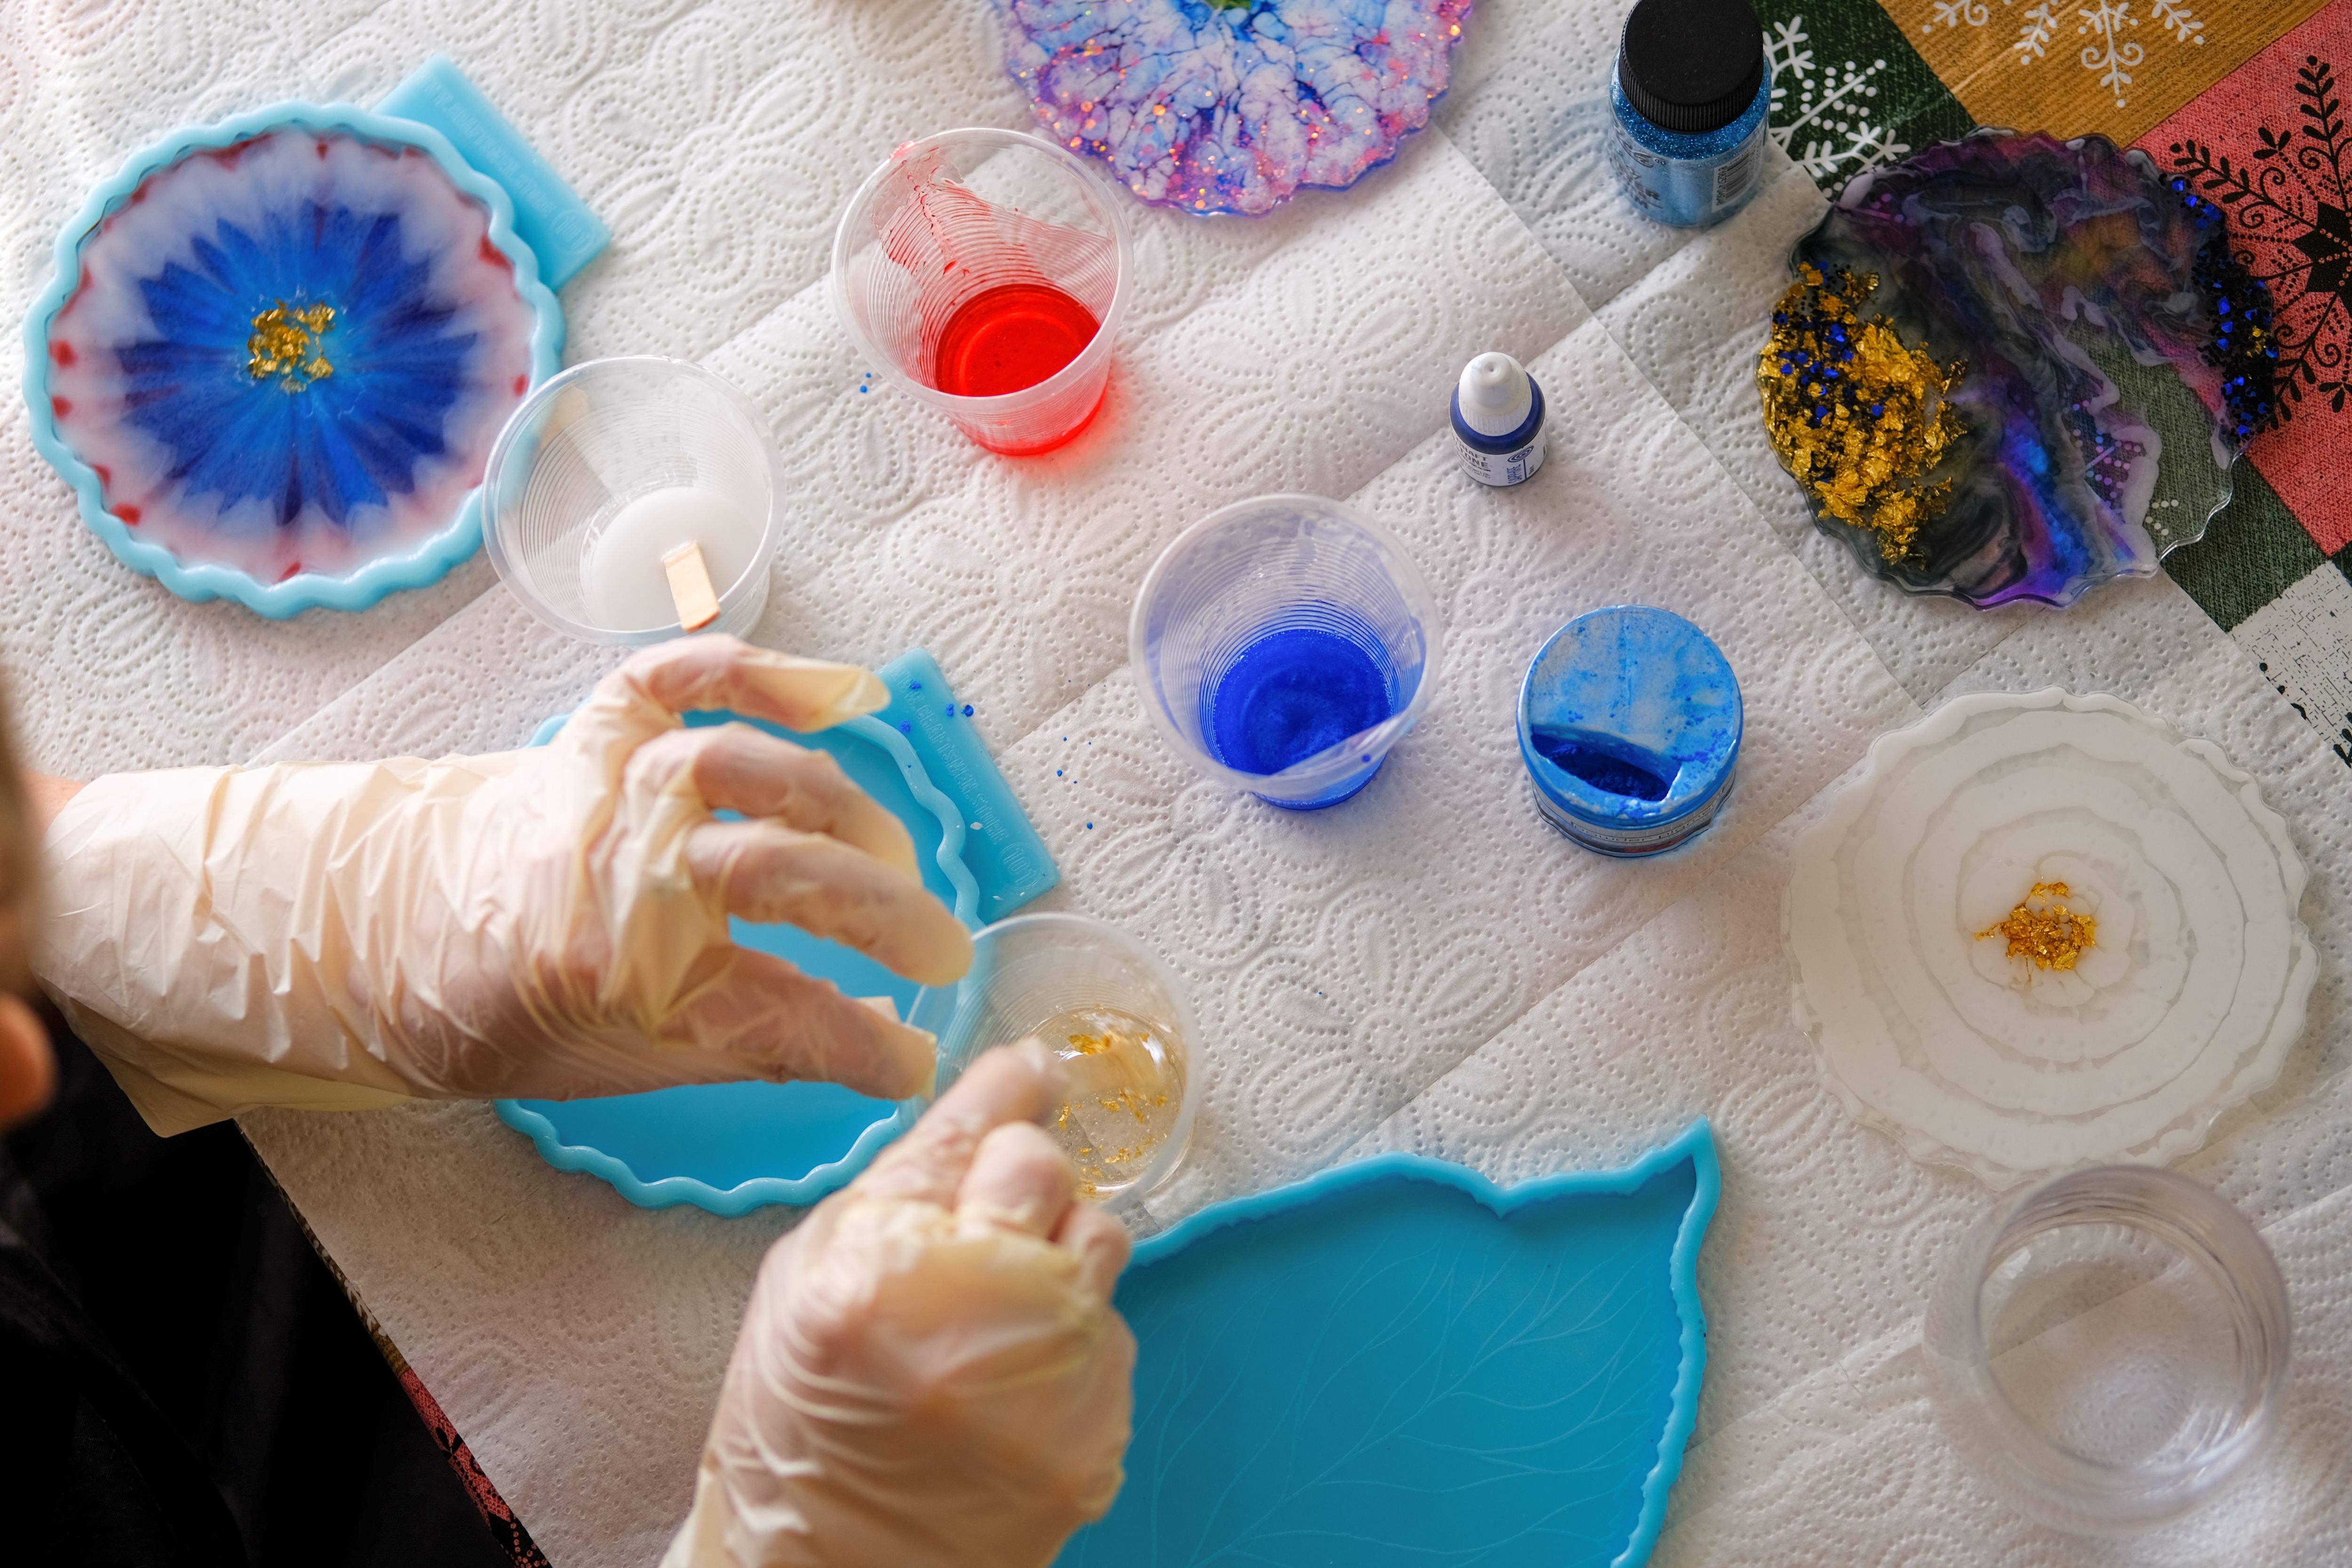
Adding Color and Effects
This is where you can let your creativity shine! Resin art allows for a wide range of colors and effects. You can use acrylic paints, alcohol inks, or special resin dyes to tint your resin. Experimenting with different color combinations can yield beautiful results.
For added texture and dimension, consider incorporating elements like glitter, mica powders, or small embellishments into your resin. These can create eye-catching effects that make your piece unique.
Curing and Finishing Touches
Once you've poured your resin and are satisfied with the design, it's time to let it cure. Curing times can vary depending on the type of resin used and environmental factors such as temperature and humidity. Generally, resin should be left undisturbed for at least 24 hours.
After curing, inspect your piece for any imperfections like rough edges or bubbles that may have formed. Sanding can help smooth out any rough areas, while a final layer of clear resin can add an extra level of shine and protection.
Displaying Your Masterpiece
Your resin art piece is now ready to be shown off! Consider how you want to display it. Functional pieces like coasters or trays can be used in everyday settings, while decorative pieces may be framed or placed on stands for better visibility.
Remember that practice makes perfect. The more you experiment with resin art, the more you'll discover about your personal style and preferences. Don't be afraid to try new techniques and push the boundaries of this versatile medium.
Whether you're creating a gift for a loved one or a new addition to your home decor, DIY resin art offers endless opportunities for creativity and expression. With these tips and tricks in mind, you're well on your way to mastering the art of resin crafting.