
DIY Resin Rolling Trays: Step-by-Step Tutorial


Introduction to DIY Resin Rolling Trays
Creating your own resin rolling tray is a fantastic way to express your creativity while crafting something both beautiful and functional. These trays are perfect for organizing your space and adding a personalized touch to your decor. In this tutorial, we'll guide you through the process step-by-step.

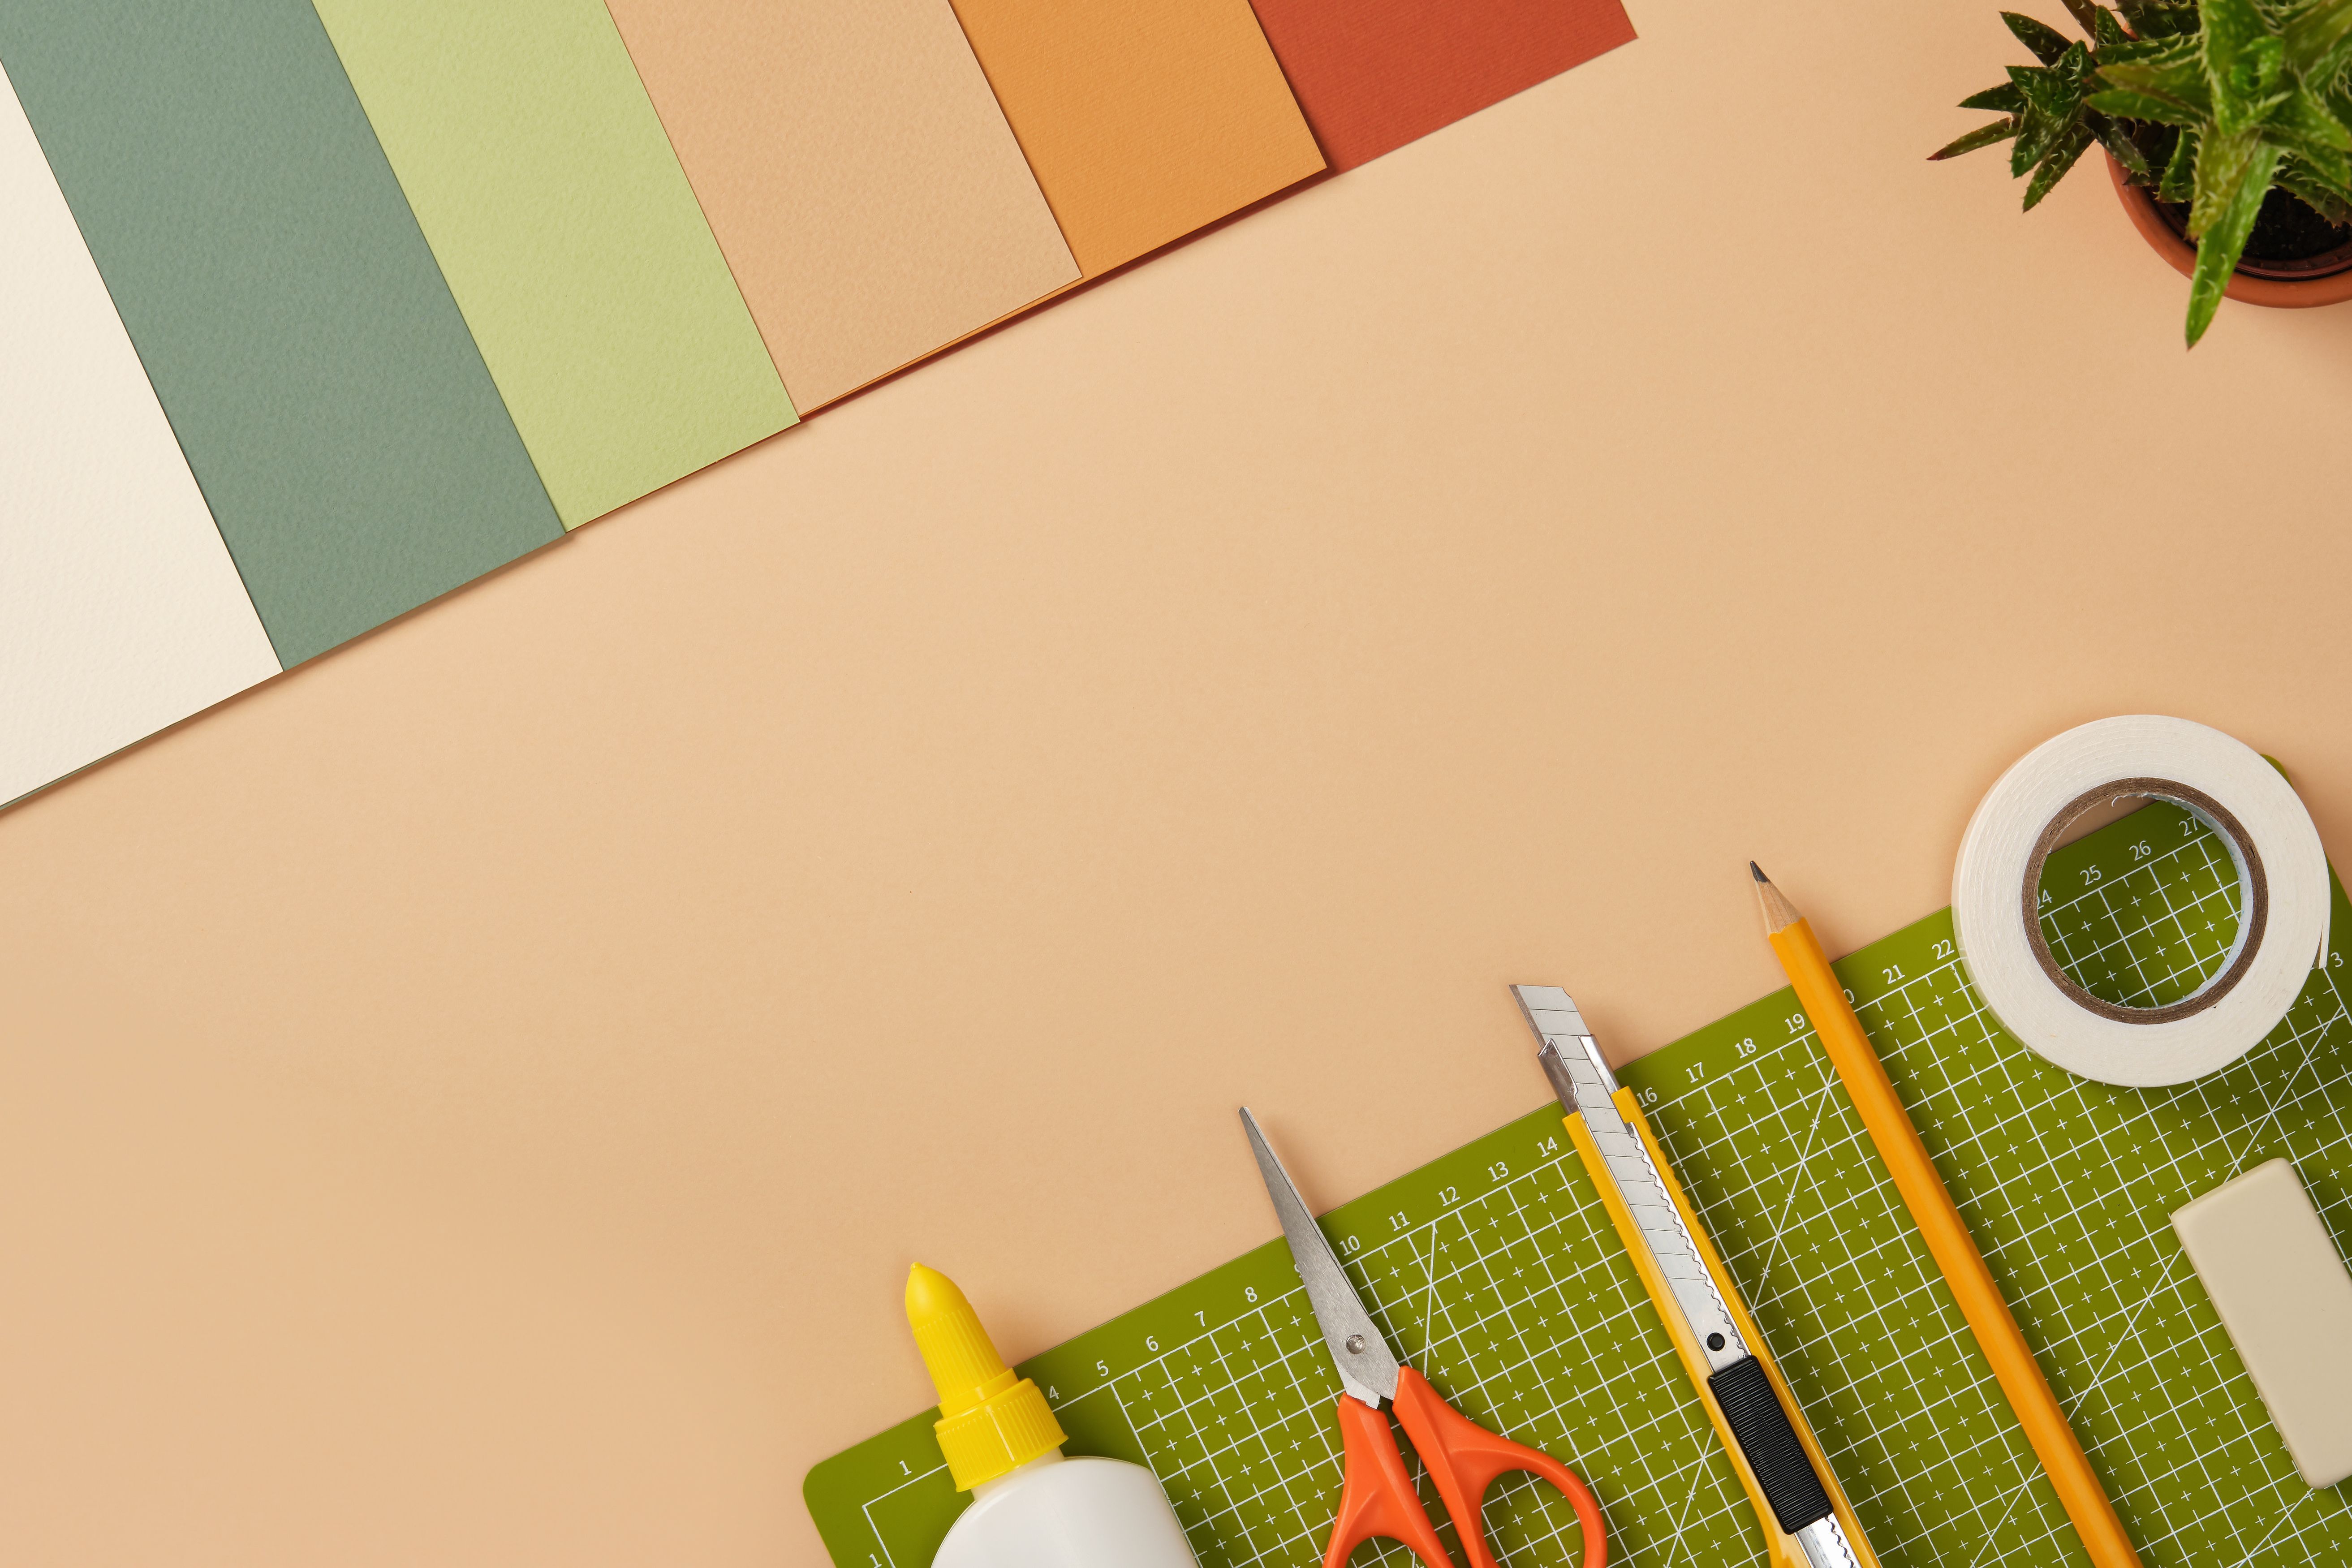
Materials Needed
Before you begin, gather all necessary materials. Here's what you'll need:
- Resin and hardener
- Mixing cups and sticks
- Mold for the tray
- Protective gloves and mask
- Pigments or glitter for color
- A heat gun or torch
Having these items ready will make the process smoother and more enjoyable.
Preparing Your Workspace
Ensure your workspace is well-ventilated and covered with a protective layer to catch any spills. Safety first! Wear gloves and a mask to protect yourself from fumes and skin contact with the resin.
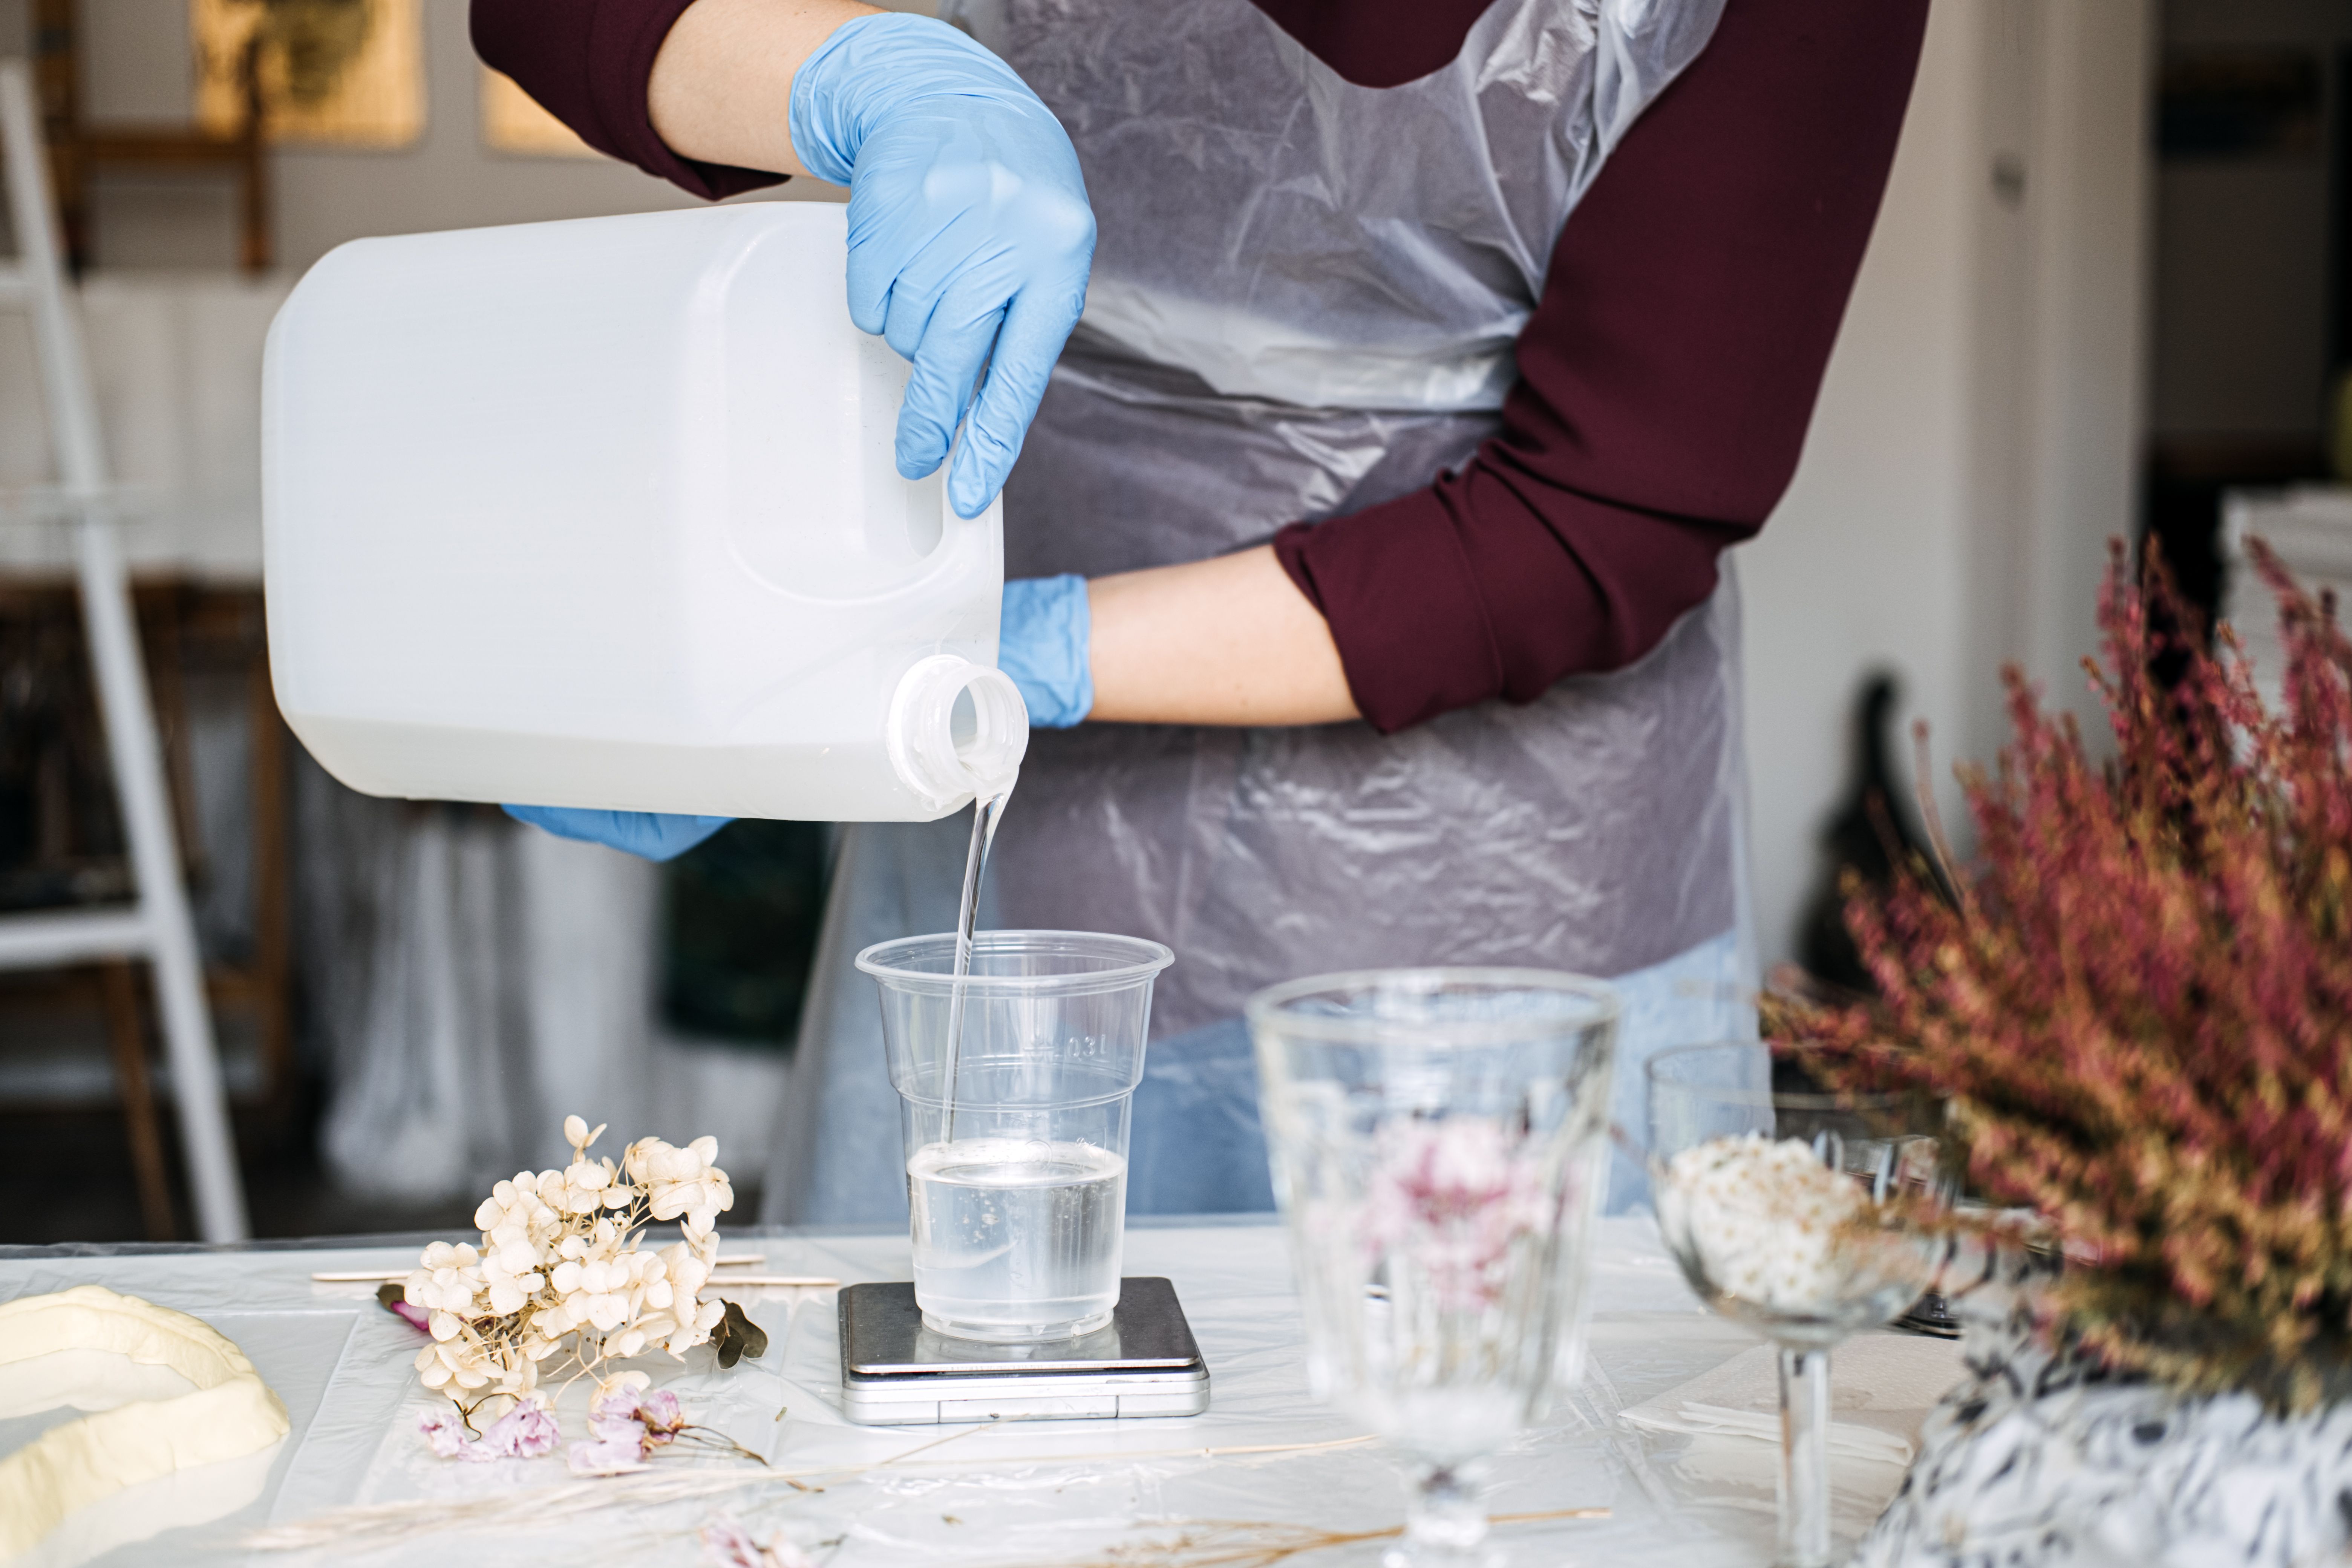
Mixing the Resin
Follow the instructions on your resin kit carefully. Typically, you'll mix equal parts resin and hardener. Stir slowly to combine without introducing bubbles. Take your time with this step to ensure a smooth finish.
Once mixed, add your chosen pigments or glitter to create the desired color and effect. Mix thoroughly until you reach a consistency and color you love.
Pouring the Resin
Carefully pour the resin mixture into your mold. You can create swirls or patterns by layering different colors. Use a toothpick or stick to manipulate the resin gently. Be creative and let your imagination guide you.
Removing Air Bubbles
After pouring, use a heat gun or torch to remove any air bubbles on the surface. Move the heat source quickly and evenly over the resin to avoid overheating any one spot.
This step ensures a clear, glass-like finish, enhancing the beauty of your design.
Letting the Resin Cure
Allow the resin to cure according to the manufacturer's instructions. This usually takes about 24 to 48 hours. Resist the temptation to touch or move the tray during this time to avoid imperfections.
Finishing Touches
Once fully cured, gently remove the tray from the mold. If there are any rough edges, you can sand them down for a smooth finish. Clean the tray with a soft cloth to remove any dust or debris.
Your DIY resin rolling tray is now complete and ready to use or display!
Conclusion
Crafting your own resin rolling tray is not only rewarding but also allows you to create something truly unique. Whether for personal use or as a gift, these trays are sure to impress. Enjoy experimenting with different colors and designs as you master this fun and creative craft.