
DIY Tips for Creating Your Own Custom Rolling Tray


Why Create Your Own Custom Rolling Tray?
Creating your own custom rolling tray is a fun and rewarding DIY project that allows you to express your personal style. Not only does it make for a unique addition to your collection, but it also serves as a practical tool for those who enjoy rolling their own cigarettes or joints. With a little creativity and some basic materials, you can design a tray that's both functional and aesthetically pleasing.
Custom rolling trays can also make excellent gifts for friends and family who share similar hobbies. They show thoughtfulness and effort, making them a perfect choice for birthdays, holidays, or just because. Plus, the satisfaction of using something you crafted yourself adds an extra layer of enjoyment to the experience.
Gathering Your Materials
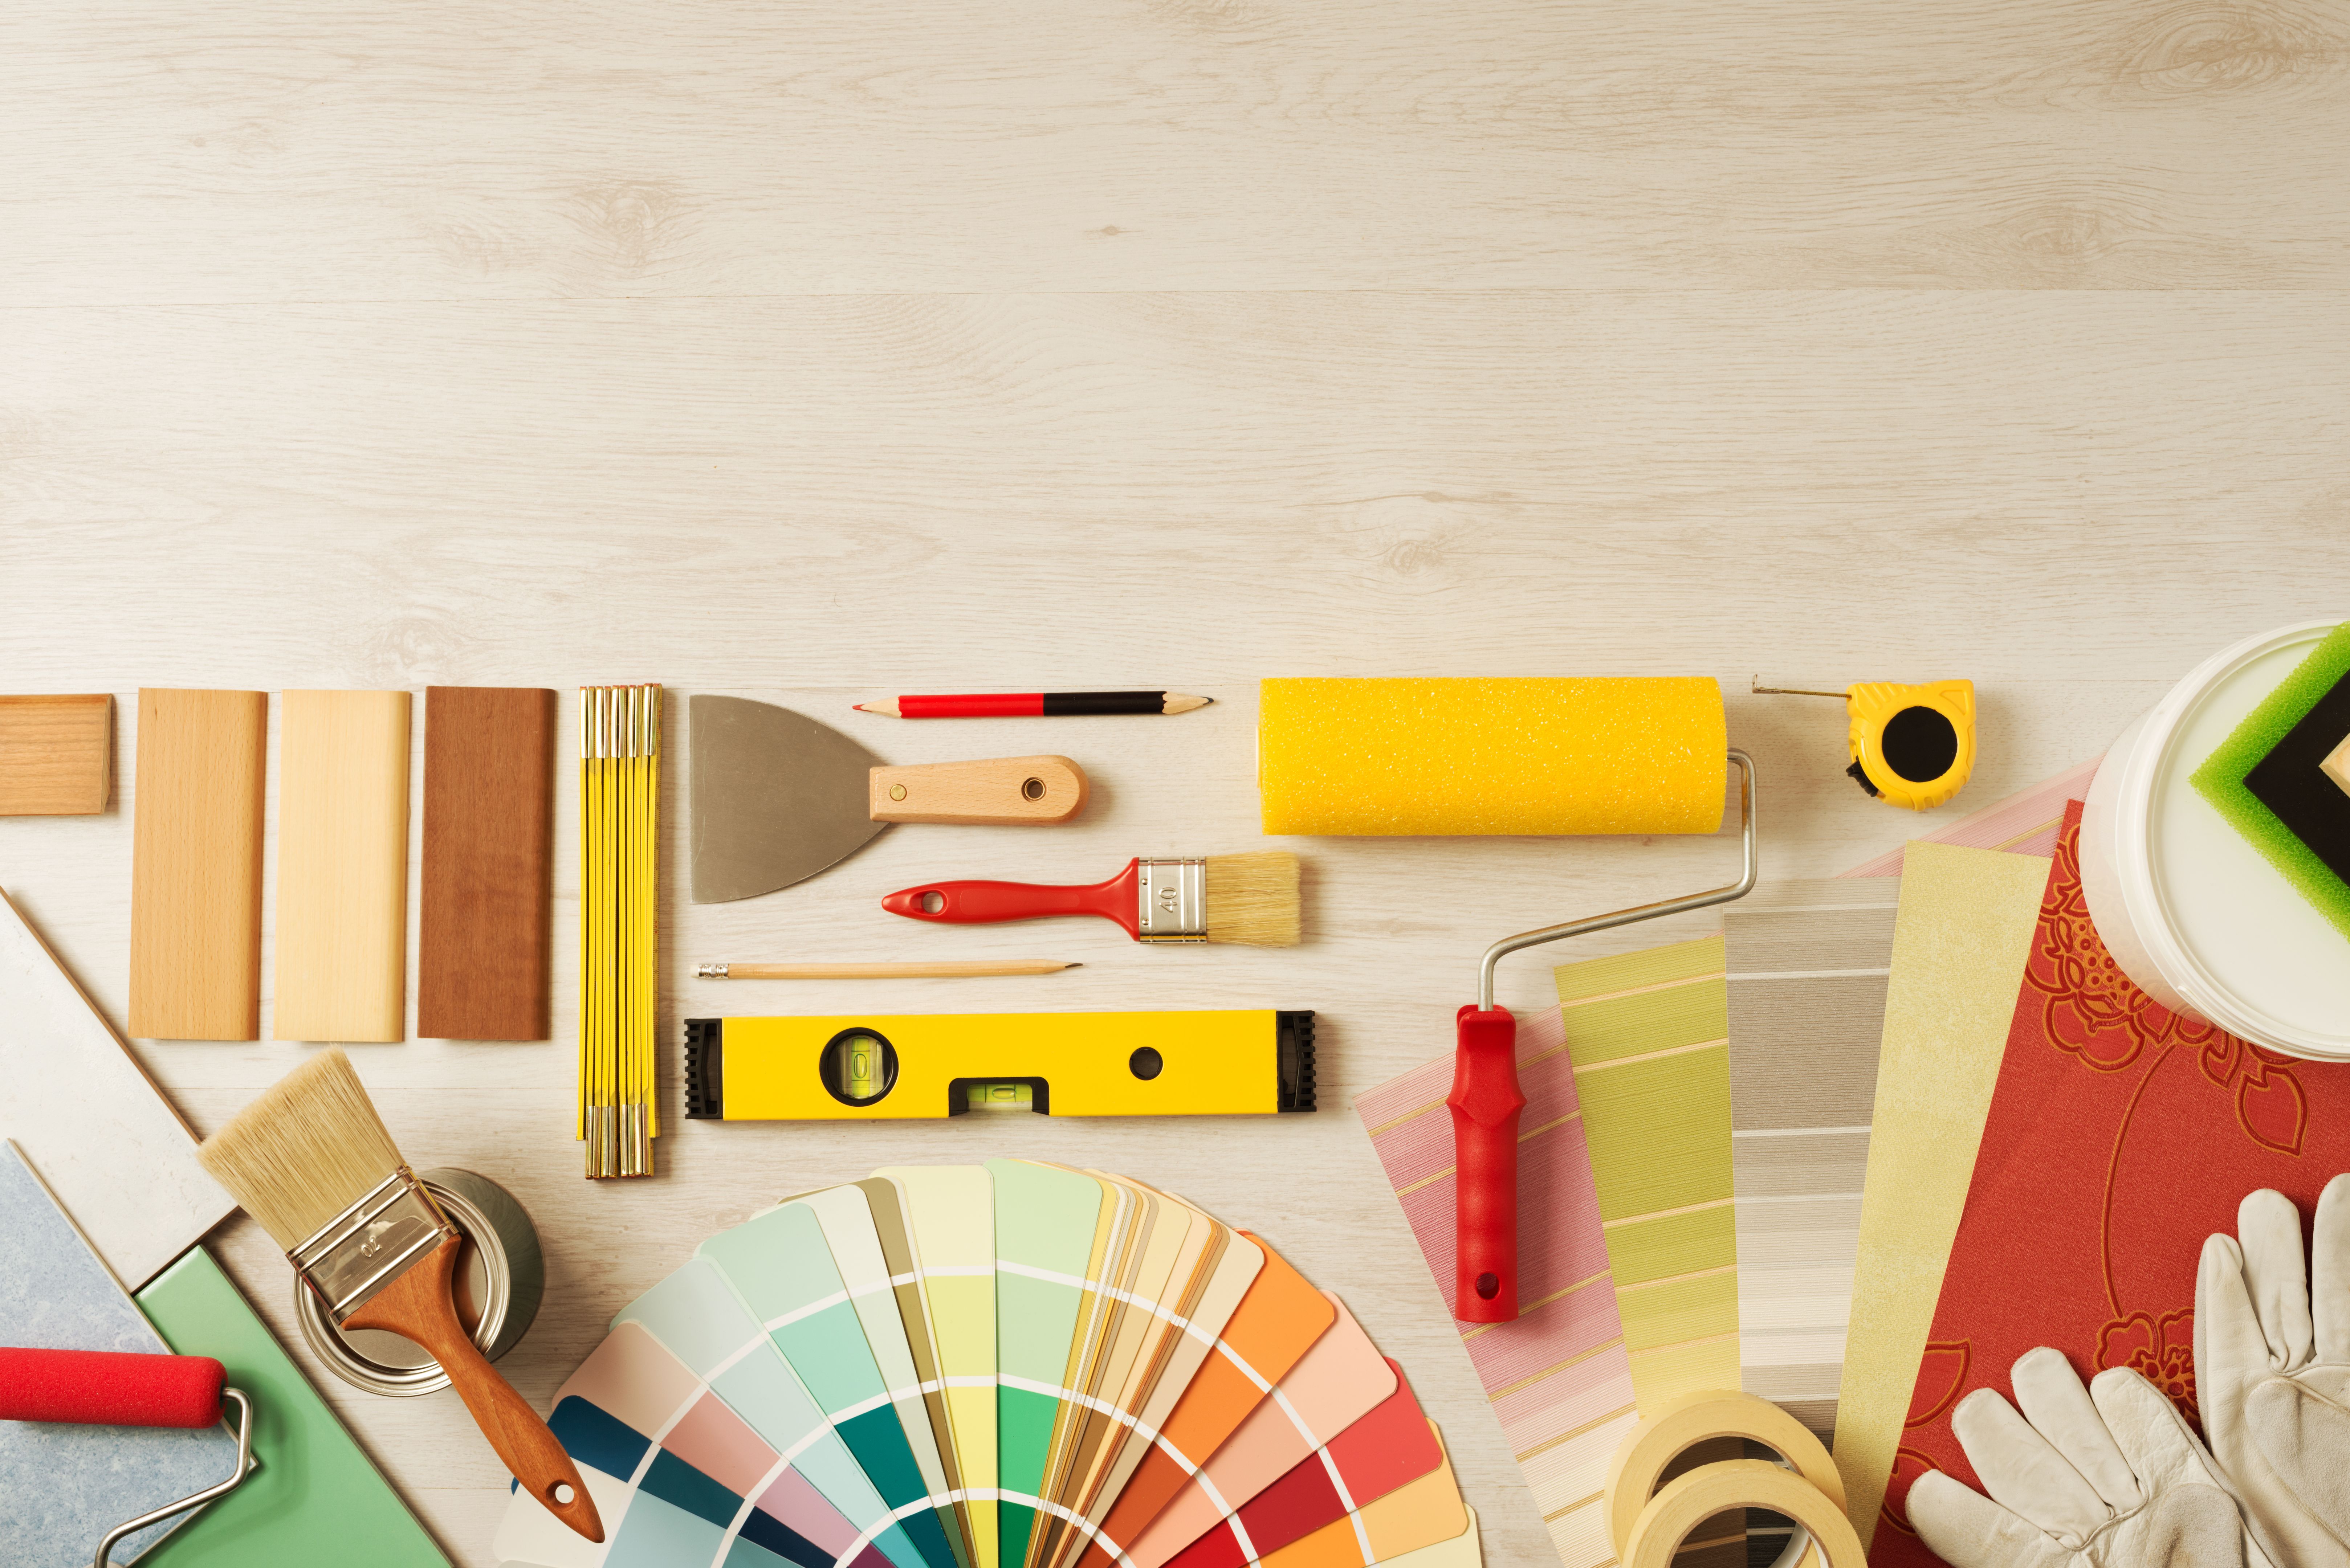
Before you begin, you'll need to gather some essential materials. The basic supplies include:
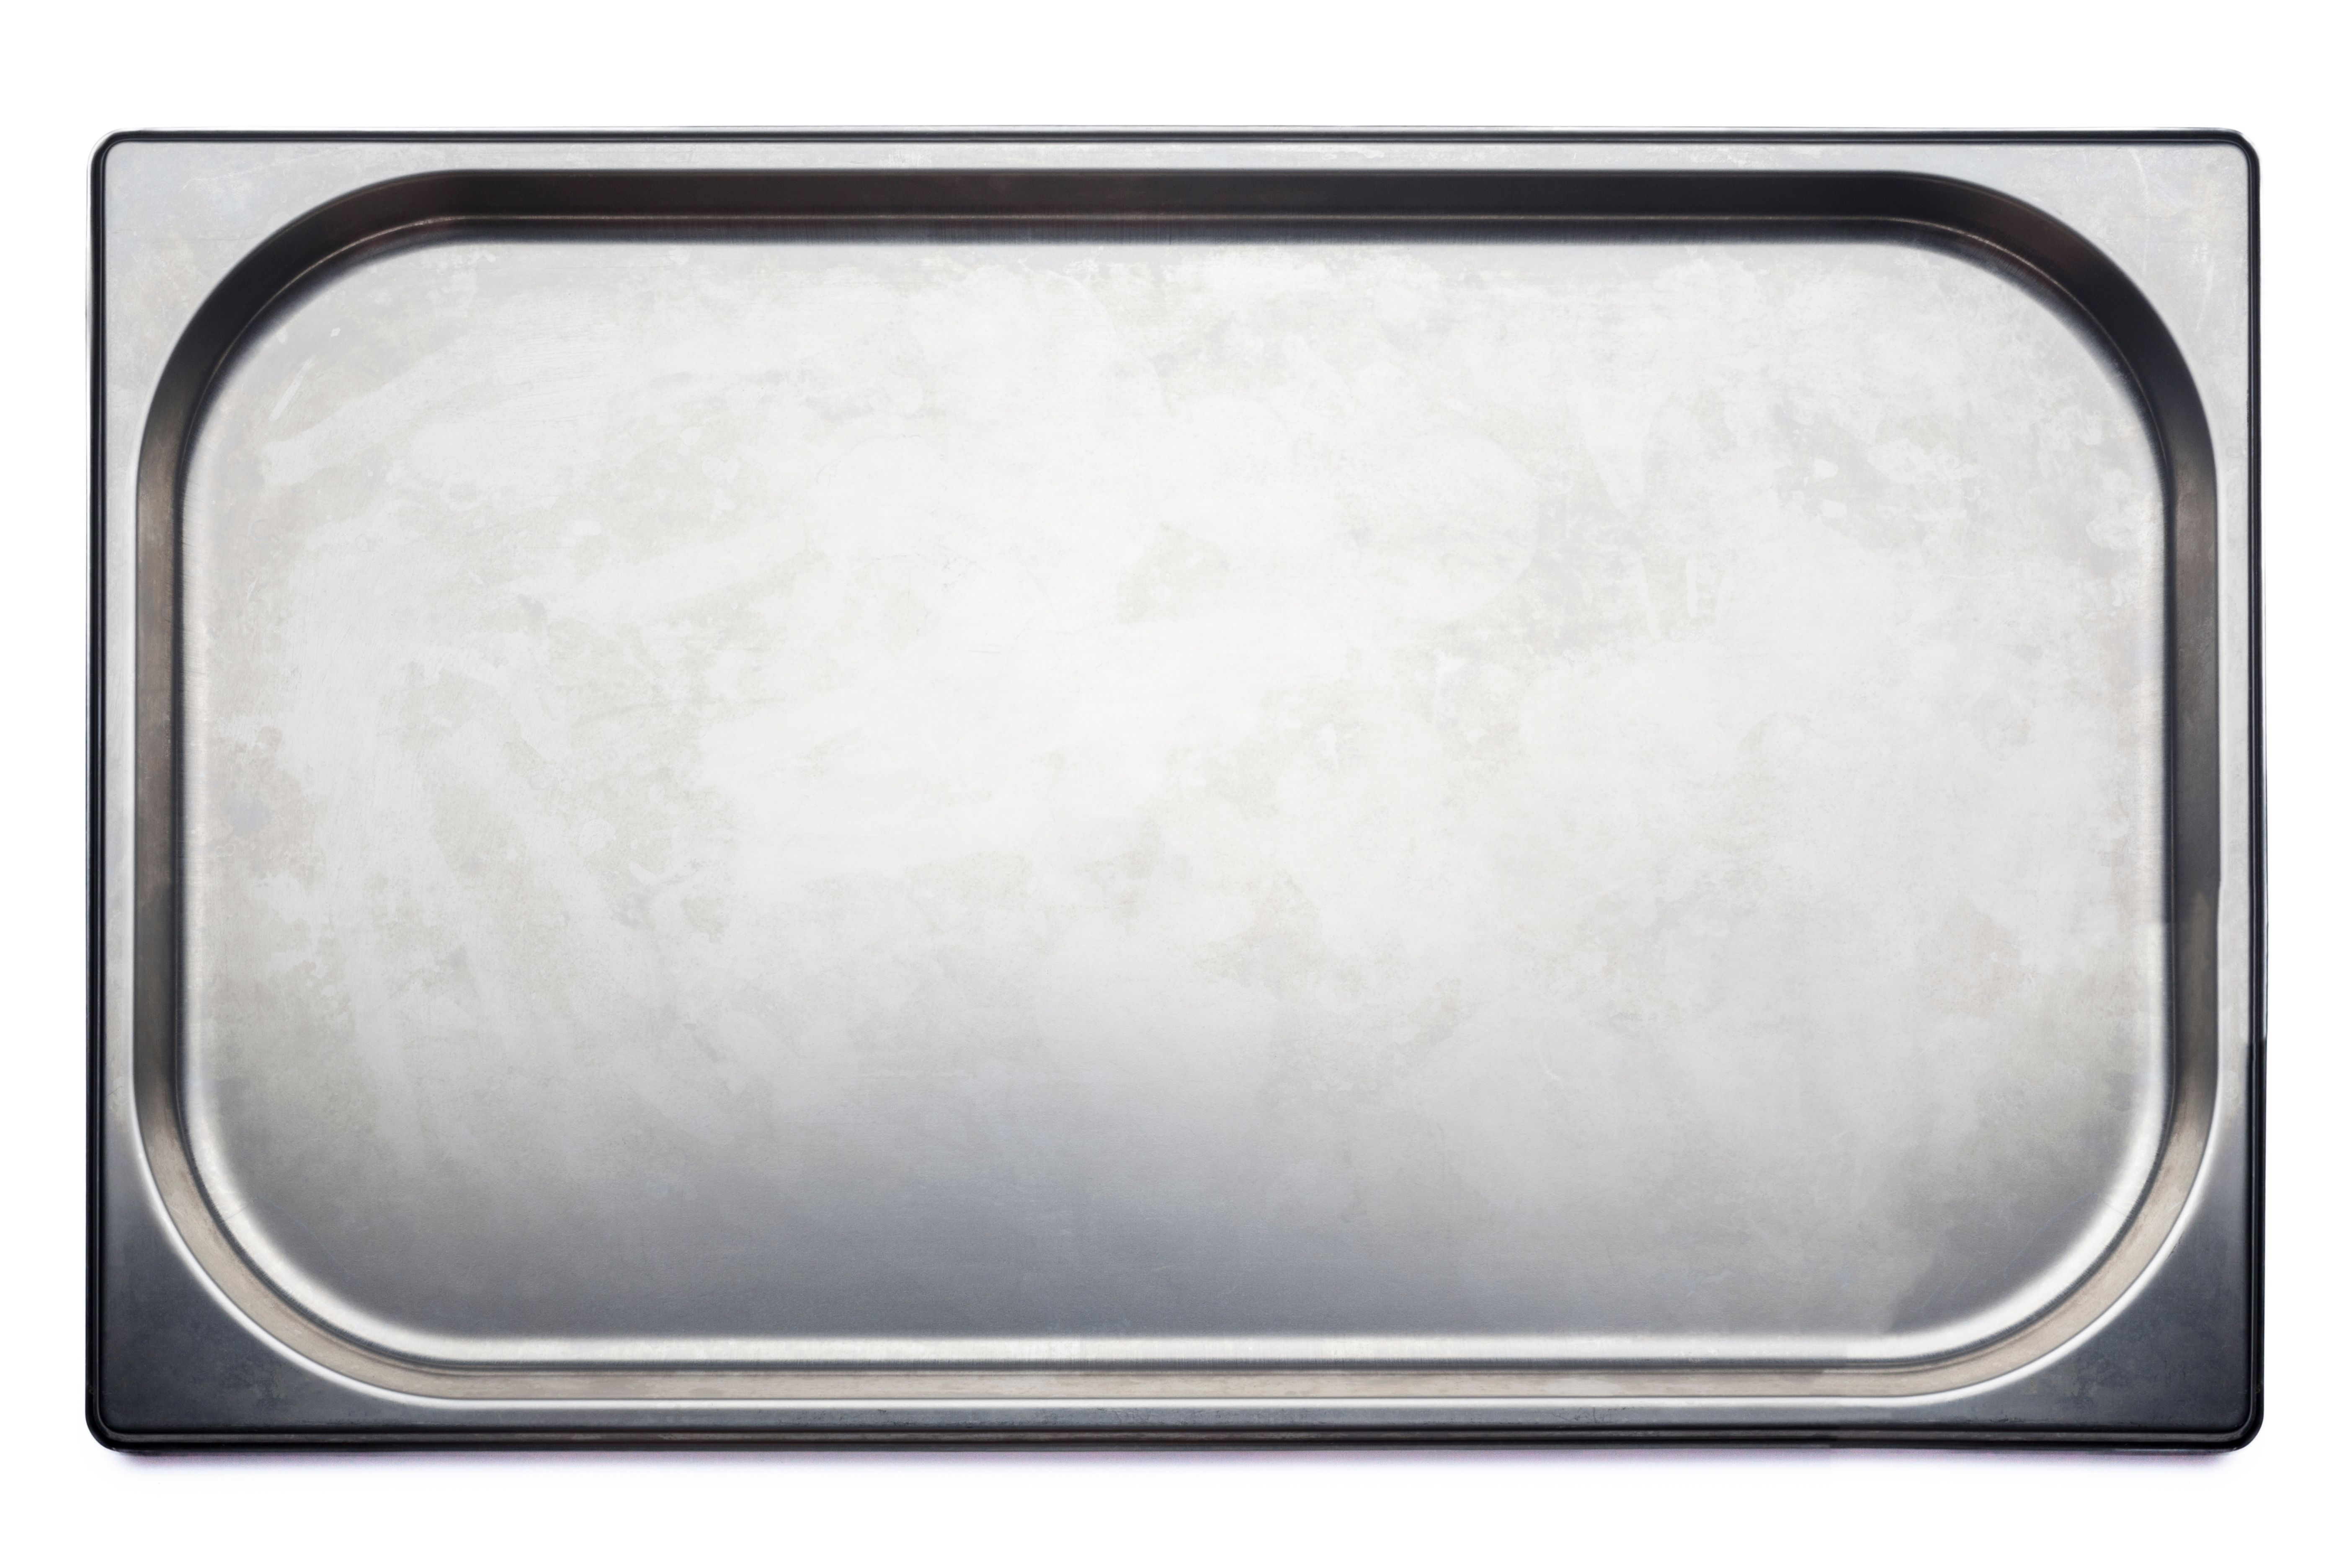
- A plain wooden or metal tray
- Acrylic paint or spray paint in your chosen colors
- Paintbrushes or foam brushes
- Painter's tape for creating clean lines
- Sealant or clear coat to protect your design
- Sandpaper for smoothing surfaces
Depending on your design, you might also want to include items like stickers, decals, or stencils to add more intricate details. These can help personalize your tray even further and make your creation truly one-of-a-kind.
Designing Your Tray
The design phase is where you can let your imagination run wild. Start by deciding on a color scheme that matches your personal style or the décor of the room where you'll be using the tray. You might want to create a cohesive look with other accessories or opt for a bold, standout piece.
If you're not confident in your painting skills, consider using stencils to add patterns or images. You can find or create stencils in various shapes and sizes, allowing you to customize the tray further without needing freehand artistry. Tape off sections of the tray to create stripes or geometric patterns for a modern touch.
Painting and Finishing Touches
Once you have your design in mind, it's time to start painting. Use sandpaper to smooth any rough edges on the tray before applying your base coat of paint. Allow the base coat to dry completely before adding any additional layers or designs.
Apply painter's tape as needed to achieve clean lines between different colors or patterns. After you've finished painting, let the tray dry thoroughly before applying a clear coat or sealant. This will help protect the paint from chips and scratches, ensuring your custom design lasts for years to come.

Displaying and Using Your Custom Rolling Tray
Once your custom rolling tray is complete, it's time to put it to use! Display it proudly on a coffee table or shelf when not in use, allowing it to serve as both a functional item and a piece of art. When it's time to roll, you'll have a designated space that provides both convenience and style.
Consider pairing your rolling tray with other custom accessories like lighters or storage jars that complement your design. This will create a cohesive set that enhances both the aesthetic and practical aspects of your hobby.
With these simple steps and a little bit of creativity, you can craft a custom rolling tray that's perfectly tailored to your tastes. Happy crafting!