
Expert Tips for Creating Stunning Resin Art Pieces at Home


Getting Started with Resin Art
Creating stunning resin art pieces at home is a rewarding and creative experience. Resin art offers endless possibilities, from crafting beautiful coasters to designing intricate wall art. If you're new to this art form, there's no need to worry. With a few expert tips, you can turn your ideas into reality and create pieces that you'll be proud to display.
Gathering Your Materials
Before you begin, make sure you have all the necessary materials. You'll need resin, hardener, mixing cups, stirring sticks, and protective gear like gloves and goggles. Choosing the right type of resin is crucial. Epoxy resin is commonly used for art projects due to its clarity and ease of use. You may also want to gather pigments, dyes, or other additives to enhance your creations.
It's important to work in a well-ventilated area to avoid inhaling fumes. Cover your workspace with a protective sheet to prevent any spills from damaging surfaces. Once you have everything ready, you're all set to start your resin art journey.
Mastering the Mixing Process
The mixing process is a key step in creating beautiful resin art. Start by measuring equal parts of resin and hardener, as instructed by the manufacturer. Mix them thoroughly to ensure a consistent blend. Stir slowly to avoid introducing air bubbles, which can affect the finish of your piece.
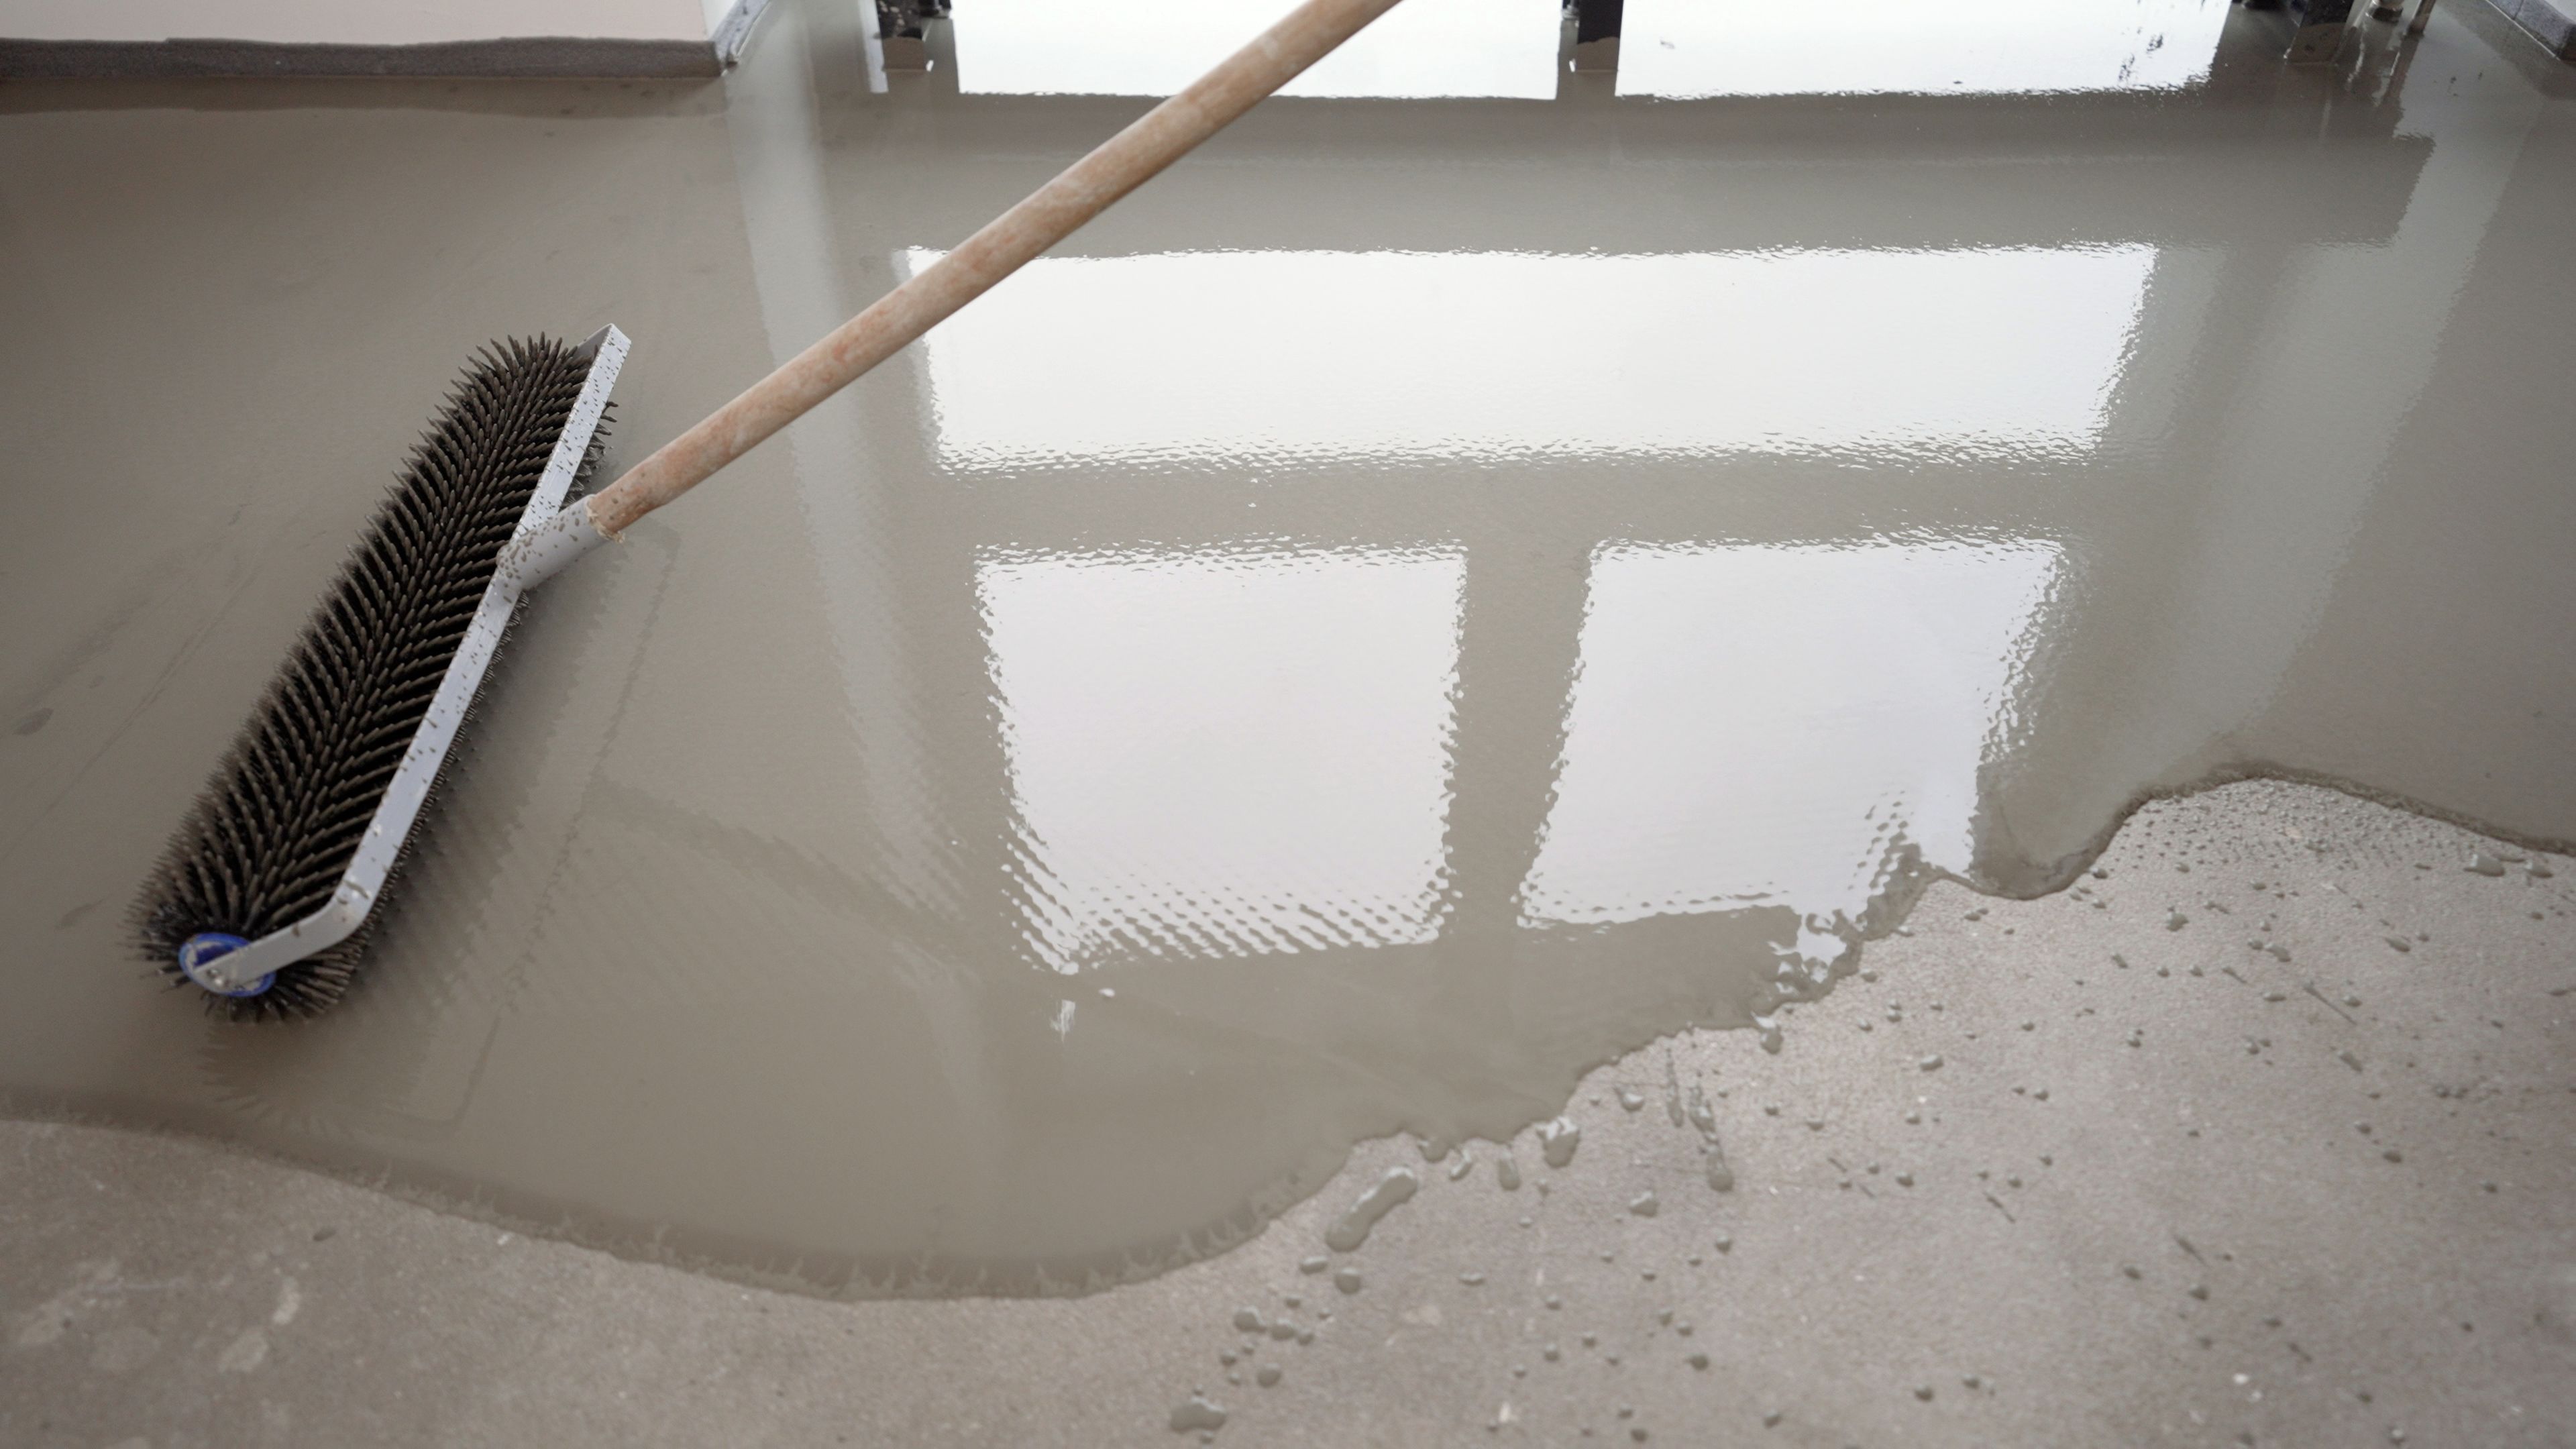
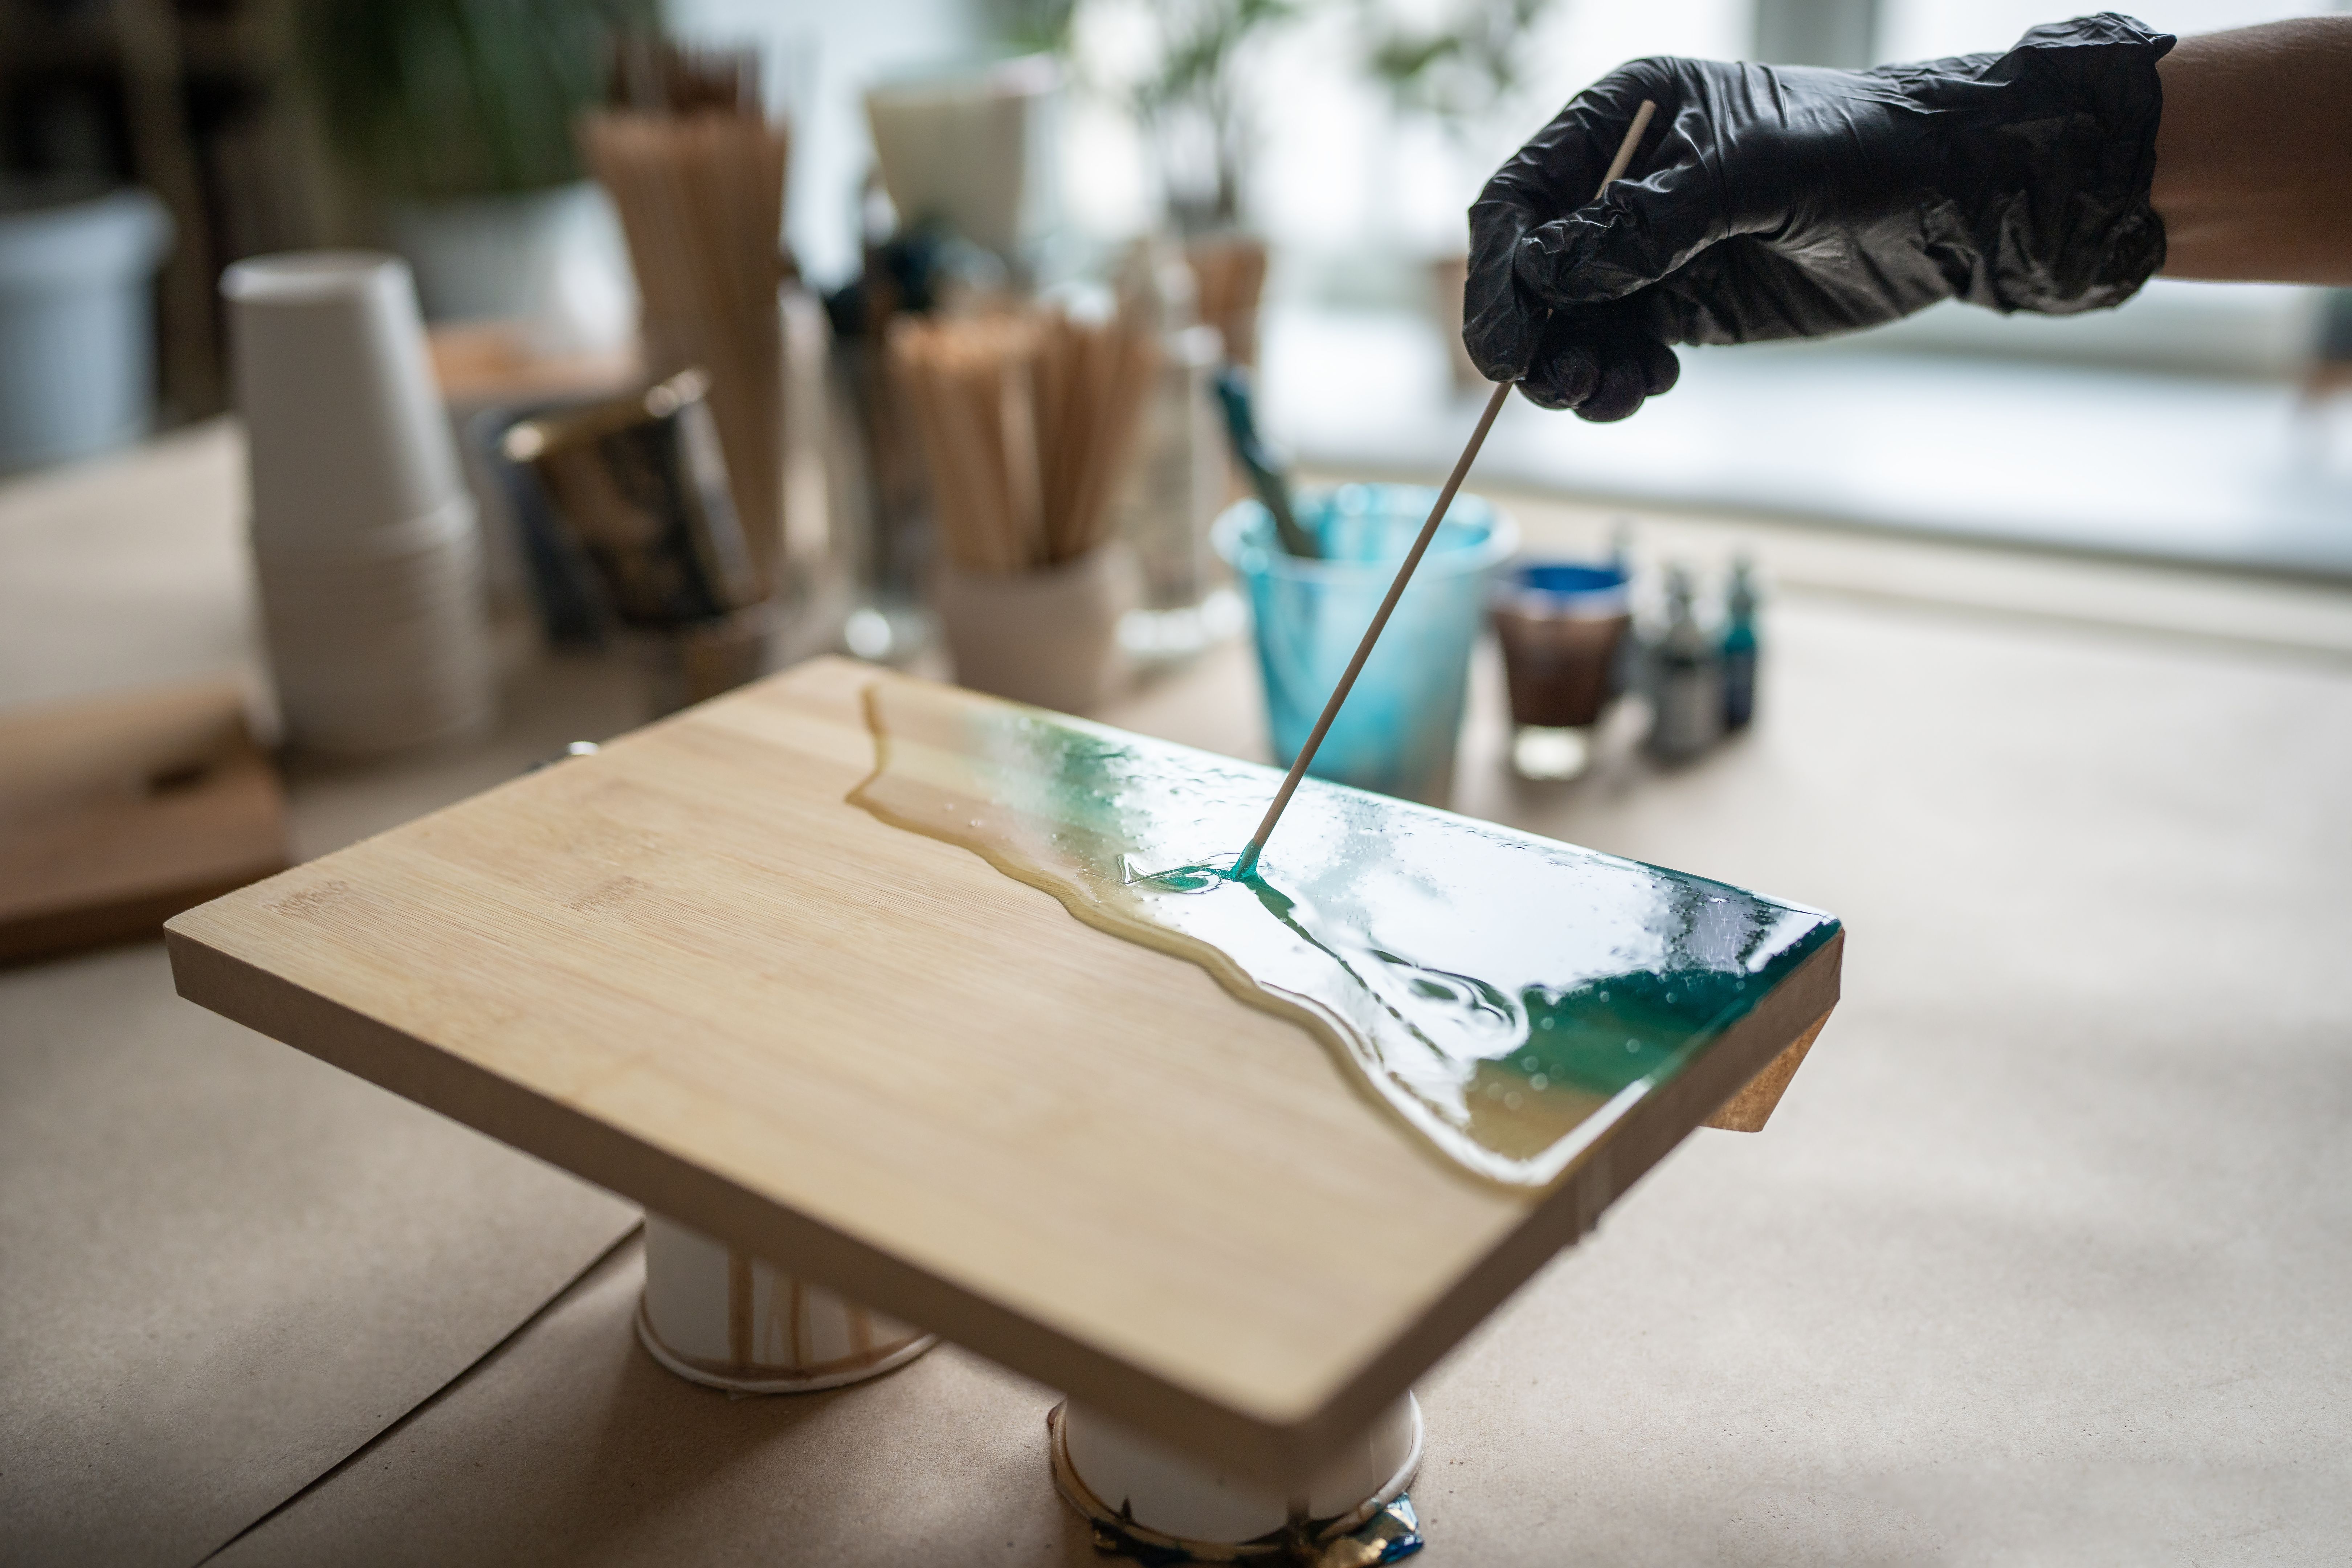
Once mixed, add your chosen colors or additives. Experiment with different combinations to achieve unique effects. Remember, the resin will start to cure quickly, so work efficiently. Having a clear plan before you begin will help you make the most of your time.
Pouring Techniques
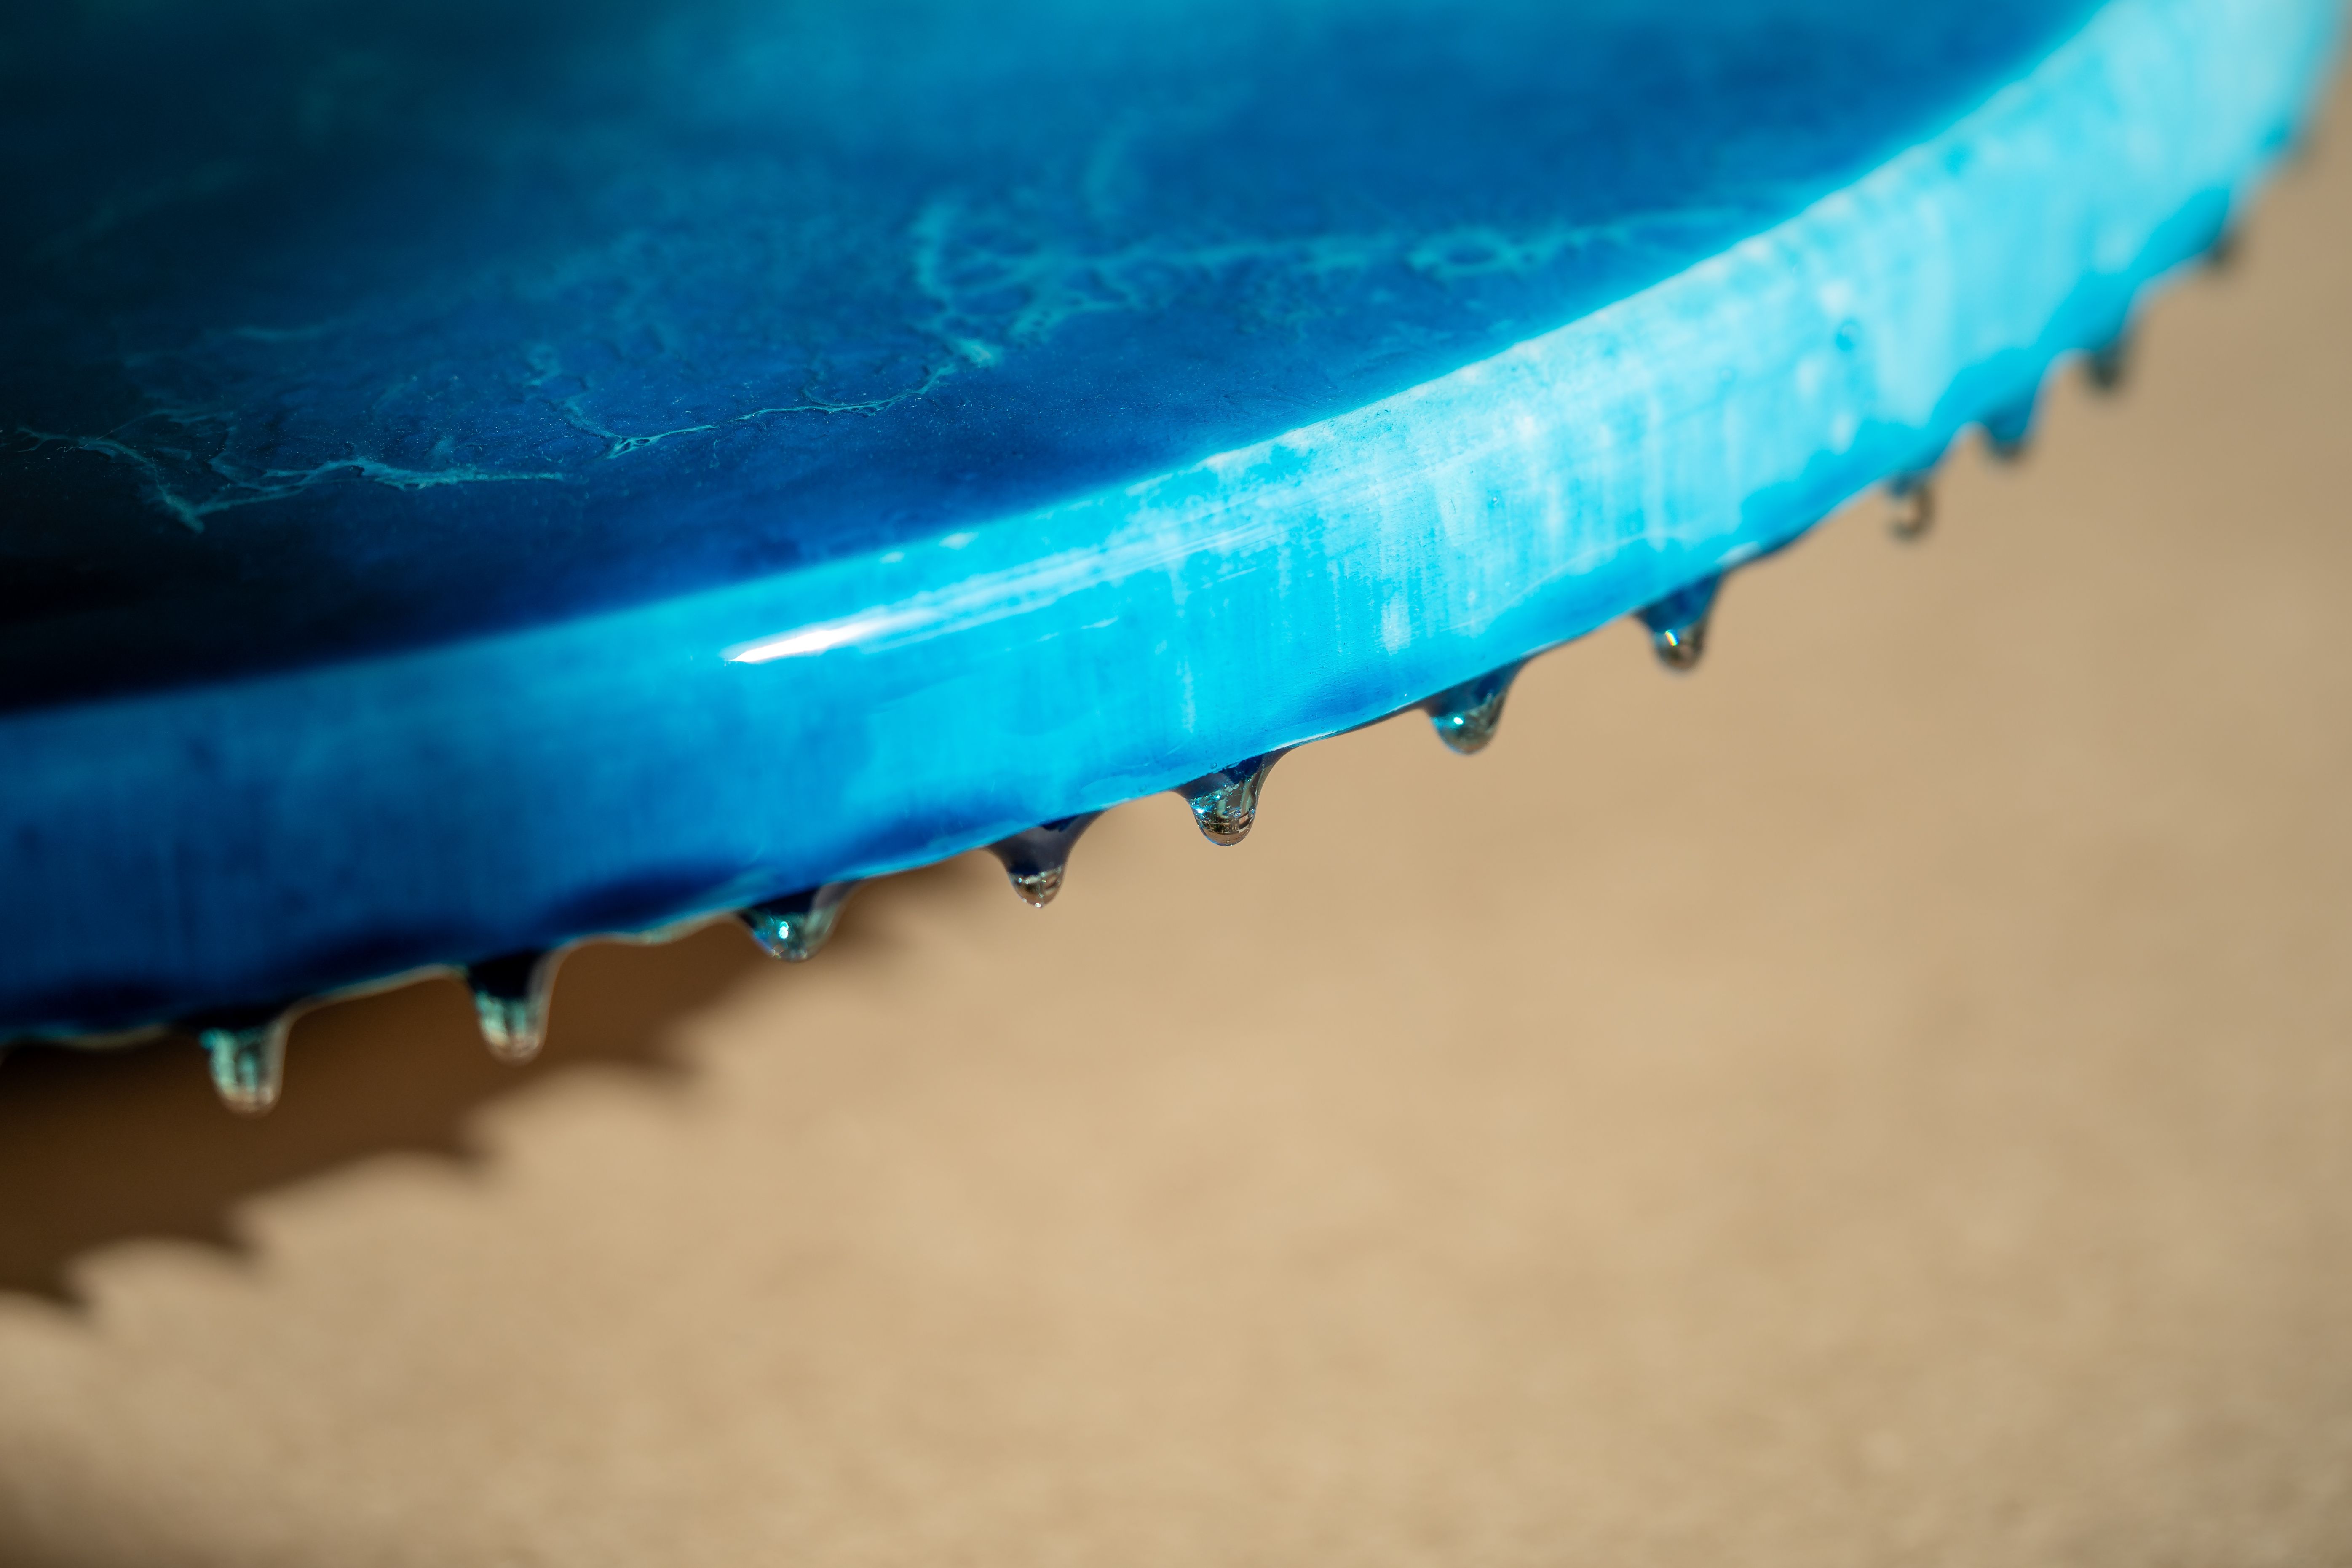
There are various pouring techniques you can explore to create different effects in your resin art. The "dirty pour" involves mixing multiple colors in a single cup before pouring, creating a marbled effect. Alternatively, you can use the "layering" technique, pouring each color individually for a more defined look.
Consider using tools like heat guns or torches to eliminate bubbles and help the resin flow beautifully. These tools can also be used to create interesting textures and patterns. Be cautious while using heat tools, as excessive heat can cause the resin to overheat.
Finishing Touches
Once your resin has cured, it's time to add the finishing touches. Sand any rough edges for a smooth finish. If desired, apply a clear topcoat to enhance the shine and protect your artwork. This final step can make a significant difference in the overall appearance of your piece.
Display your resin art proudly in your home or gift it to friends and family. Each piece you create will be unique, reflecting your personal style and creativity.
Exploring Advanced Techniques
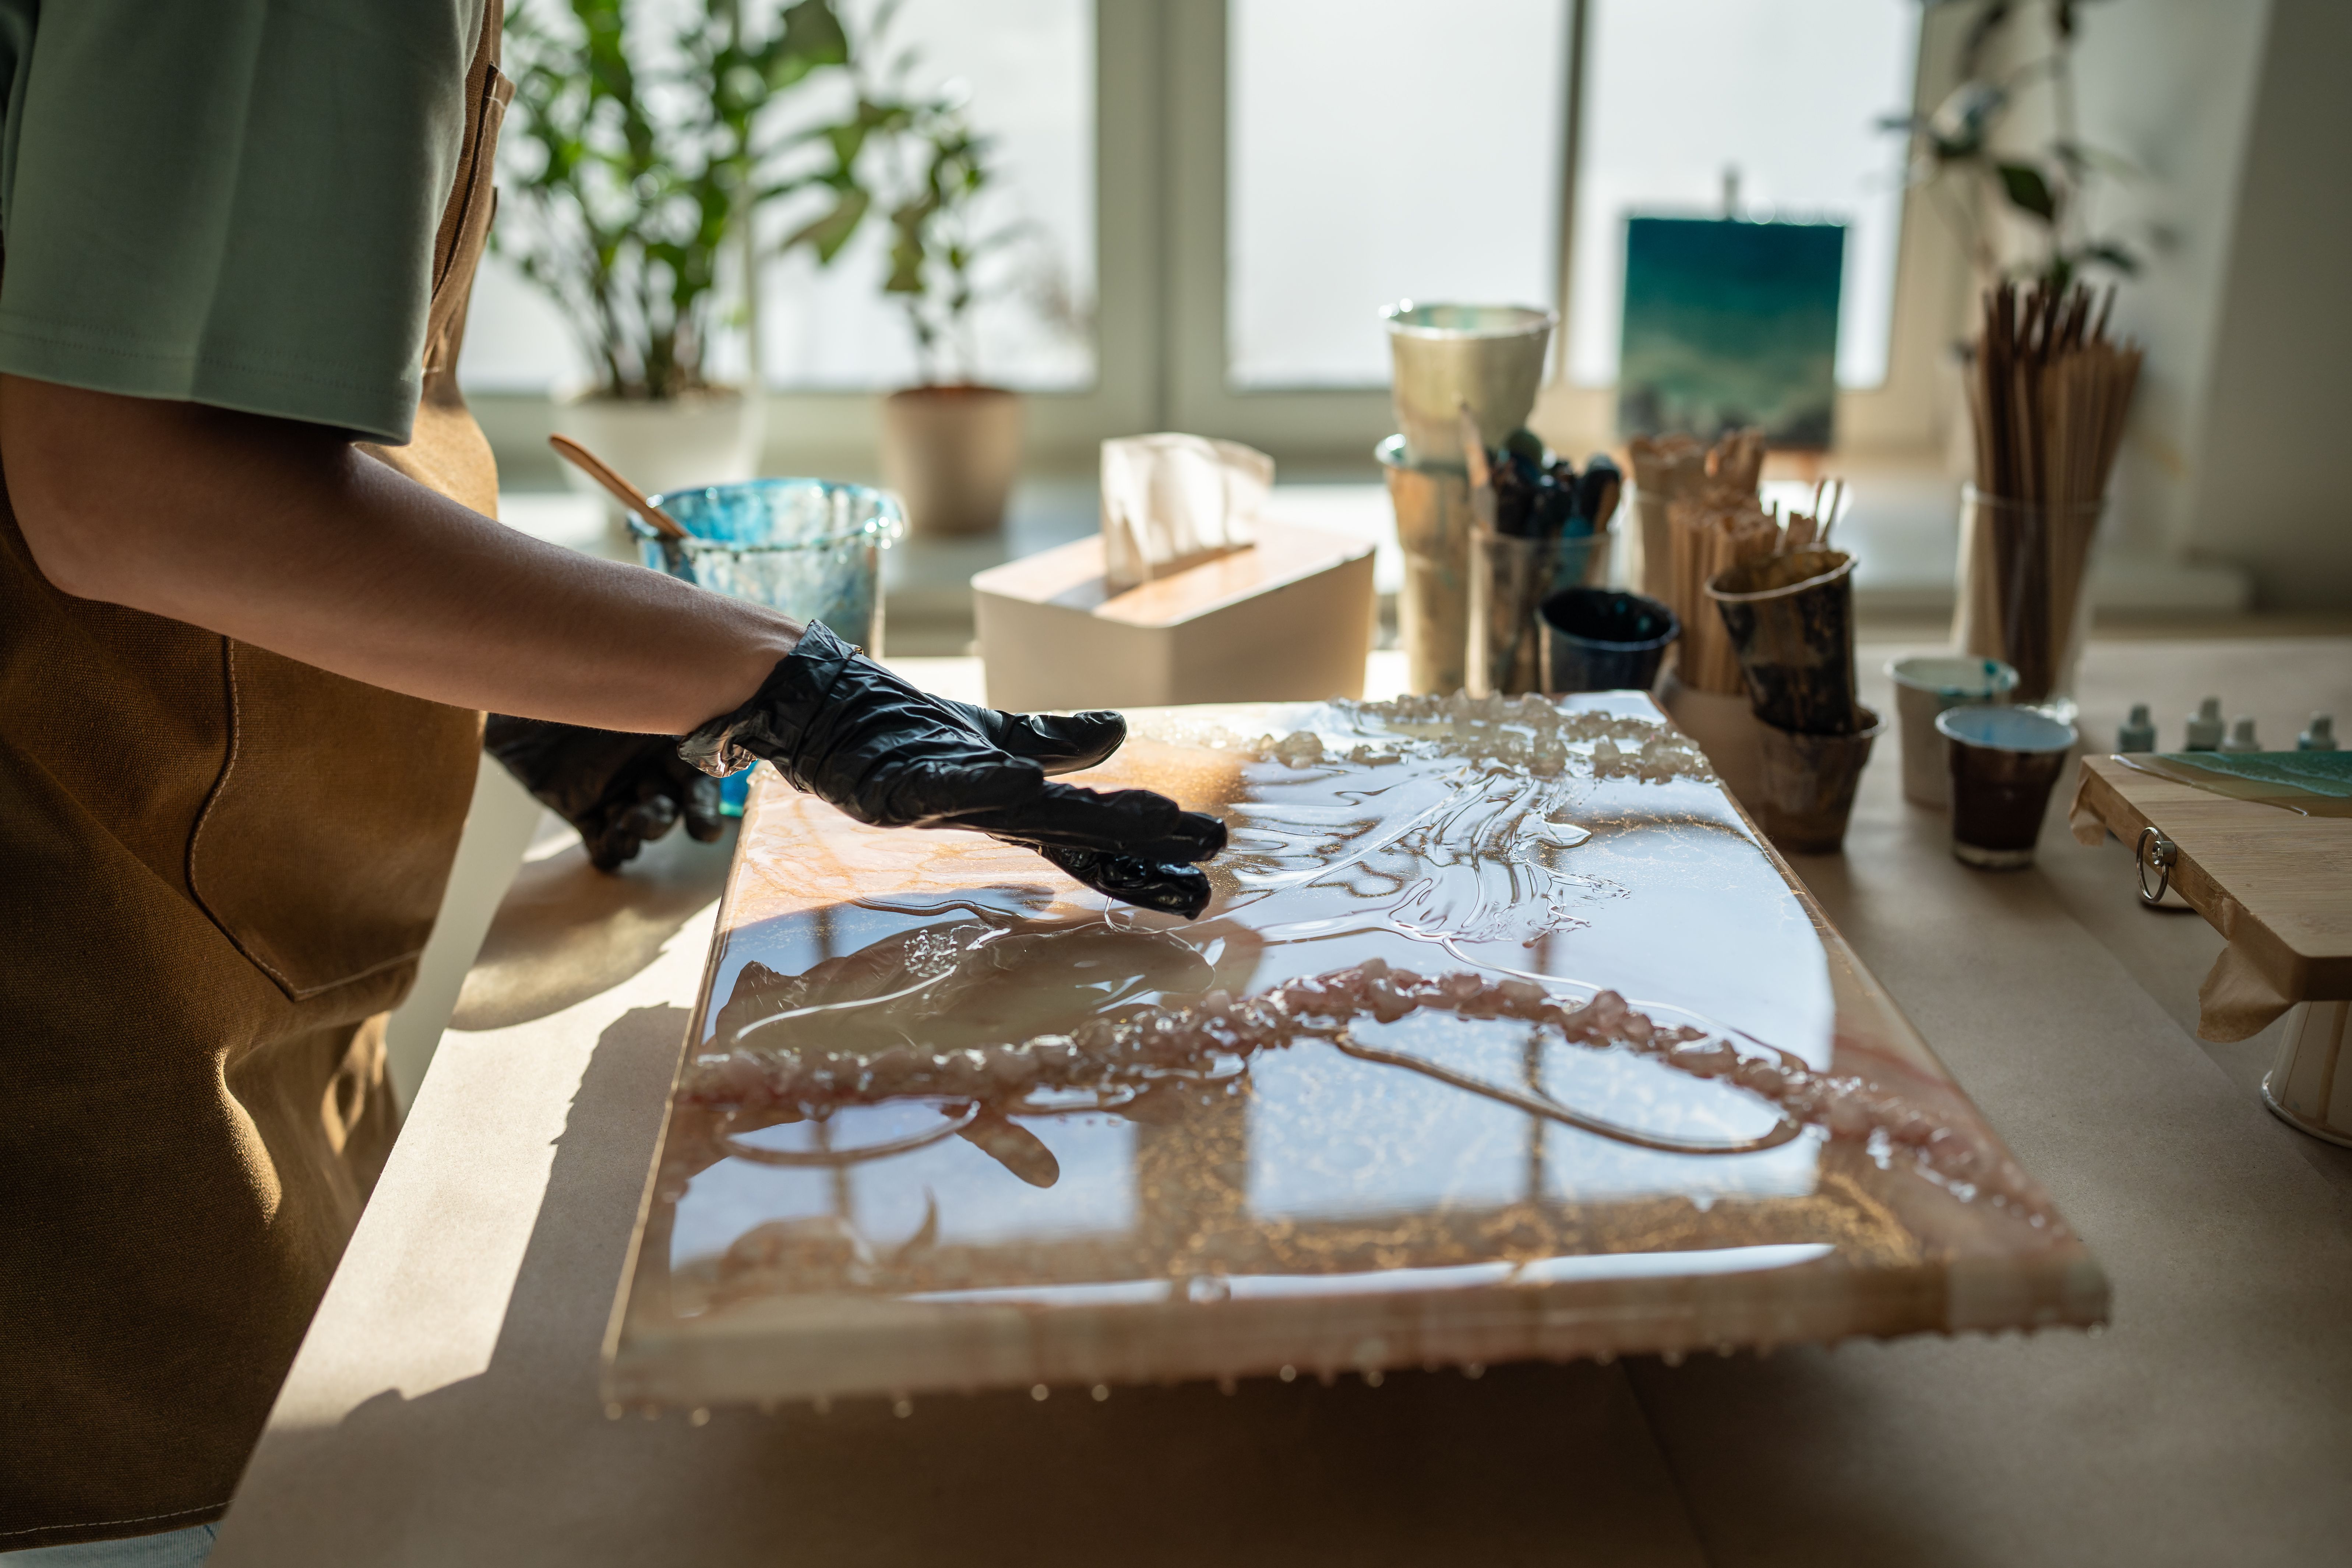
As you gain confidence, don't hesitate to explore more advanced techniques. Incorporate elements like metallic flakes, glitter, or natural materials like wood and stones. These additions can add depth and interest to your resin art pieces.
Join online communities or take workshops to learn from experienced resin artists. Sharing your work and gaining feedback can inspire new ideas and help you refine your skills.
With practice and patience, you'll master the art of resin crafting, creating stunning pieces that captivate and inspire. Happy crafting!