
How to Create Stunning Handmade Resin Art at Home: A Beginner's Guide


Why Choose Resin Art?
Resin art has gained immense popularity due to its versatility and the stunning visual effects it can produce. Whether you want to create beautiful coasters, eye-catching wall art, or unique jewelry pieces, resin art offers endless possibilities for creativity. The glossy finish and vibrant colors are perfect for making home decor pieces that stand out.
Another advantage of resin art is that it requires minimal tools and materials to get started. With a few basic supplies and some patience, you can dive into the world of resin art even as a complete beginner. Let's explore how you can create stunning handmade resin art at home.
Gathering Your Supplies
To begin your resin art journey, you'll need to gather some essential supplies. Here's a list of what you'll need:
- Resin and hardener: Choose a high-quality epoxy resin suitable for art projects.
- Mixing cups and sticks: Use disposable cups and sticks for easy cleanup.
- Pigments and dyes: Select from a variety of colors to add vibrancy to your creations.
- Molds: Depending on your project, you may need silicone molds in various shapes.
- Protective gear: Safety is crucial, so wear gloves, goggles, and a mask to protect yourself from fumes.
Once you have all your supplies ready, you can start preparing for your first resin art project. Make sure to work in a well-ventilated area to minimize exposure to fumes.
Preparing Your Workspace
Before you start mixing your resin, it's essential to set up a suitable workspace. Cover your table with a disposable plastic sheet or parchment paper to protect it from spills. Organize all your supplies within arm's reach, so you don't have to search for them mid-project.

Temperature and humidity can affect how resin cures, so try to maintain a stable environment. An ideal temperature range is between 70-75°F (21-24°C). Avoid working in areas with high humidity, as it can cause the resin to cure improperly.
Mixing and Pouring the Resin
The next step involves mixing the resin and hardener according to the manufacturer's instructions. Precise measurements are crucial for the resin to cure correctly. Stir the mixture slowly to minimize the formation of bubbles. Once mixed, you can add pigments or dyes to achieve your desired color palette.
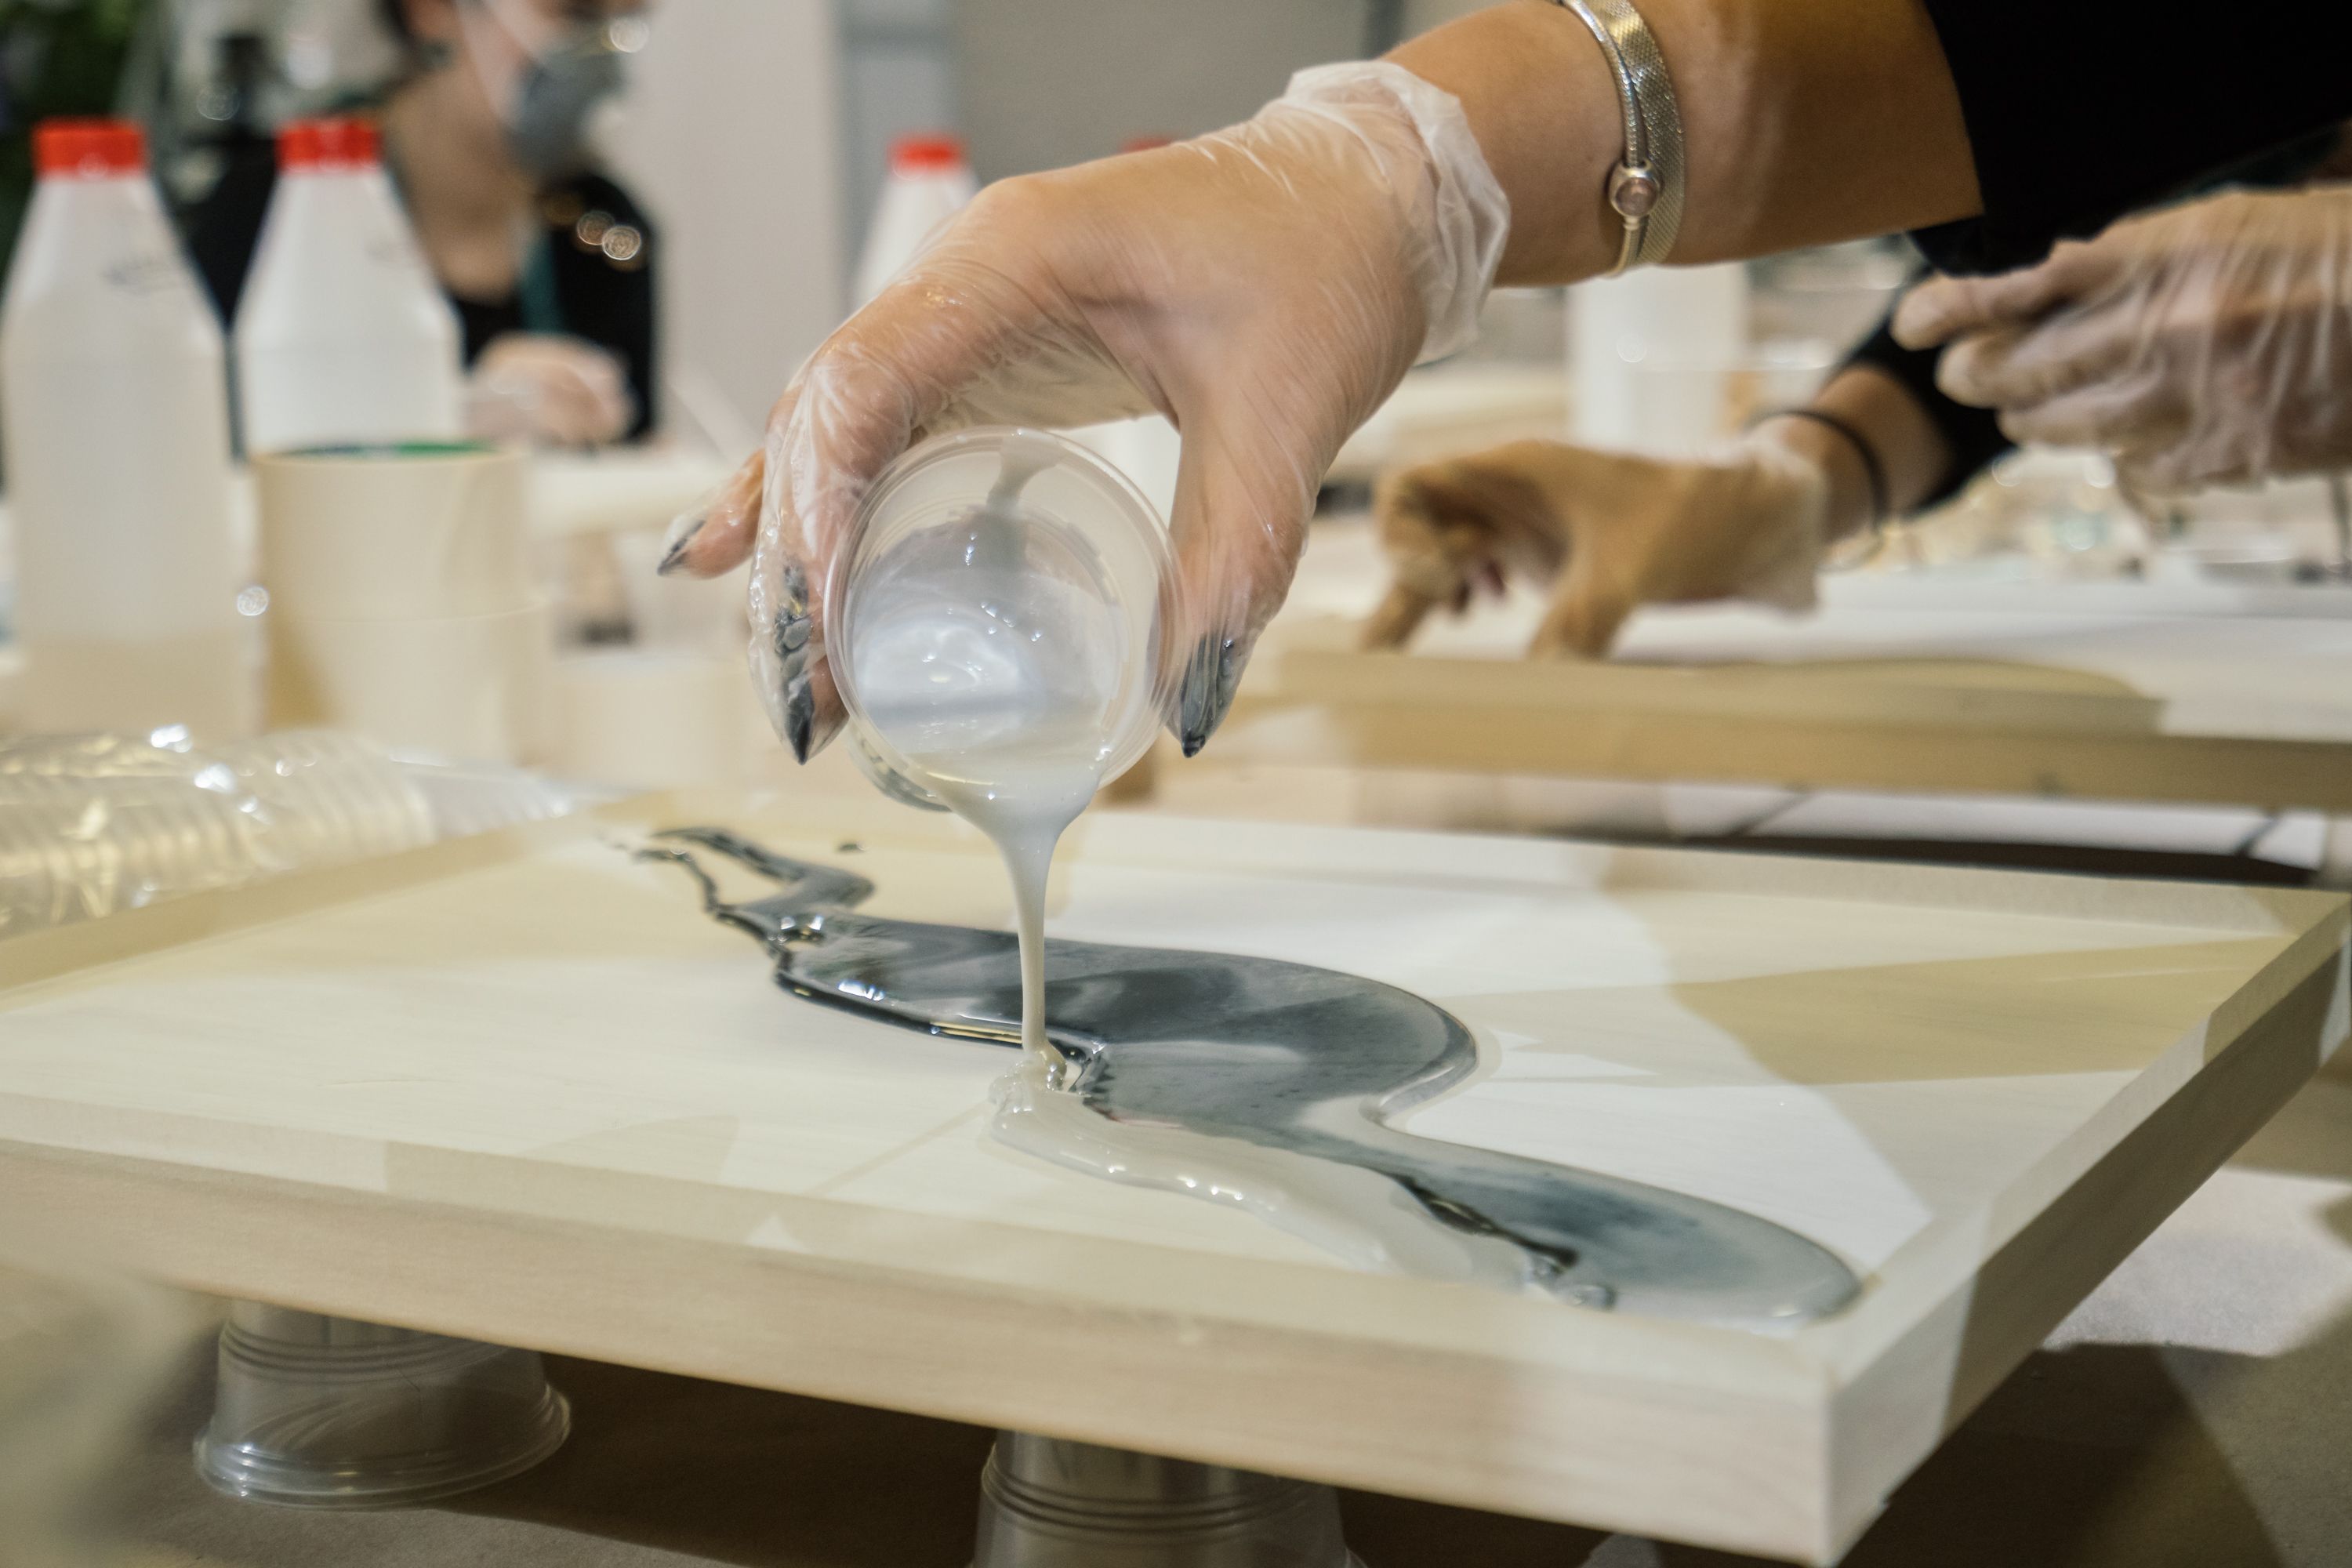
Creating Your Art
Now comes the exciting part—pouring the resin onto your canvas or mold. Pour slowly and evenly, allowing the resin to spread naturally. You can use tools like popsicle sticks or heat guns to manipulate the resin and create patterns.
If you're using molds, pour the resin gently into each section to avoid overfilling. Remember that patience is key; allow the resin to cure for the recommended time before handling or adding additional layers.
Caring for Your Resin Art
Once your resin art has cured completely, it's important to take care of it properly. Avoid exposing it to direct sunlight for extended periods, as UV rays can cause discoloration over time. Clean your pieces with a soft cloth and gentle soap if needed.
Resin art can be a rewarding hobby that allows you to express your creativity in unique ways. With practice and experimentation, you'll be able to refine your techniques and create even more stunning pieces. Remember, the key is to enjoy the process and let your imagination run wild!