
How to Create Stunning Resin Art with Electra Resin


Getting Started with Electra Resin
Resin art has taken the creative world by storm, offering endless possibilities for artists to express themselves through glossy, colorful creations. Electra Resin is a popular choice among resin artists due to its clarity and ease of use. Whether you're a seasoned artist or a beginner, creating stunning resin art with Electra Resin is both rewarding and fun.
Before you begin, gather all the necessary materials. You'll need Electra Resin, a mixing cup, stirring sticks, gloves, and your choice of pigments or dyes. Make sure you have a clean workspace and wear protective gear to safeguard against spills and fumes.

Preparing Your Workspace
A clutter-free and well-ventilated workspace is essential when working with resin. Lay down a plastic sheet or newspaper to protect surfaces from accidental drips. Proper ventilation ensures that any fumes from the resin are dispersed quickly, keeping the air safe to breathe.
Having all your materials within arm's reach will make the process smoother. Arrange your pigments, molds, and tools in an orderly fashion to streamline your workflow and enhance creativity.
Mixing the Resin
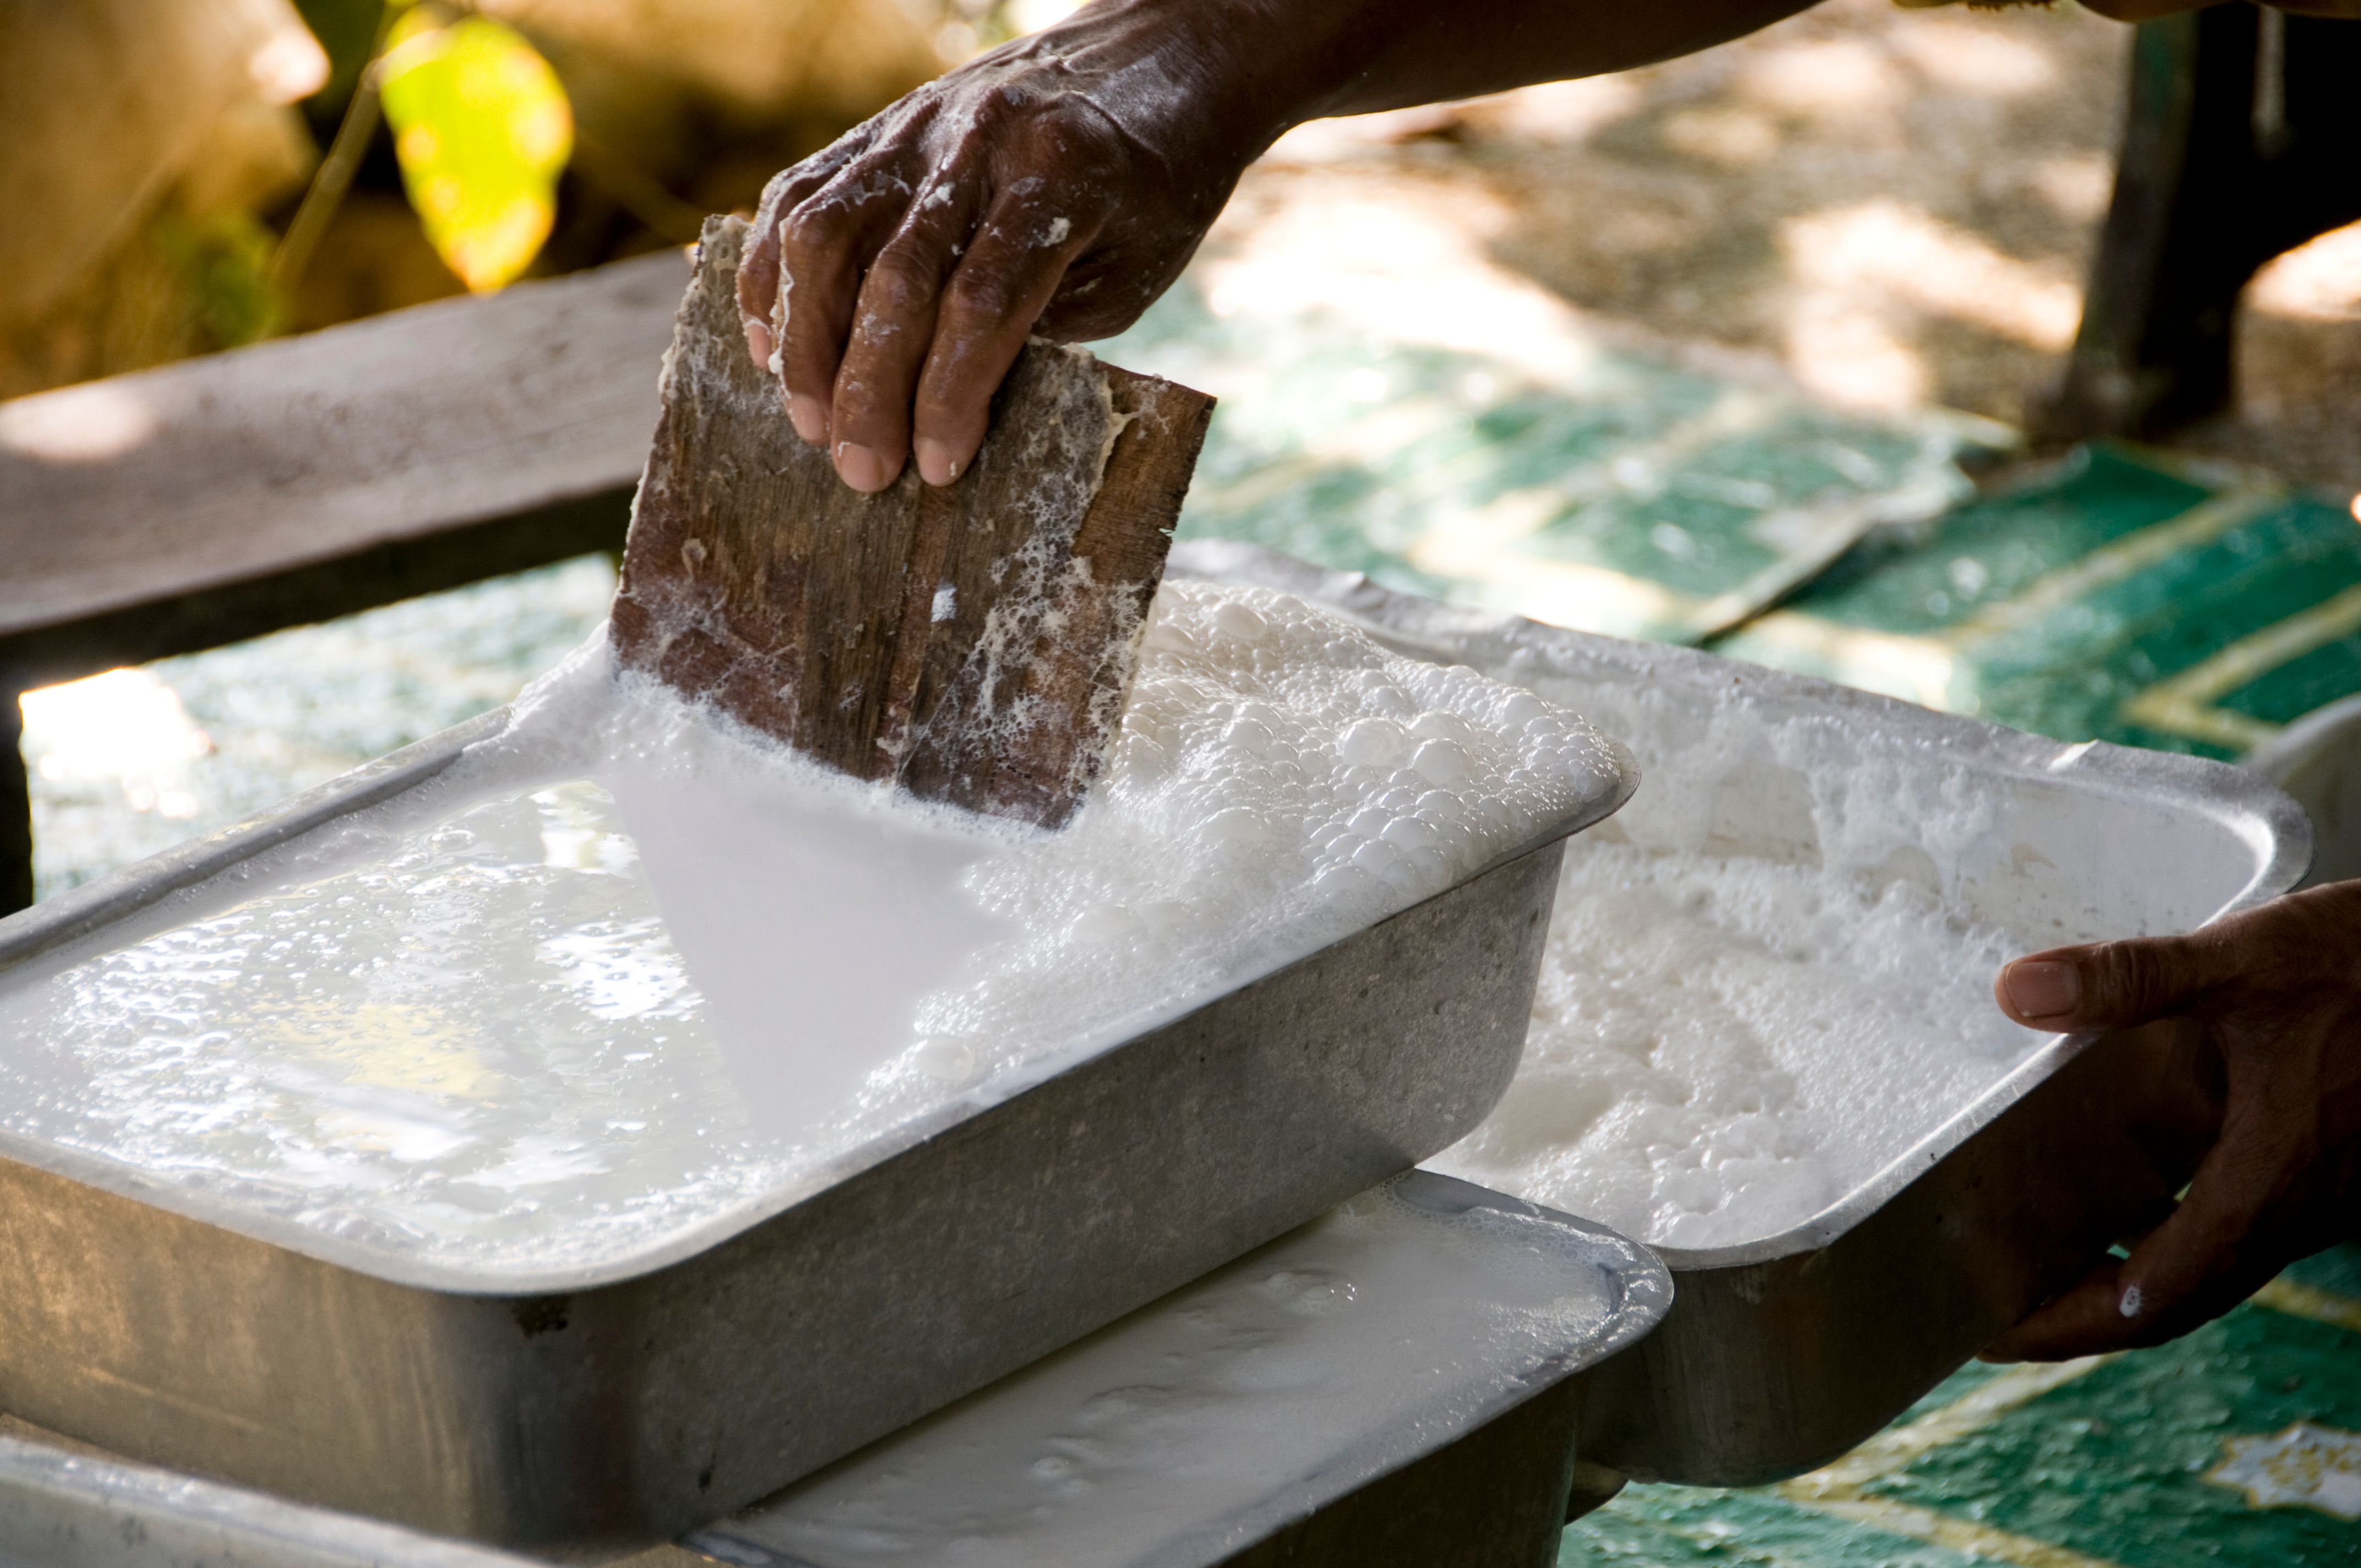
Mixing resin correctly is crucial to achieving the desired results. Follow the manufacturer's instructions on the ratio of resin to hardener carefully. Typically, it's a 1:1 ratio, but it can vary. Pour the components into a mixing cup and stir slowly to avoid introducing bubbles.
Adding Color and Effects
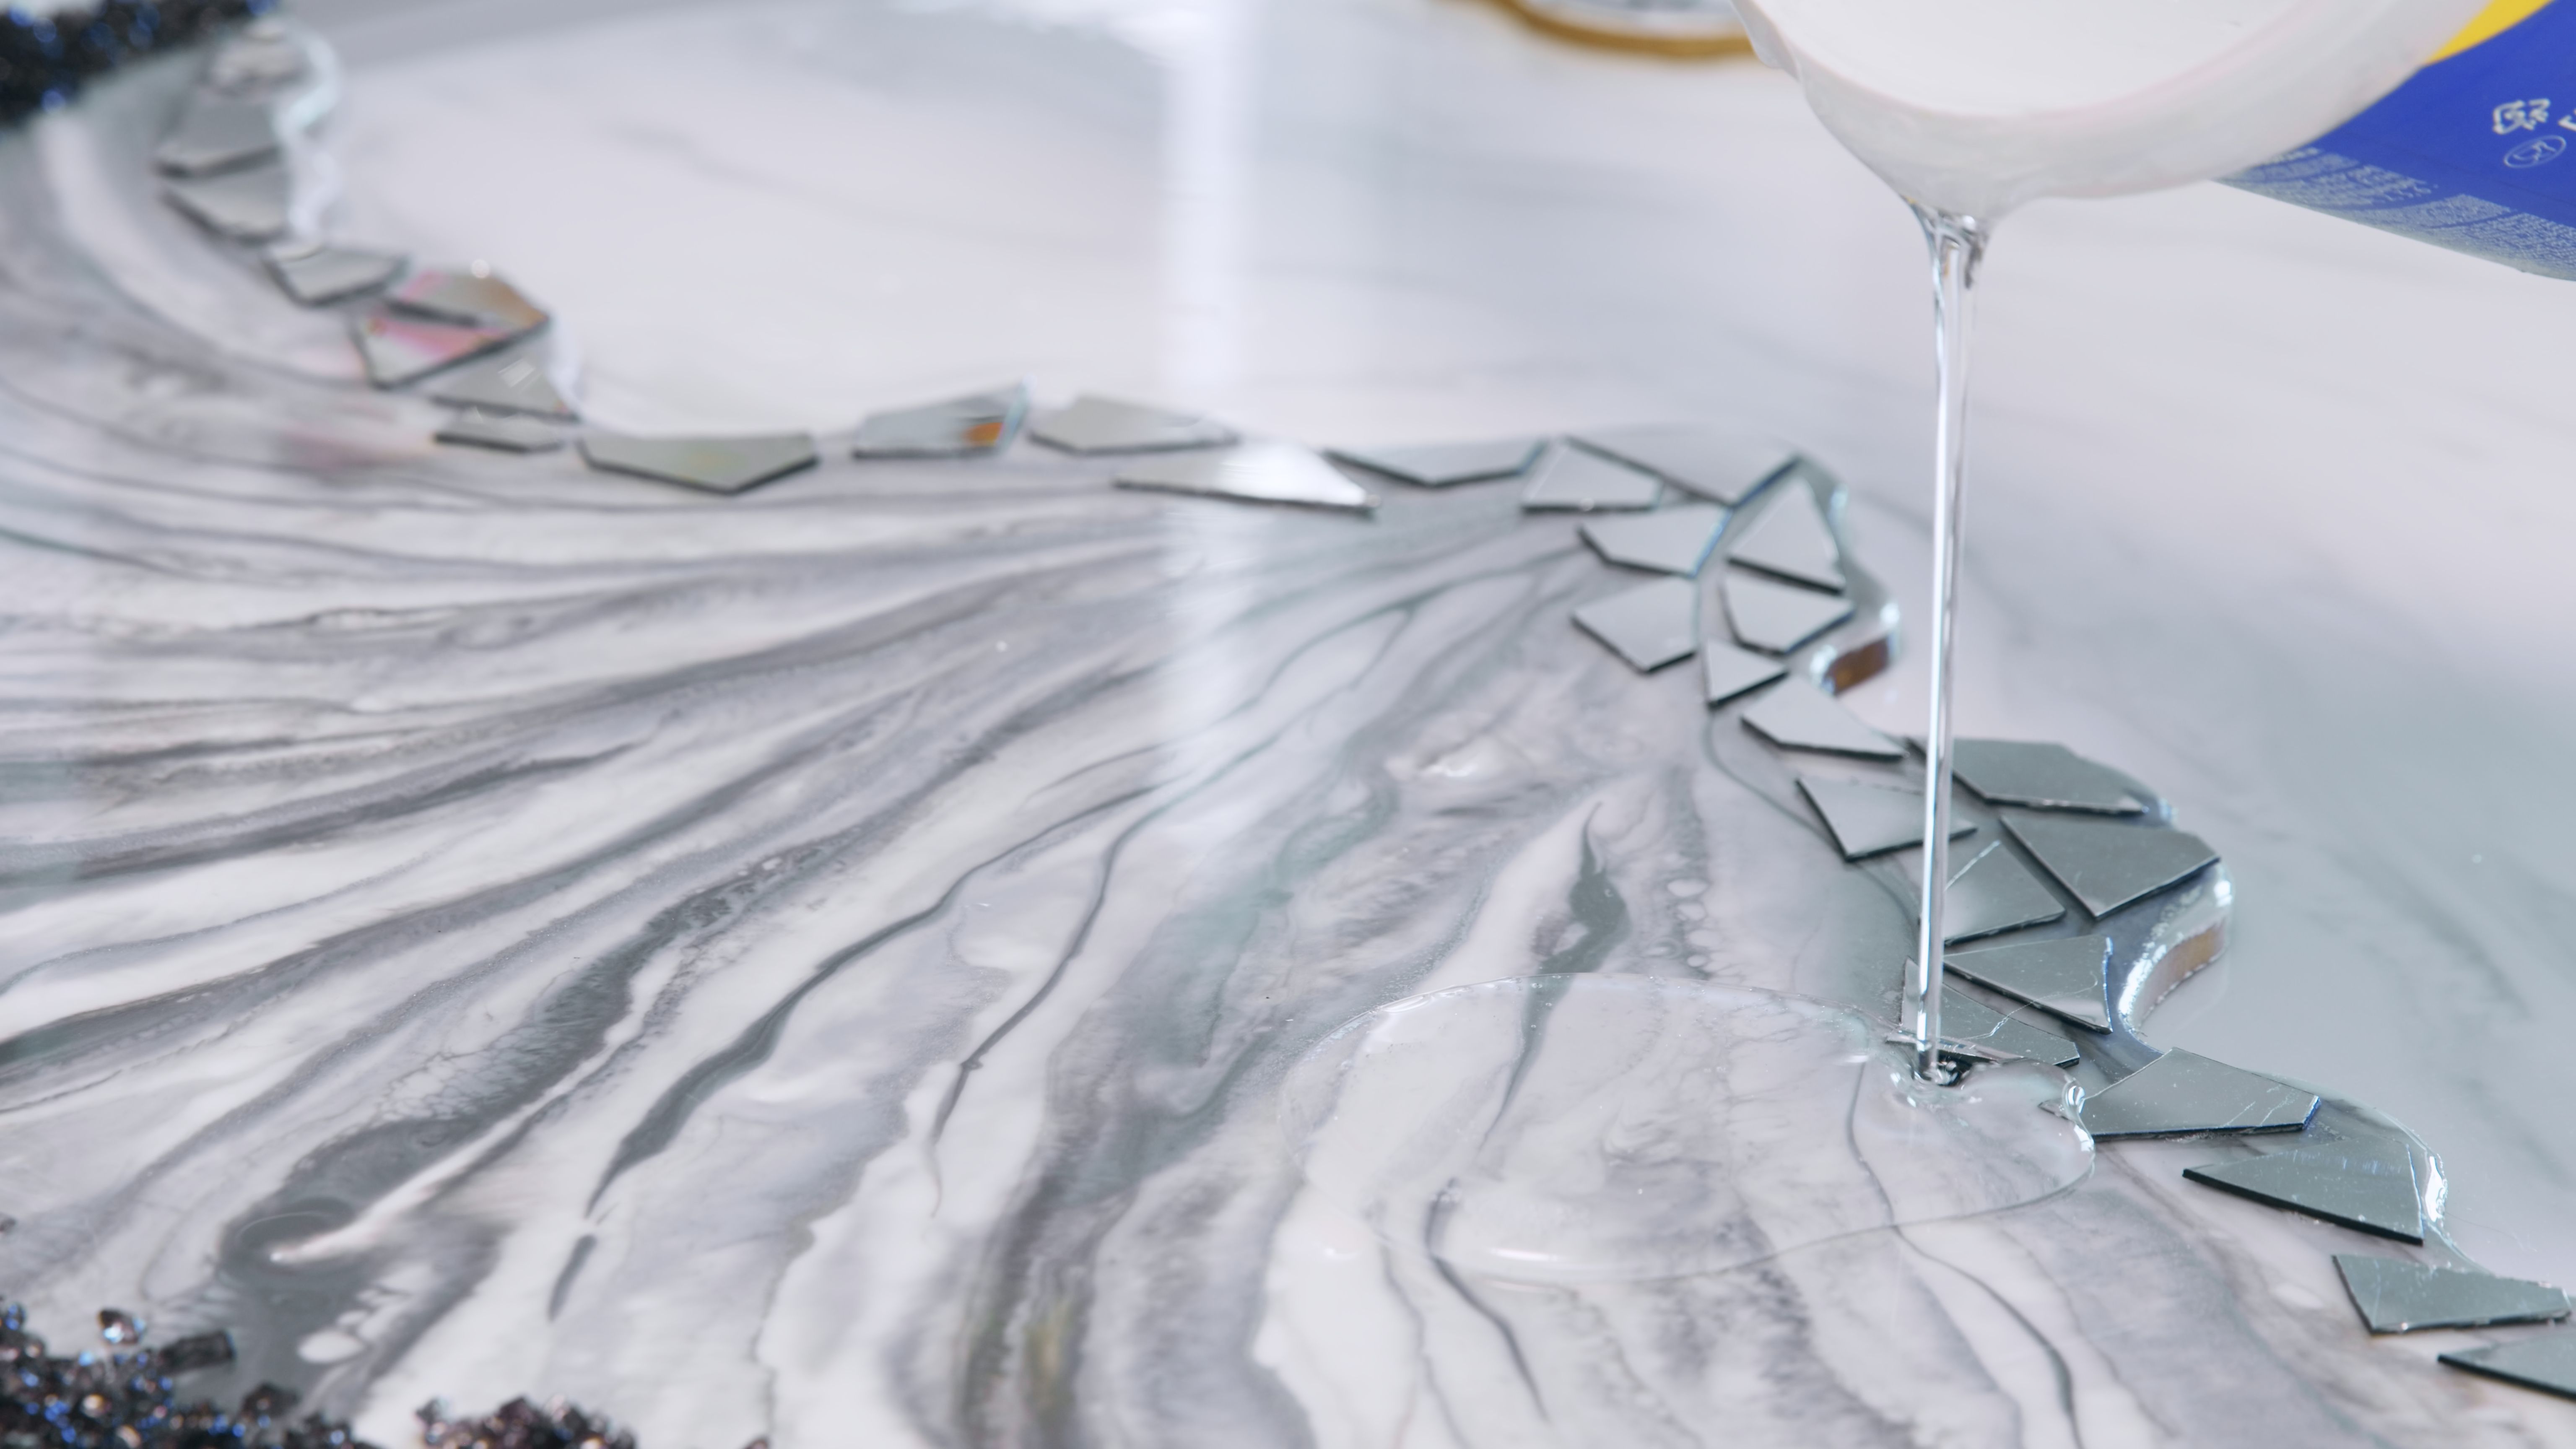
Once your resin is thoroughly mixed, it's time to add some color. Use pigments or dyes specifically designed for resin to ensure compatibility. You can also include other elements like glitter or metallic flakes to create unique effects.
Experiment with different techniques like swirling or layering colors for dynamic results. Remember to work quickly, as resin begins to cure after a certain period.
Pouring and Curing
Pour your mixed resin into molds or onto surfaces as desired. Use a heat gun or torch to eliminate any bubbles that may have formed during mixing. The curing process varies depending on ambient temperature and humidity, so be sure to follow Electra Resin's guidelines for optimal results.
Finishing Touches
Once cured, remove your artwork from the mold carefully. Sand any rough edges with fine-grit sandpaper if necessary. You can also polish the surface for an extra glossy finish.
Consider applying a protective coat of clear resin or varnish to enhance durability and sheen. Display your artwork proudly or gift it to loved ones as a personalized masterpiece.
Safety Tips and Best Practices
While working with resin is enjoyable, it's important to prioritize safety. Always wear gloves and protective eyewear, and ensure you are in a well-ventilated area. Avoid skin contact by using tools like spatulas or brushes.
Store your Electra Resin in a cool, dry place, away from direct sunlight. Keep containers tightly sealed to extend their shelf life and maintain product quality.
Conclusion
Creating stunning resin art with Electra Resin is an exciting adventure that allows you to unleash your creativity. By following these steps and safety guidelines, you can craft beautiful pieces that captivate and inspire. Whether you're making coasters, jewelry, or abstract wall art, the possibilities are limitless with Electra Resin.