
How to Master Resin Art: A Step-by-Step Guide for Beginners


Resin art has gained immense popularity for its glossy finish and endless creative possibilities. If you're new to this vibrant art form, mastering the basics can seem daunting. Fear not! This step-by-step guide will help you navigate the world of resin art with confidence.
Understanding Resin Art
Resin art involves using a mixture of resin and hardener to create stunning, glass-like finishes. It's essential to understand the materials and their behavior. Make sure you choose high-quality resin suitable for your project's size and complexity.
Start by familiarizing yourself with the curing process. Resin typically takes 24 to 48 hours to cure, depending on the brand and environmental conditions. Be patient, as rushing can lead to imperfections.
Gathering Your Materials
Essential Tools and Supplies
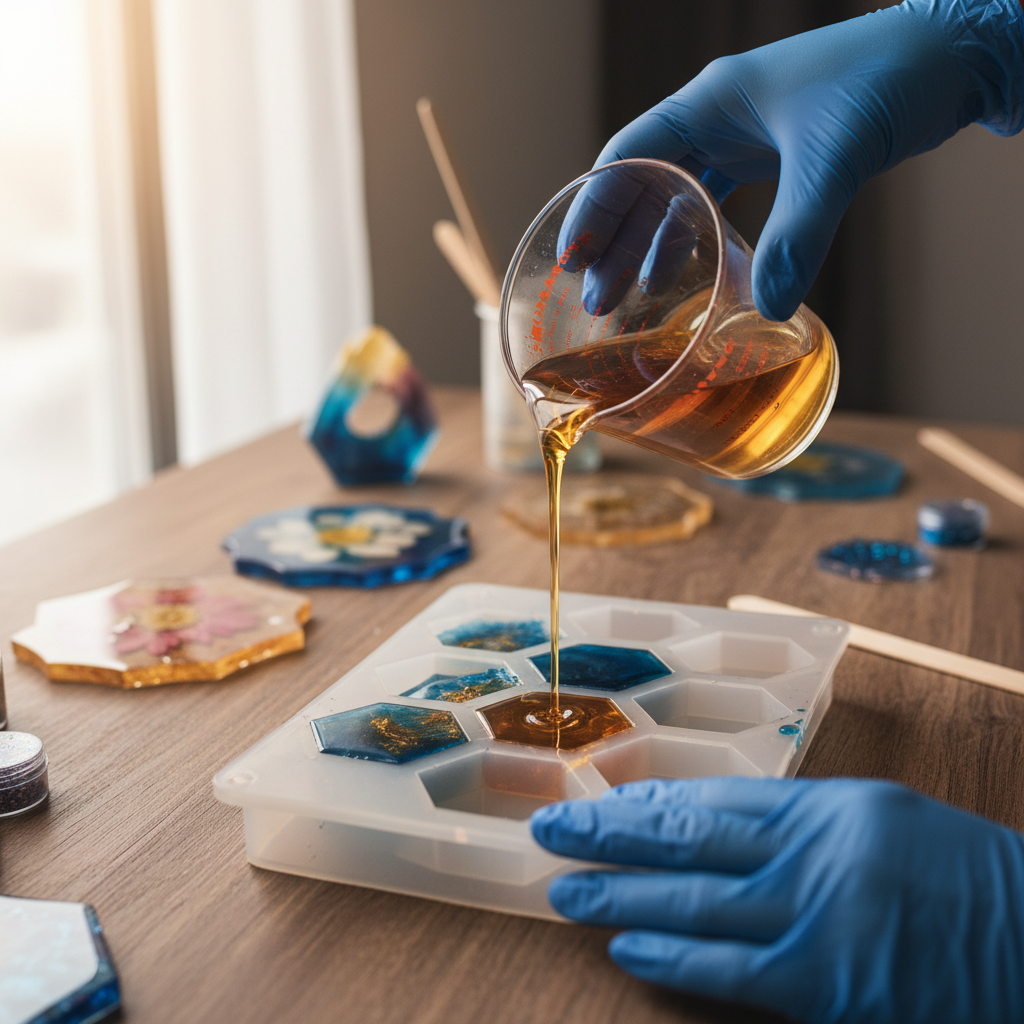
Before diving into your first project, gather these essential tools:
- Resin and hardener: Ensure they are compatible.
- Mixing cups and sticks: Use disposable ones for easy cleanup.
- Pigments and dyes: Choose colors that inspire you.
- Protective gear: Gloves and masks to ensure safety.
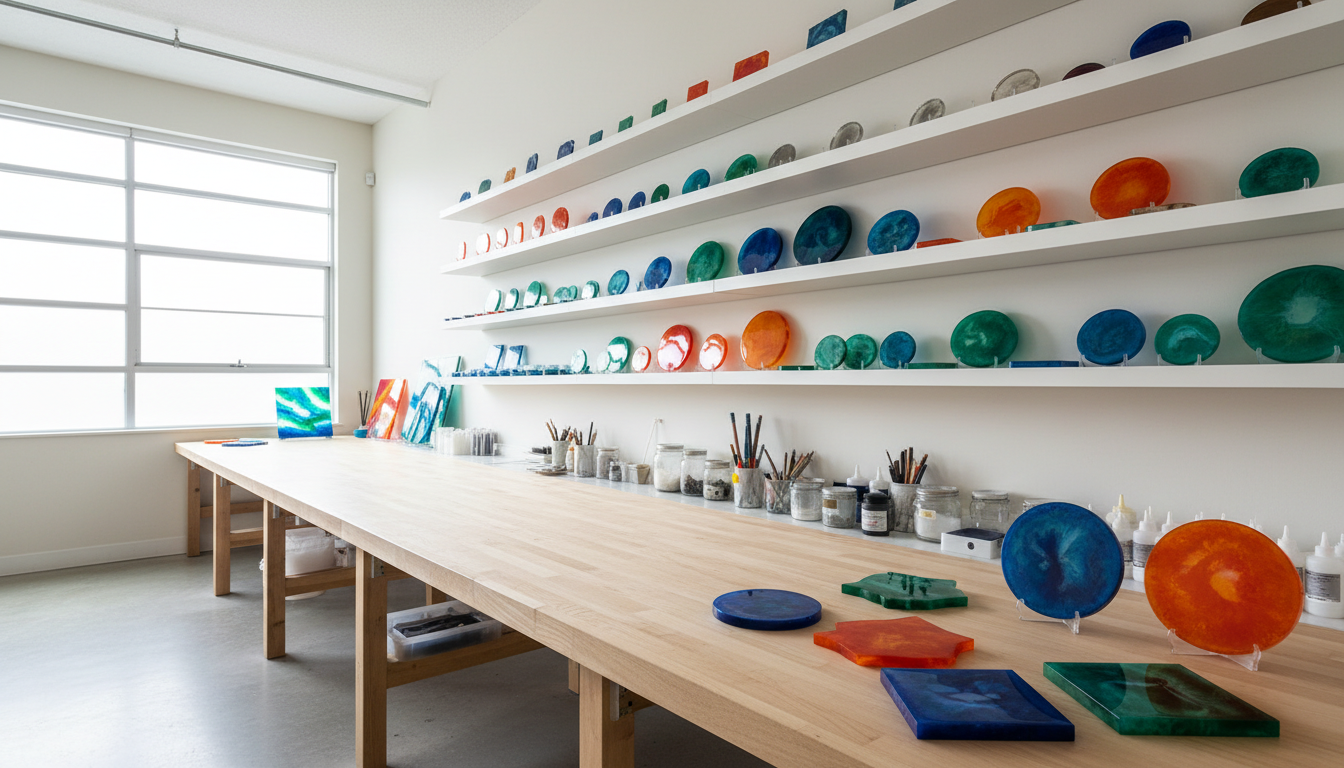
Additionally, prepare your workspace with plastic sheeting or newspaper to protect surfaces from spills.
Optional Supplies
Depending on your artistic vision, you may also want:
- Silicone molds for shaped designs.
- Heat gun or torch to remove bubbles.
- Glitter, stones, or other embellishments for added texture.
Creating Your First Resin Art Piece
Mixing the Resin
Begin by mixing the resin and hardener according to the manufacturer's instructions. Stir slowly to avoid introducing bubbles. Once mixed, divide the resin into separate cups if you plan to use multiple colors.
Adding Colors and Pouring
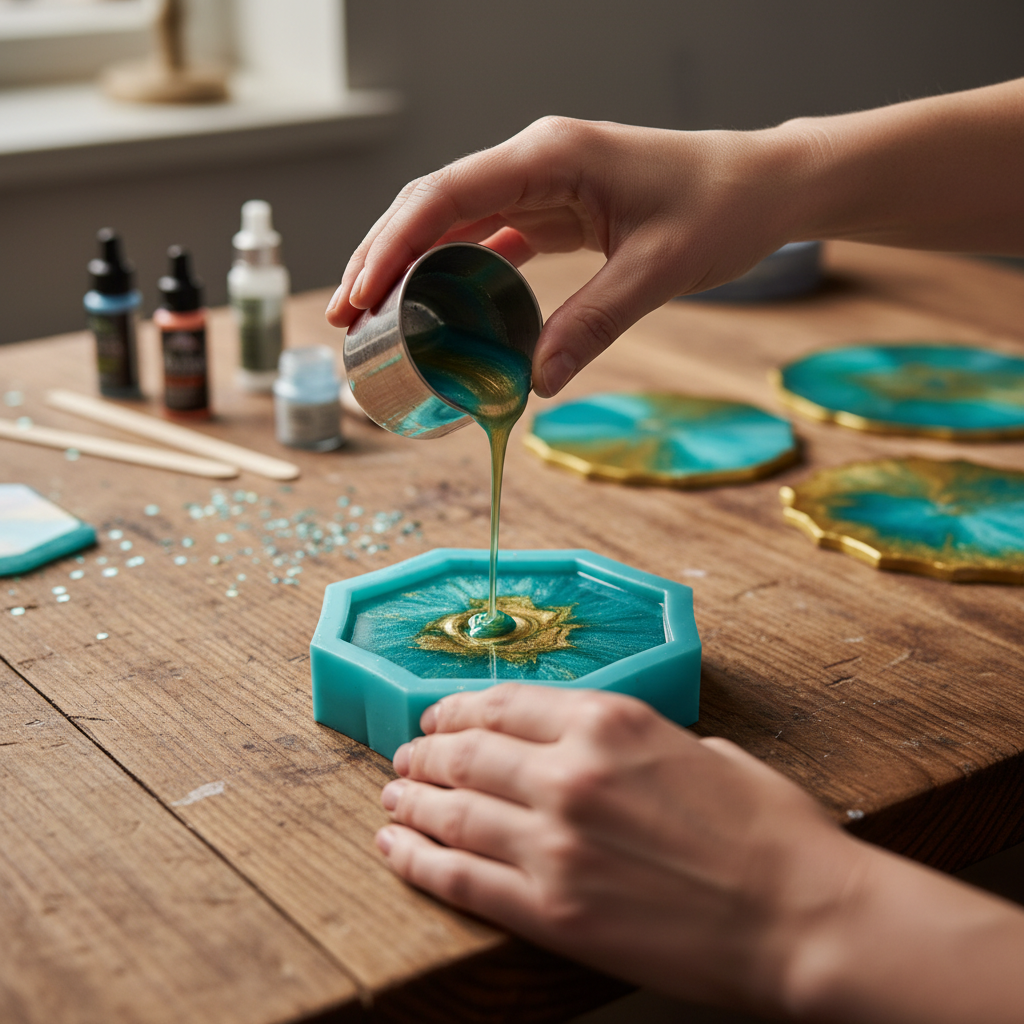
Add pigments to the resin and mix until you achieve your desired color intensity. Pour the colored resin onto your surface or into molds, letting the colors blend naturally or using tools to create patterns.
Finishing Touches
Once poured, use a heat gun or torch to eliminate any air bubbles. Be careful not to overheat, as this can scorch the resin. Leave your piece to cure in a dust-free environment.
After curing, you may choose to add a second layer for added depth or polish the surface for extra shine. Experimenting with different techniques will help you develop your unique style.
Conclusion
Mastering resin art takes practice, but with patience and creativity, anyone can create stunning works of art. Remember to experiment, learn from mistakes, and most importantly, enjoy the process. Happy creating!